Elevator servo and control horn installation – Hangar 9 Beast 100cc ARF User Manual
Page 45
45
Required Parts
• Hangar 9 ball links, titanium rods and
bolts
• (4) JR 8711 or similar power digital servo
• (4) JR 1.5-inch single-sided arm
• (2) 24-inch JR-HD extensions
Required Tools and Adhesives
• Threadlock
• Drill
• Drill bit: 1/64-inch
• Ball driver: .050-inch, 3/32-inch
• Dental floss
• Masking tape
• Thin CA
• Hex wrench 1/4-inch
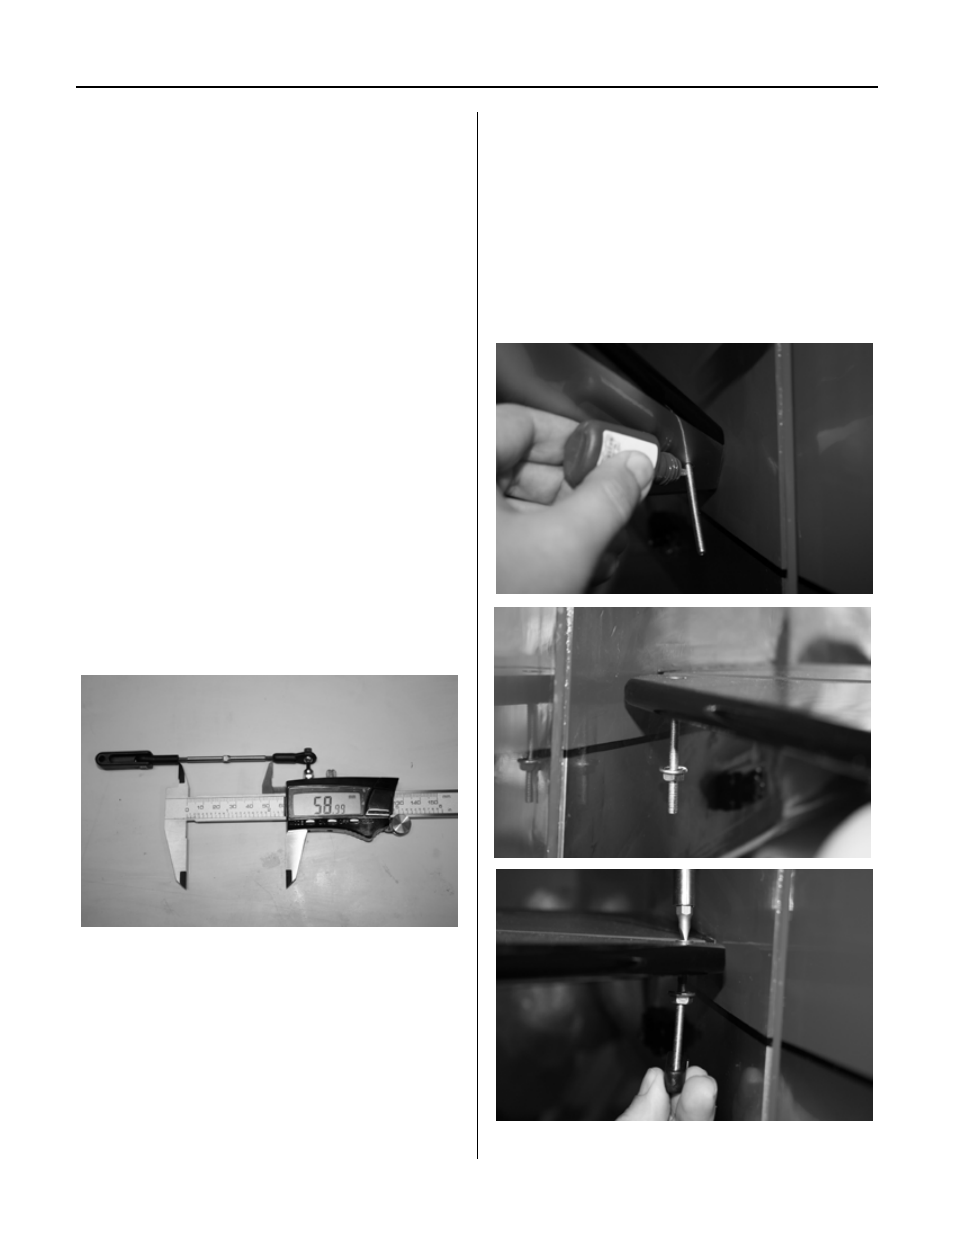
Step 1
Prepare the ball link/control horn linkage so it
measures 59mm from horn to control horn. It
is very important that the titanium rod equally
protrudes in the horn and ball link. Otherwise
there is a chance one side would have only a
few threads and pull out unexpectedly in the
air. Attach the servo arm at 1.5-inch hole to
the ball link.
Step 2
Elevator control horn installation is similar to
the wings with a few considerations.
Insert the bolt through the elevator; do not
tighten the nut but turn the nut up the bolt.
Hold the control horn at the tip of the bolt
and turn the bolt to grip the horn and stop
when the center of the pivot point of the horn
measures 1.5-inch to the hinge line.
Now tighten the nut fully so there is
absolutely no play in the bolt assembly in any
direction. This is important since any play will
cause play in the elevator movement.
Elevator Servo and Control Horn Installation