Required tools and adhesives, Ultracote® covering colors, Before starting assembly – Hangar 9 Beast 100cc ARF User Manual
Page 4
4
Required Tools and Adhesives
Tools
• Rotary tool
• Hobby scissors
• Pliers
• Clamp
• Pin wise
• Crimping tool/vice grips
• Crescent wrench
• String
• Black electrical tape
• 1/4-inch (6mm) foam
• Tape
• Hobby knife
• Phillips screwdriver
• Drill
• Felt-tipped pen
• Nut driver: 1/4-inch
• Hex wrench: 5/64-inch, 3/32-inch, 7/64-inch, 1/8-inch
• Angle Pro Incidence Meter (HAN192)
• Drill bit: 1/16-inch (1.5mm), 5/64-inch (2mm), 5/32-inch (4mm), 3/16-inch (4.5mm), 5/16-inch
(8mm)
Adhesives
• Thin CA (PAAPT08)
• Medium CA (PAAPT02)
• 30-Minute Epoxy (HAN8002)
• CA Remover/Debonder (PAAPT16)
• Pacer Z-42 Threadlock (PAAPT42)
• CA accelerator (PAAPT15)
UltraCote® Covering Colors
• Black (HANU874)
• Gold (HANU879)
• True Red (HANU866)
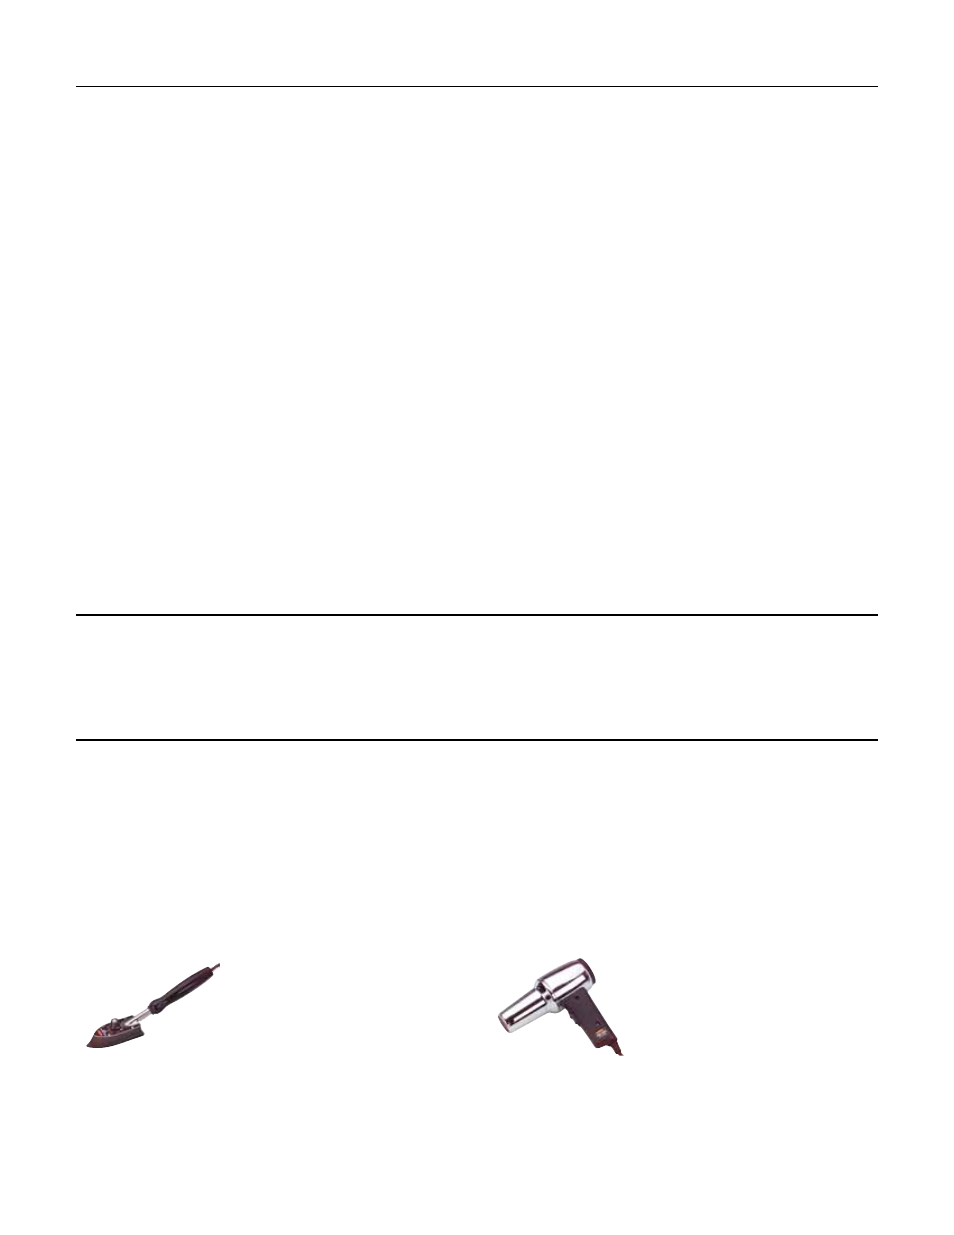
Before Starting Assembly
Before beginning the assembly of the Beast 100, remove each part from its bag for inspection.
Closely inspect the fuselage, wing panels, rudder, and stabilizer for damage. If you find any
damaged or missing parts, contact the place of purchase. Go over the covering using a heat
gun or sealing iron. It is best to use a heat gun to take away any wrinkles on curved surfaces
such as part of the fuselage, but make sure to apply pressure with a covering glove to make
the covering stick when it is still hot. Use caution while working around areas where the colors
overlap to prevent separating the colors. Also make sure to go over the edges and seams with
a sealing iron.
HAN100 – Heat Gun
HAN150 – Covering
Glove
HAN101 – Sealing Iron
HAN141 – Sealing Iron
Sock