Cub Cadet 2000 Series User Manual
Page 83
Manual Steering
77
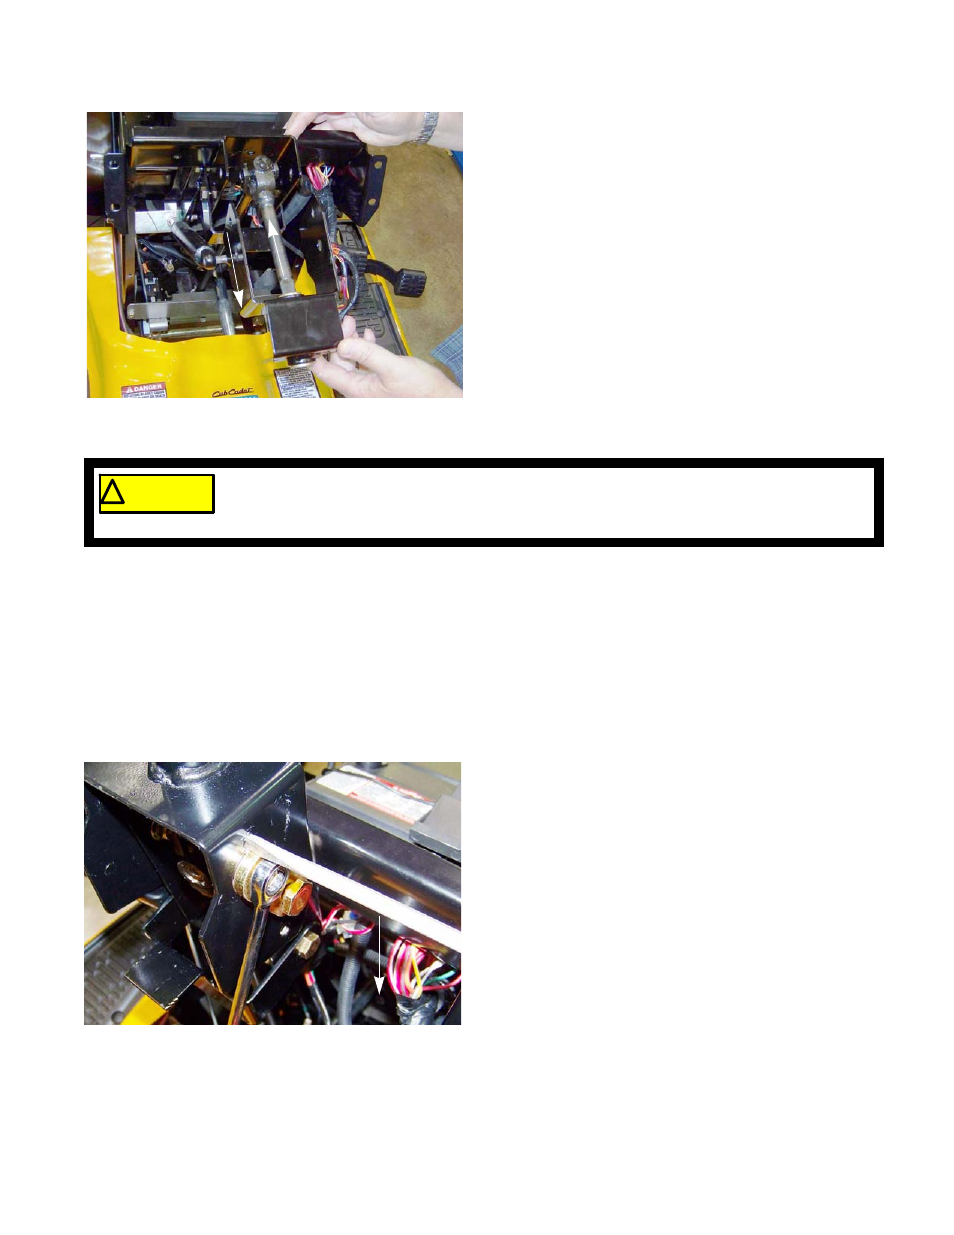
10. Slide the tilt bracket up and towards the rear of the
tractor enough that it clears the dash support tower.
11. Slide the tilt dampener off of the pin on the tilt
bracket.
12. Lift the tilt bracket and steering shaft off of the trac-
tor.
NOTE: On tractors with power steering, it will probably be
necessary to pry the steering shaft coupler off of
the EPS assembly.
Manual steering
13.
Lift the steering shaft out of the tractor.
Power steering
13.
Slide the steering shaft out of the tilt steering bracket.
14.
Install the steering shaft by following the above steps in reverse order.
NOTE: Tighten the shoulder bolt nuts to a torque of 240 - 350 (27 - 40 Nm)
15.
Test run the tractor in a safe area before returning it to service.
NOTE: If the tilt steering is sloppy:
• Loosen the screw that holds the adjuster plate to
the tilt steering bracket using a 3/8” wrench.
• Insert a flat headed screw driver into the hole
above the adjuster plate. See Figure 6A.22.
• Pry down on the adjuster plate, driving it into the
shoulder bolt, while tightening the screw that hold
the plate in place.
Figure 6A.21
! CAUTION
! CAUTION
DO NOT hammer on any of the EPS components.
Hammering on the EPS components can cause the calibration of the EPS to shift, resulting in
an auto-steer condition.
Figure 6A.22
Pry down