Deck lift shaft assembly (manual) – Cub Cadet 2000 Series User Manual
Page 172
2000 Series Tractors
166
Deck lift shaft assembly (manual)
To remove/replace the lift shaft:
1.
Remove the deck by following the steps described
at the beginning of this chapter.
2.
Remove the fender and running board by following
the procedures described in Chapter 4: Body.
3.
Remove the split spacers. See Figure 8.29.
4.
Slide the split bushings out of the notches in the
frame
5.
Remove the split bushings from the lift shaft.
NOTE: The washers were installed onto the lift shaft
before the bell cranks were welded in place
and can not be removed or replaced.
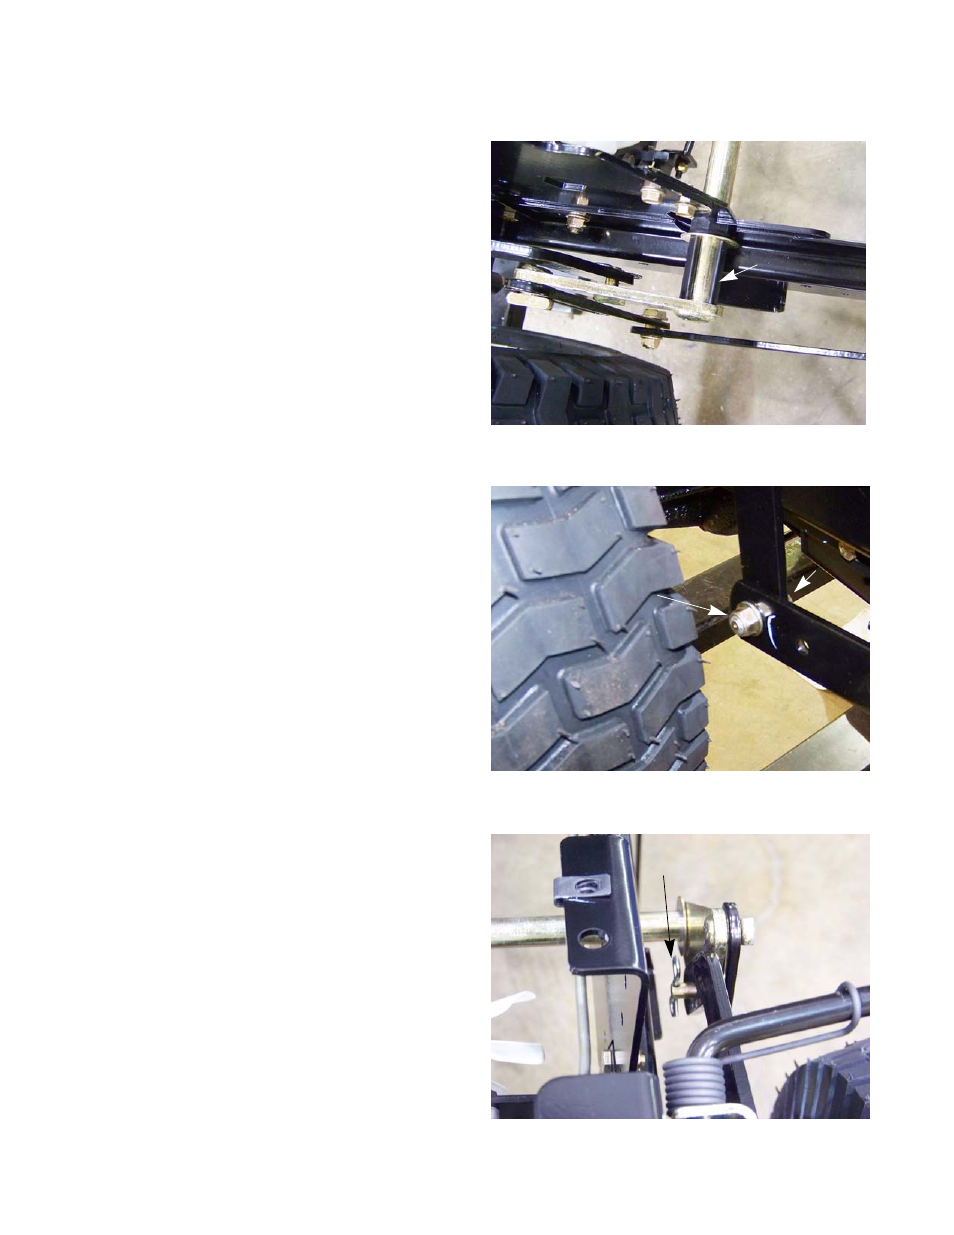
6.
On each side, remove the shoulder bolt and nut that
holds the slotted link to the lift link using a 3/4”
wrench and a 9/16” wrench. See Figure 8.30.
7.
Remove the bowtie clip that holds the lift lever link
to the lift shaft bell crank. See Figure 8.31.
8.
Slide the lift shaft towards the right side of the trac-
tor far enough to slide the lift lever link off of the pin
on the lift shaft bell crank.
Figure 8.29
Split spacer
Figure 8.30
Nut
Shoulder bolt
Figure 8.31
Bowtie clip