Adjusting the scanning density, Adjusting the scanning density -9 – Canon IMAGERUNNER 2010F User Manual
Page 292
Adjusting the Scanning Density
10-9
Special F
ax F
eatures
10
Adjusting the Scanning Density
Follow the procedure below to adjust the scanning density for each density level:
dark, standard, and light.
If you often send a document that is too dark or too light, it is recommended to
adjust the scanning density.
NOTE
• Even if you change (adjust) the density, the resolution does not change.
•
If you want to send a document with a detailed image, adjust the resolution. (See
“Adjusting the Resolution, Density, and Image Quality,” on p. 3-12.)
1
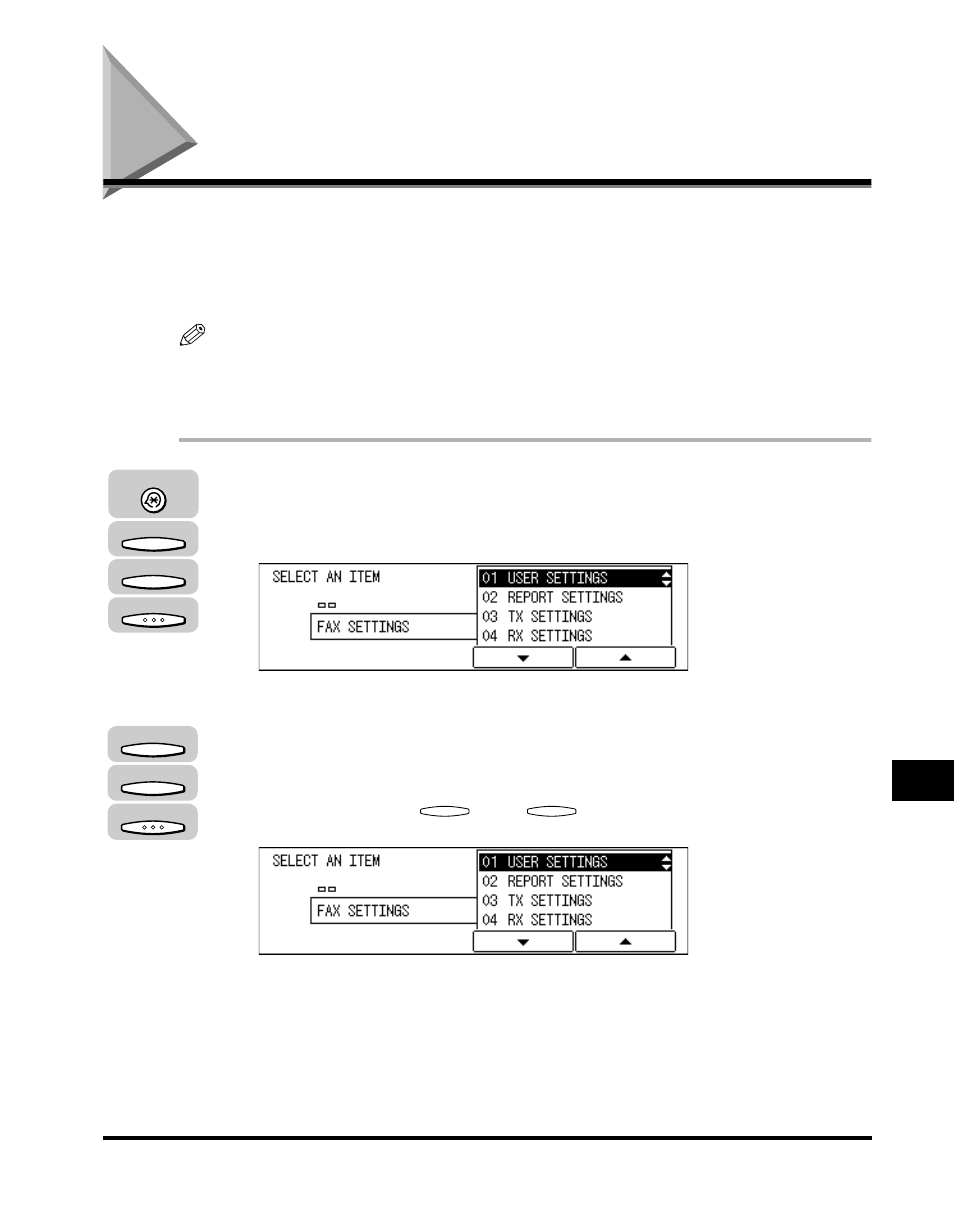
Press [Additional Functions]
➞
press [F3] (
▼) or [F4] (▲) to
highlight <03 FAX SETTINGS>
➞
press [OK].
The FAX SETTINGS menu appears.
2
Press [F3] (
▼) or [F4] (▲) to highlight <01 USER SETTINGS>
➞
press [OK].
Each time you press
(
▼) or
(
▲), the next or previous menu option
becomes highlighted.
The USER SETTINGS menu appears.
Additional Functions
F3
F4
OK
F3
F4
OK
F3
F4