Deleting a transfer box, Deleting a transfer box -29, Change the settings – Canon IMAGERUNNER 2010F User Manual
Page 182
Transferring Documents
5-29
Receiving Documents
5
If a password has not been set for the transfer box you selected, the CHANGE
DATA menu appears. Proceed to step 6.
5
If the message
the password of the transfer box using the numeric keys
➞
press [OK].
The CHANGE DATA menu appears.
6
Change the settings.
For details on how to select and change the settings, refer to the procedures
described in “Creating a Transfer Box,” on p. 5-20.
7
Press [Reset] to return to the Fax Basic Features screen.
Deleting a Transfer Box
1
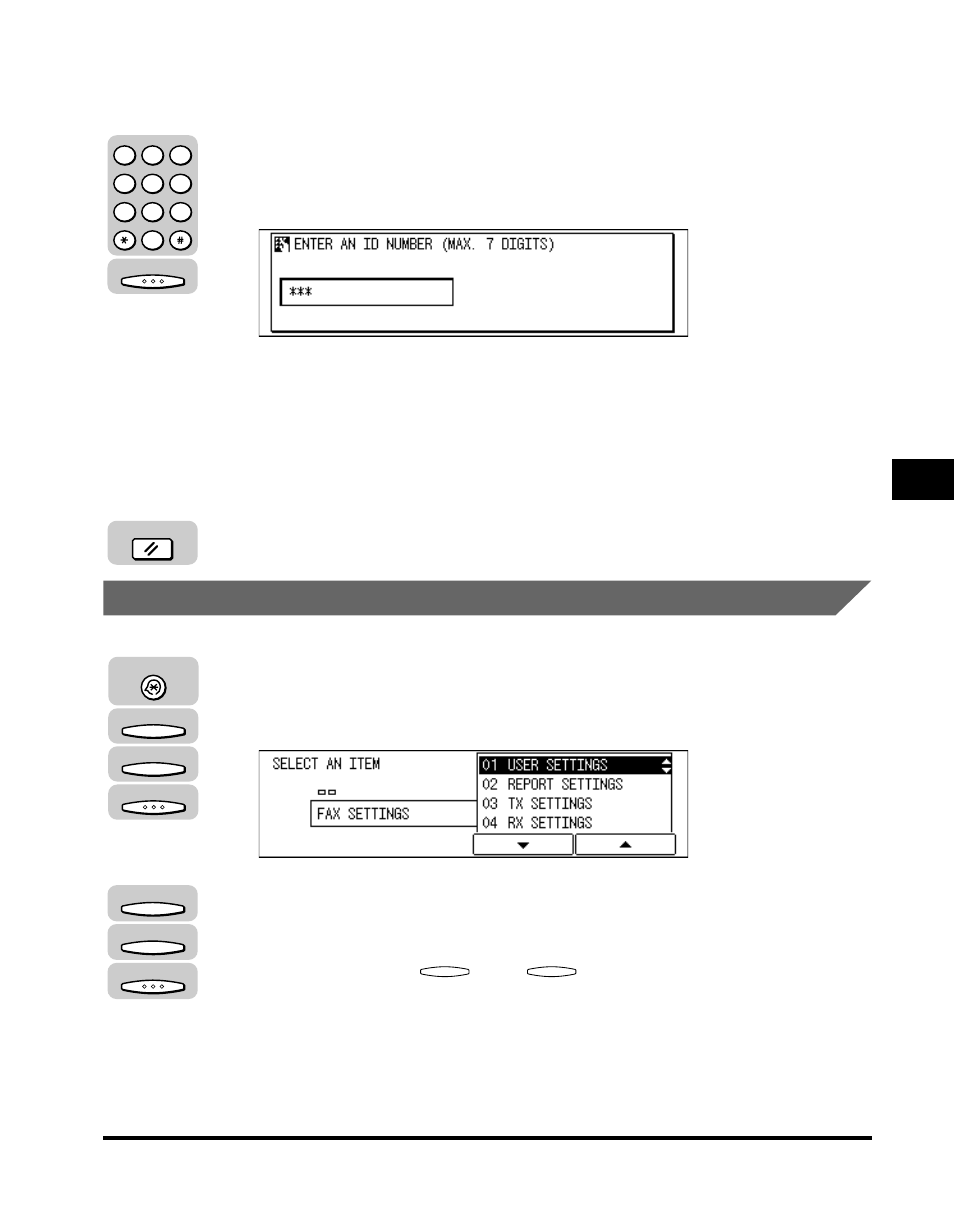
Press [Additional Functions]
➞ press [F3] (▼) or [F4] (▲) to
highlight <03 FAX SETTINGS>
➞ press [OK].
The FAX SETTINGS menu appears.
2
Press [F3] (
▼) or [F4] (▲) to highlight <06 FILE SETTINGS> ➞
press [OK].
Each time you press
(
▼) or
(
▲), the next or previous menu option
becomes highlighted.
OK
1
2
3
4
5
6
7
8
9
0
@.
GHI
PRS
ABC
JKL
TUV
DEF
MNO
WXY
OPER
SYMBOLS
Reset
Additional Functions
F3
F4
OK
F3
F4
OK
F3
F4