Dynojet 248x: Installation Guide User Manual
Page 42
3 - 24
Document #98219101
Step 4
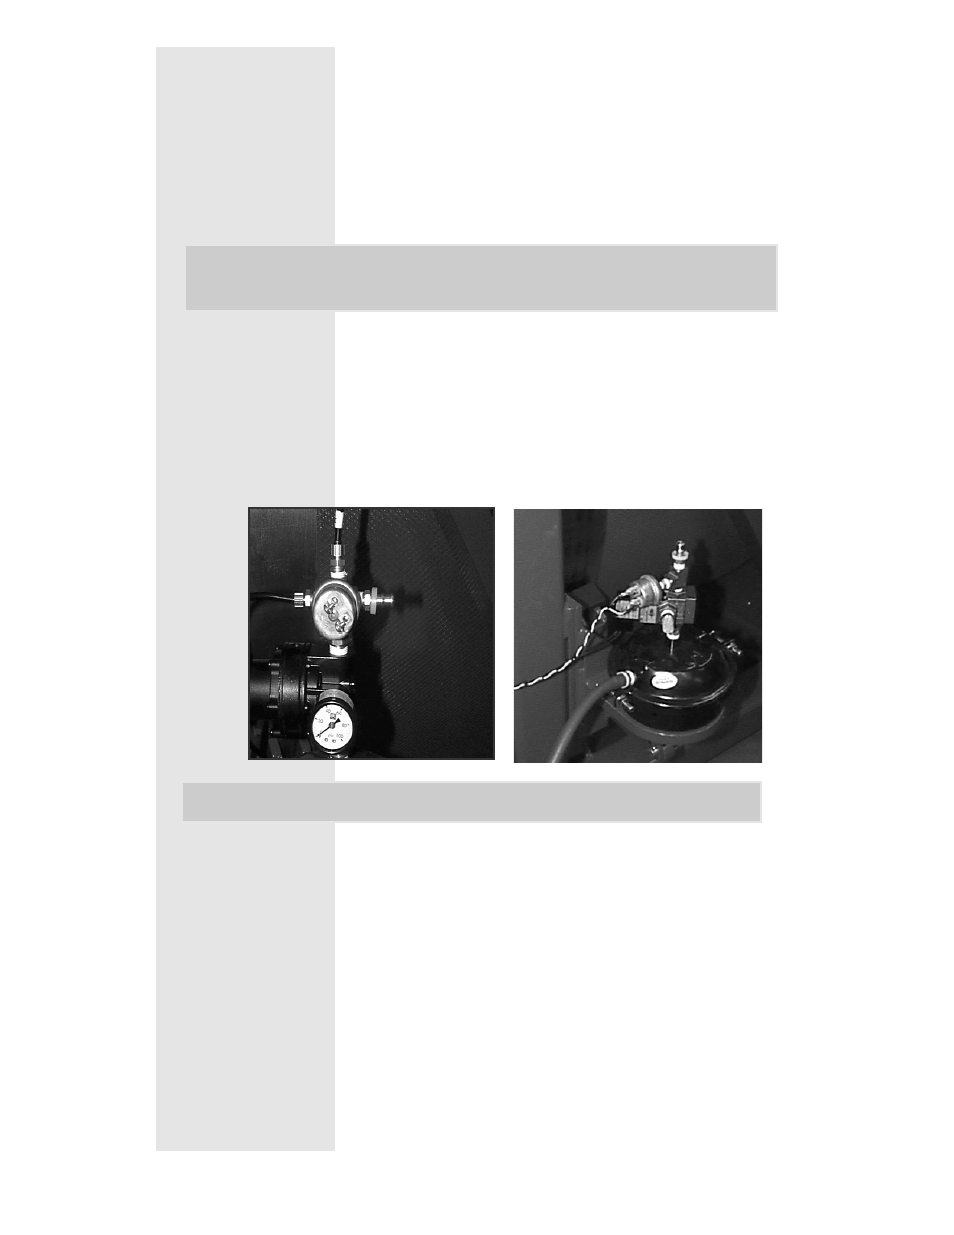
Connect your shop air to the dyno.
Mount the Air Pressure Regulator on the
wall in the shop with the bracket provided.
Connect a supply air hose to the inlet of the
regulator from your shop air supply.
Note:
Make sure the arrow on the regulator is
the same as the direction of the air flow!
Connect a 3/8" air hose to the outlet side of
the regulator. Connect the other end of the
air hose to the barbed inlet fitting on the Air
Control Switch (Standard Air) or the
Booster Valve Assembly (Proportional Air)
on top of the right air canister on the dyno.
Note:
The regulator should be set to 60 psi.
Standard Air Step 5
(Go on to step 6)
Proportional Air Step 5
Install the rest of the side panels so the
Dynojet stickers face out and upright. (Use
the self tapping screws provided.)
Proportional Air
Standard Air