Dynojet 248x: Installation Guide User Manual
Page 21
Document #98219101
3 - 3
Step 4
Using a carbide bit designed for concrete (see
instructions included with anchors) , drill four
1/2” holes in the floor where you made your
marks. The holes should ideally be as deep
as the length of the anchors (approx. 1 5/8”).
Step 5
Place the slotted end of the anchors in the
holes that you drilled. They will most likely
be very snug, so use a brass drift punch and
hammer to drive them down.
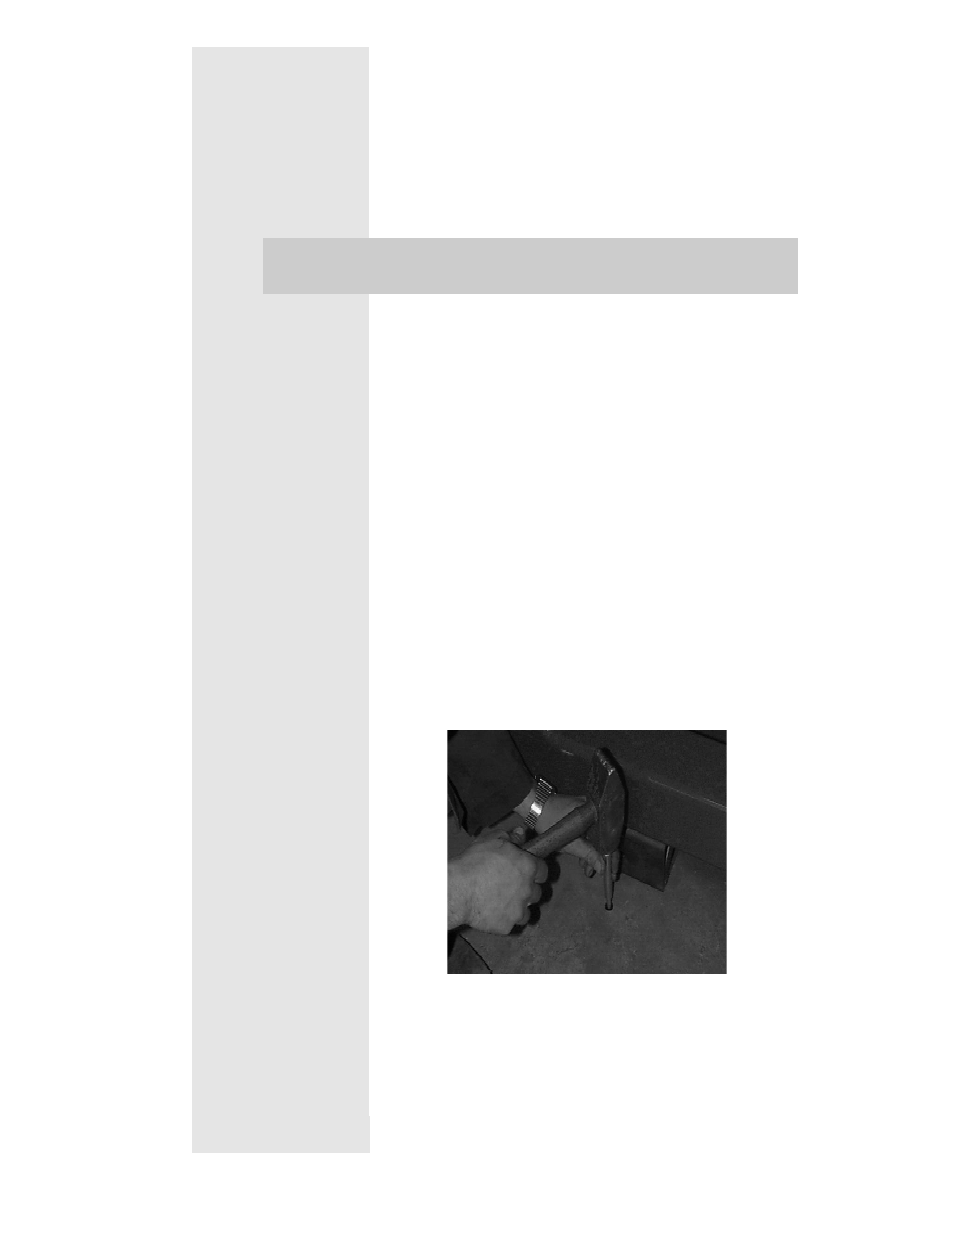
Step 6
Use the Set Tool to expand the base of the
anchors. Place the small end of the Set Tool
into the threaded end of the anchor
(threaded end should be up). Drive the Set
Tool with a large hammer until the anchor is
fully seated.
Step 7
Reinstall the feet. The hole that goes into the
Note:
Be sure to clean the debris out of the
holes that you drilled.