Battery, Installing the battery, Figure 1-15: install the battery – Dynojet 200: Installation Guide User Manual
Page 20
Motorcycle Dynamometer Installation Guide
C H A P T E R 1
Battery
1-12
. . . . . . . . . . . . . . . . . . . . . . . . . . . . . . . . . . .
BATTERY
A bike starting system is included with your Dynojet Dynamometer. You will need to
provide an automotive battery to use this system. The dyno is designed to carry a
group 24 series battery with a minimum of 600 cold cranking amps.
I
NSTALLING
THE
B
ATTERY
1
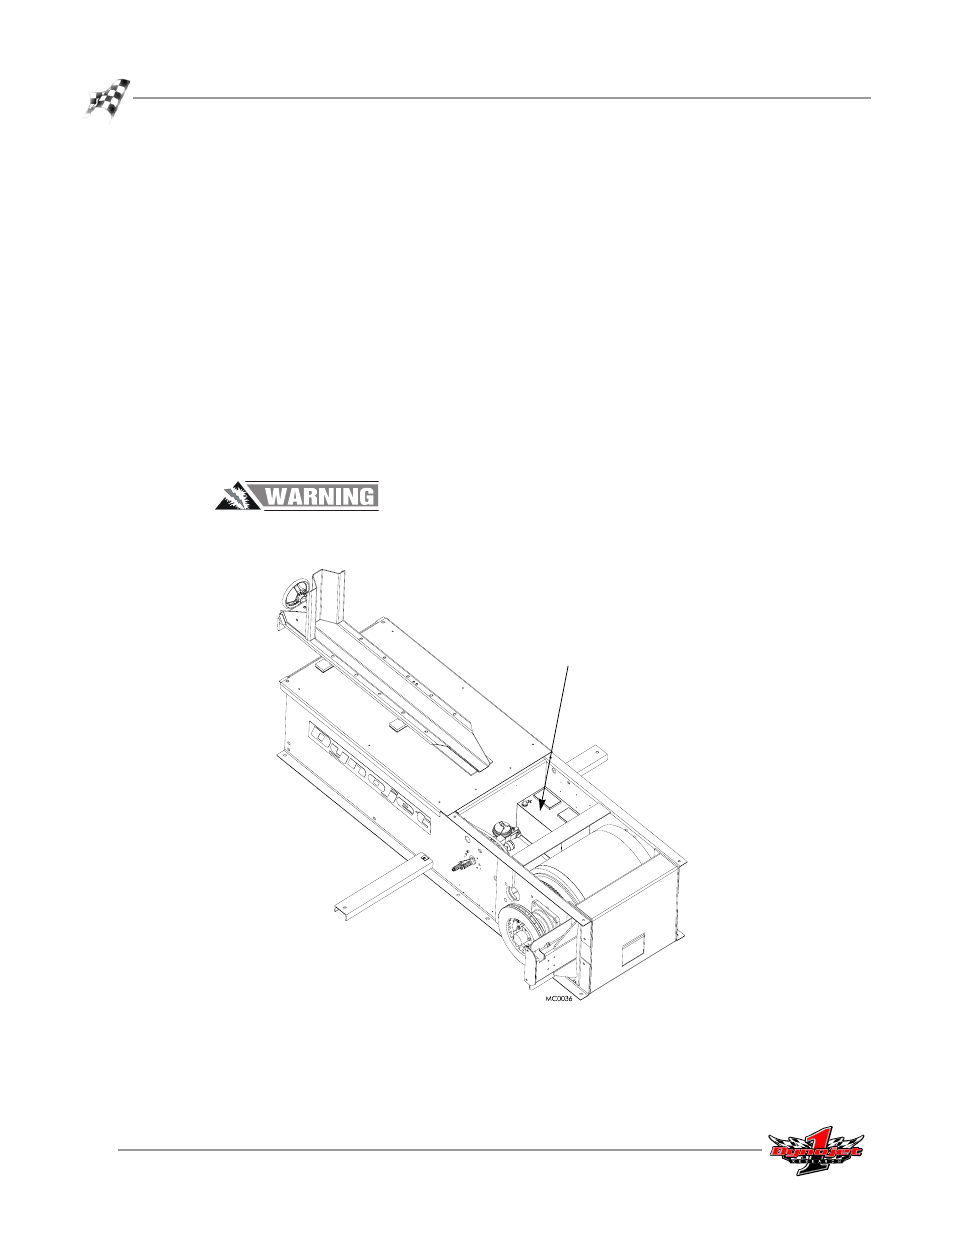
Locate the red battery cable on the inside of the dyno.
2
Place the battery in the battery carrier on the inside of the dyno so the red cable
can reach the positive (+) post on the battery and the black battery cable can
reach the negative (-) post.
3
Secure the red battery cable to the positive (+) battery post.
4
Secure the black battery cable to the negative (-) battery post.
5
Press the starter button to verify that the starter turns the drum correctly.
To prevent possible injury, disconnect the battery before performing any dyno
maintenance or installing any optional accessories.
Figure 1-15: Install the Battery
battery with positive side
towards the front of the dyno