Center of gravity, Preflight – E-flite DHC-2 Beaver 25e ARF User Manual
Page 49
49
E-flite DHC-2 Beaver ARF Assembly Manual
Center of Gravity
An important part of preparing the aircraft for flight is properly
balancing the model.
Caution: Do not inadvertently skip this step!
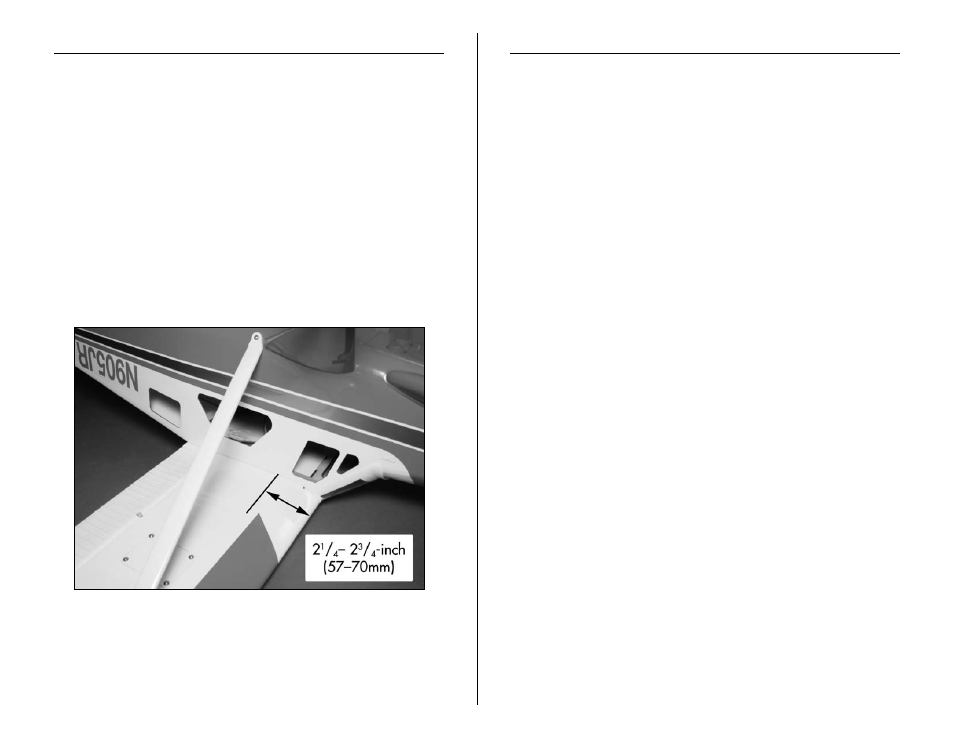
The recommended Center of Gravity (CG) location for the
DHC-2 Beaver ARF is 2
1
/
4
– 2
3
/
4
-inch (57–70mm) back from the
leading edge of the wing. Mark the location of the CG on the
bottom of the wing.
Please balance your model upright with the battery installed.
With the model upright, lift the model at the marks using your
fingertips, or use a commercially available balancing stand.
The model will rest level or slightly nose down when balanced
correctly. Adjust the position of the motor battery, or add weight
to the nose or tail if necesary to achive the correct CG.
After the first flights, the CG position can be adjusted for your
personal preference.
Preflight
Check Your Radio
Before going to the field, be sure that your batteries are fully
charged per the instructions included with your radio. Charge
both the transmitter and receiver pack for your airplane. Use
the recommended charger supplied with your particular radio
system, following the instructions provided with the radio. In
most cases, the radio should be charged the night before going
out flying.
Before each flying session, be sure to range check your radio.
See your radio manual for the recommended range and
instructions for your radio system. Each radio manufacturer
specifies different procedures for their radio systems. Next, start
the motor. With the model securely anchored, check the range
again. The range test should not be significantly affected. If it is,
don’t attempt to fly! Have your radio equipment checked out by
the manufacturer.
Note: Keep loose items that can get entangled in
the propeller away from the prop. These include
loose clothing, or other objects such as pencils and
screwdrivers. Especially keep your hands away from the
propeller.
Double-check that all controls (aileron, elevator, rudder and
throttle) move in the correct direction.
Check the radio installation and make sure all the control
surfaces are moving correctly (i.e. the correct direction and with
the recommended throws). Test run the motor and make sure
it transitions smoothly from off to full throttle and back. Also
ensure the engine is installed according to the manufacturer’s
instructions, and it will operate consistently.
Check all the control horns, servo horns, and clevises to make
sure they are secure and in good condition. Replace any items
that would be considered questionable. Failure of any of these
components in flight would mean the loss of your aircraft.