2 instrument calibration, Instrument calibration – Metrohm NIRS XDS Transmission OptiProbe Analyzer User Manual
Page 43

▪▪▪▪▪▪▪
41
These peak positions use internal wavelength materials, and are not meant to be traceable at this
point. A second wavelength adjustment will be performed during Instrument Calibration which will
set wavelength positions to a fully-traceable standard, mounted at the sample plane.
The internal wavelength materials are used to maintain the external wavelength registration by use of
software adjustment for any external effects on the instrument.
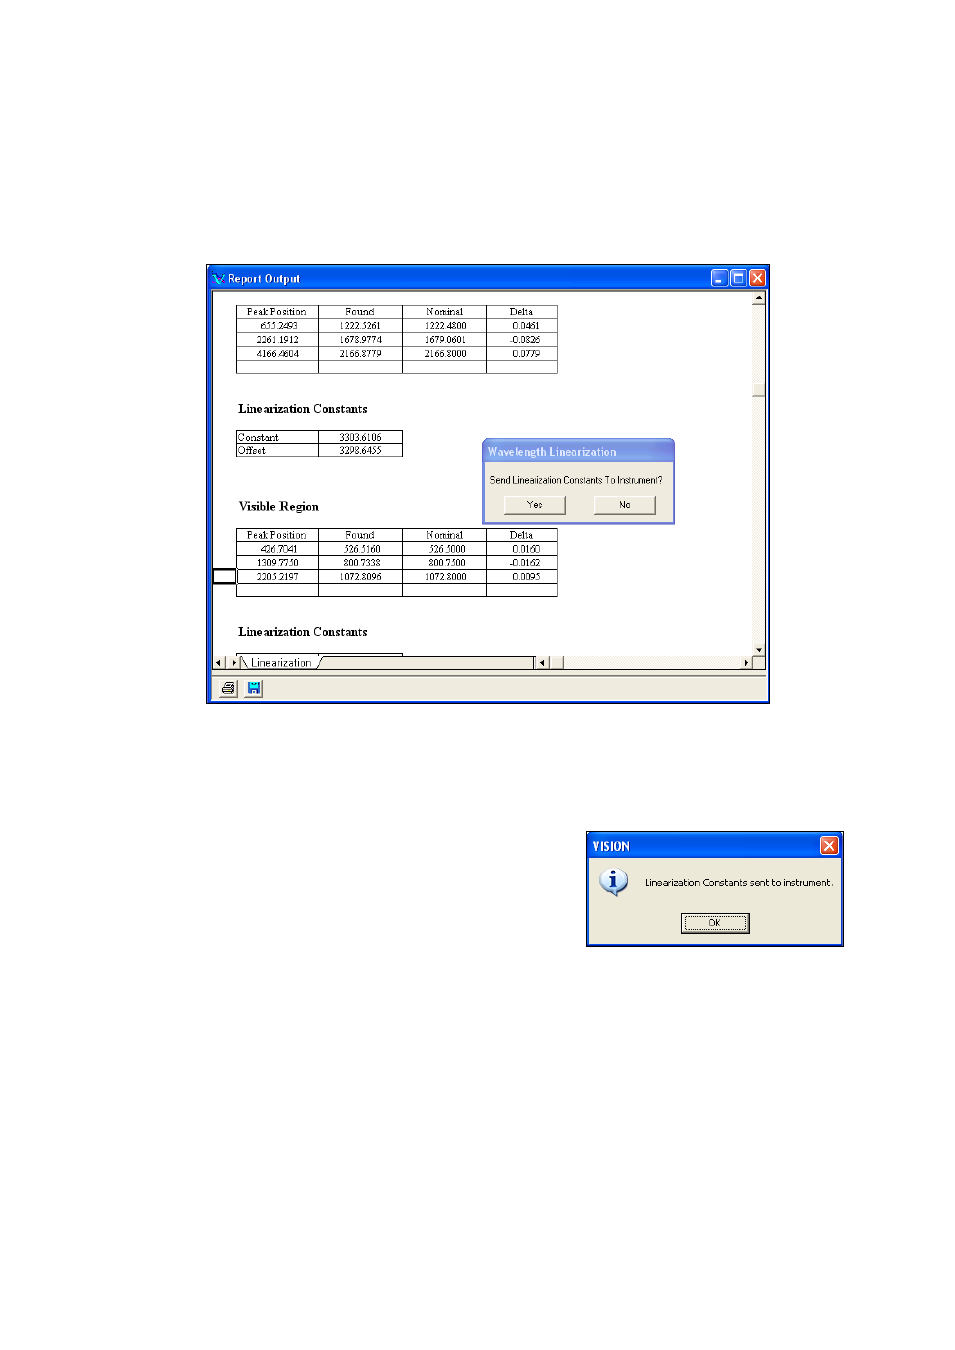
The results screen shown above is typical. Peak positions for the reference materials are located using
a peak-finding algorithm. These “found” peaks are compared to the nominals. Differences should be
no more than 0.4nm for any peak. Click “Yes” to send the linearization to the instrument. This is
done twice, once for each direction of the grating motion.
After the linearization is successfully sent to the instrument,
this message confirms the transfer.
Click “OK” to proceed.
7.1.2
Instrument Calibration
Instrument Calibration uses a traceable, stable, rare-earth glass standard of known wavelength
response, as a method to establish wavelength scale response of the instrument. This standard is
directly traceable to NIST SRM-2035. A spectrum of the standard is shown:
