3 using diagnostics to solve drive problems – Rockwell Automation WebPak 3000 User Guide User Manual
Page 63
Troubleshooting the Drive Using the OIM
7-5
To reset the faults or alarms and clear the log
Important: You cannot clear individual faults or alarms. This procedure clears the
entire log.
Step 1. Depending on whether you are clearing faults or alarms, do one of
the following:
•
From the Fault Menu: Select “Clear Fault Log and Reset Faults.”
•
From the Alarm Menu: Select “Clear Alarm Log and Reset Alarms.”
Step 2. Press
.
A message is displayed that states that the alarms or faults
were reset and the log was cleared. For alarms, the
ALARM
indicator is
turned off and the alarm log is cleared. For fault conditions that have been
conditioned, the
FAULT
indicator is turned off, the faults are reset, and the
fault log is cleared.
Step 3. Press
to clear the message and return to the Fault or Alarm Menu.
Step 4. Press
again to return to program or monitor mode.
7.3
Using Diagnostics to Solve Drive Problems
The diagnostics menu provides information about why the drive is not ready and why it
stopped. The diagnostics screens are continually updated with the status of the drive.
To use diagnostics:
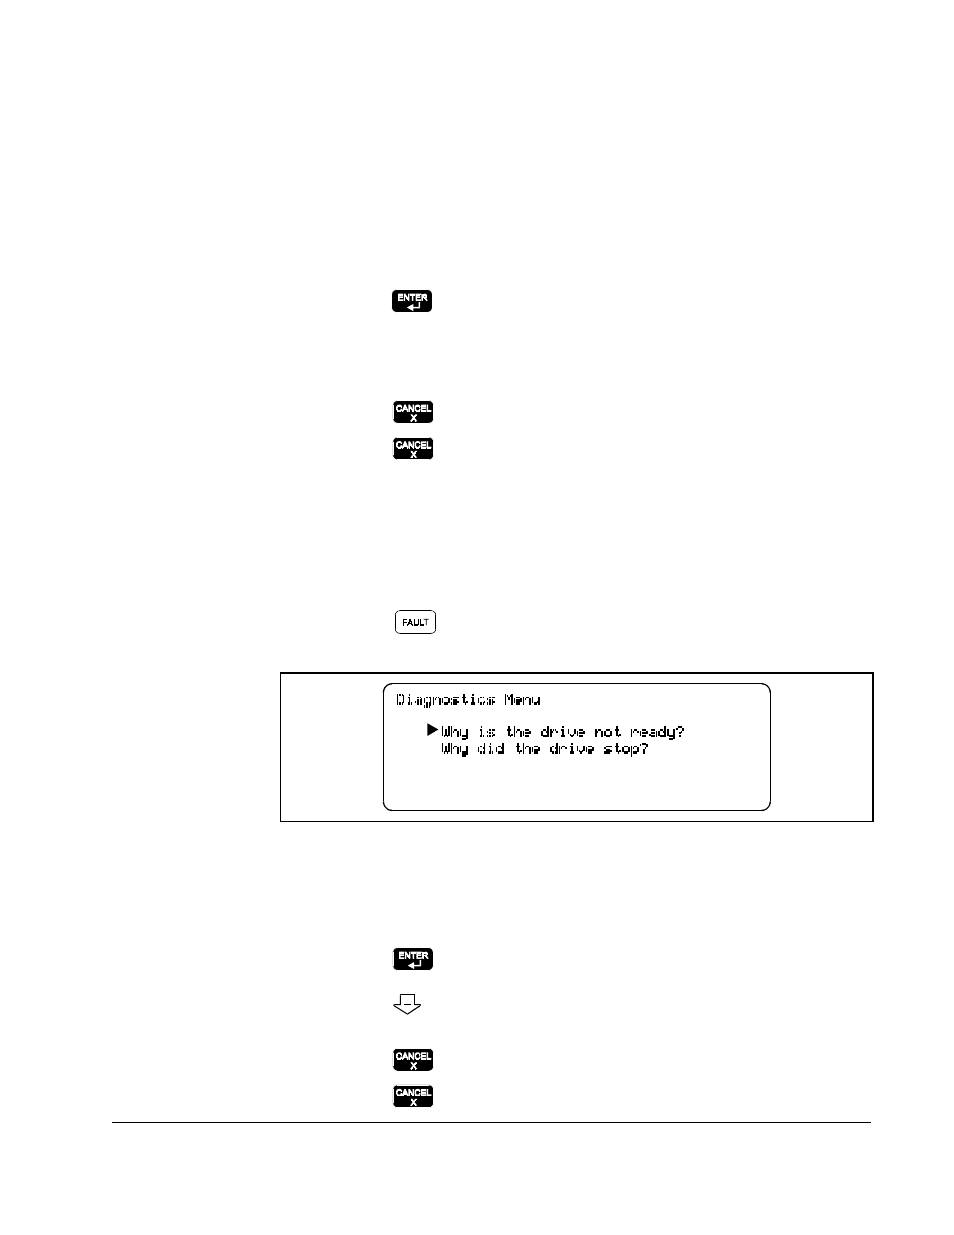
Step 1. Press
until the key indicator reads
DIAGS
. The screen shown in
figure 7.8 is displayed.
Step 2. Choose the option appropriate to your problem:
•
If the
DRIVE
READY
indicator is off: Select “Why is the drive not ready?”
•
If the drive has stopped: Select “Why did the drive stop?”
Step 3. Press
. The screen shows possible explanations of why the drive is
not ready or has stopped. If
▼
is displayed, more information is available.
Press
to read the rest of the screen. See tables 7.1 and 7.2 for possible
responses.
Step 4. Press
to exit the screen.
Step 5. Press
at the Diagnostics Menu to return to program or monitor mode.
Figure 7.8 – Diagnostics Menu