Opticon PHL 8000 User Manual
Page 43
Opticon
PHL 8000 series
User Manual
43
Diags Tab
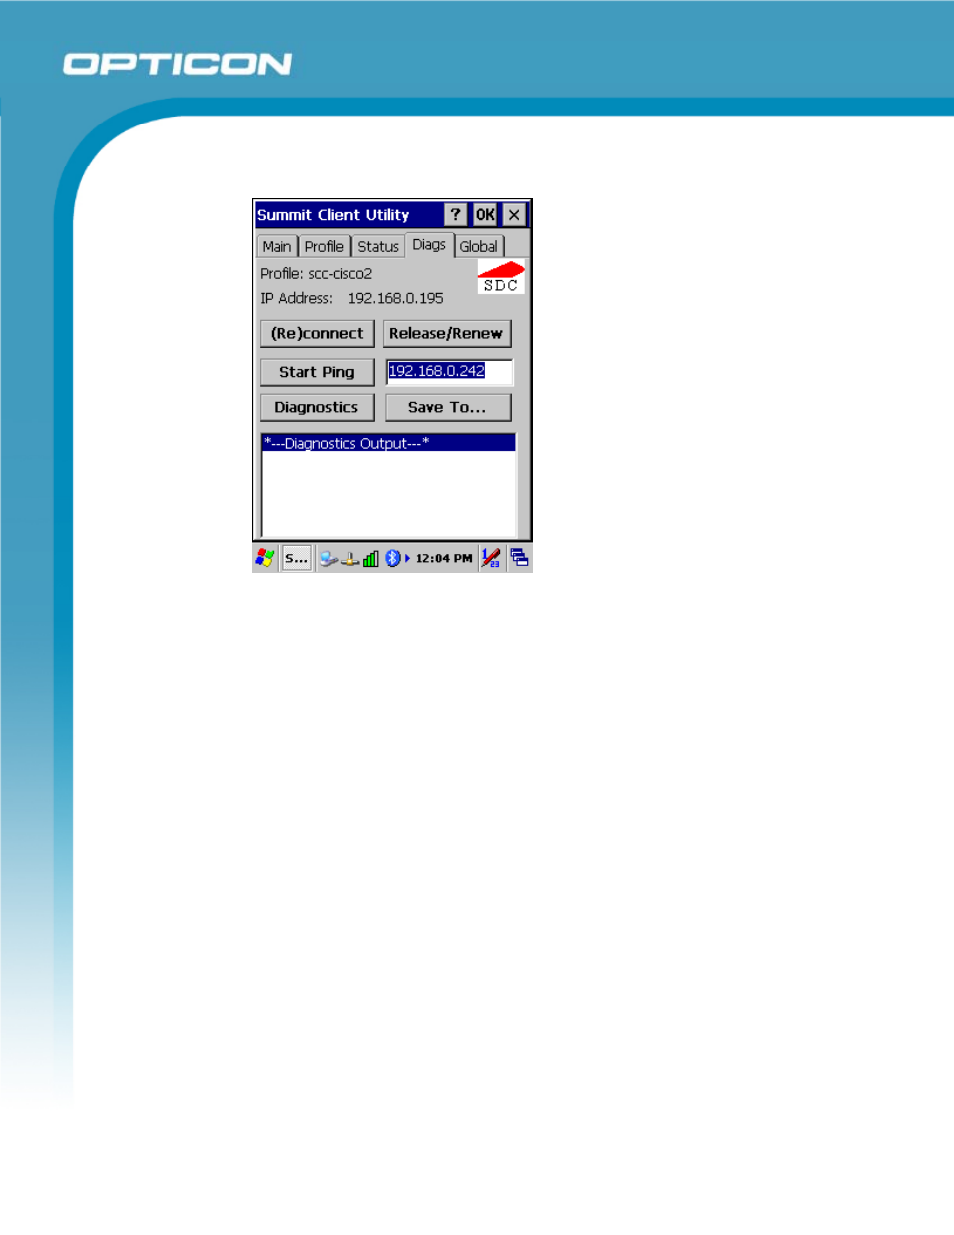
Figure 2-23: Diags tab
• (Re)connect: Disable and enable the radio, apply or reapply the current
profile, and attempt to associate and authenticate to the wireless LAN,
logging all activity in the output area at the bottom.
• Release/Renew: Obtain a new IP address through DHCP release/renew,
and log all activity in the output area at the bottom.
• Start Ping: Start a continuous ping to the address in the edit box next to it.
Once the button is clicked, its name and function will change to Stop Ping.
Moving to an SCU window other than Status or Diags also will stop the
ping. Pings will continue until you tap the Stop Ping button, move to an
SCU window other than Diags or Status, exit SCU, or remove the radio.
• Diagnostics: Attempt to (re)connect to an AP, and provide a more
thorough dump of data than is obtained with (Re)connect. The dump will
include radio state, profile settings, global settings, and a BSSID list of
APs in the area.
• Save To...: Save the diagnostics output to a file.