Allied Telesis FastPrint Server User Manual
Page 63
Chapter 7. Windows Peer-to-Peer
Software configuration
FastPrint Server User’s Guide
53
Resume print queue
Resume print queue
Resume printing the current printer’s queue.
Resume all print queues
Resume all print queues
Execute this command to resume the printing of all paused queues.
Delete job
Delete job
Delete the selected print job.
(Red)
Pause job
Pause job
Pause the selected print job. This makes the printer unavailable for
other users.
(Green)
Resume job
Resume job
Resume a paused print job.
7.5.4.3. Pserver configuration
Before you can print using the printers connected to your FastPrint, both Pserver and
Windows must be configured. To configure Pserver, follow the instructions below.
1. Start the Psever utility by clicking on its Icon.
2. Select the Printer Menu and choose Add.
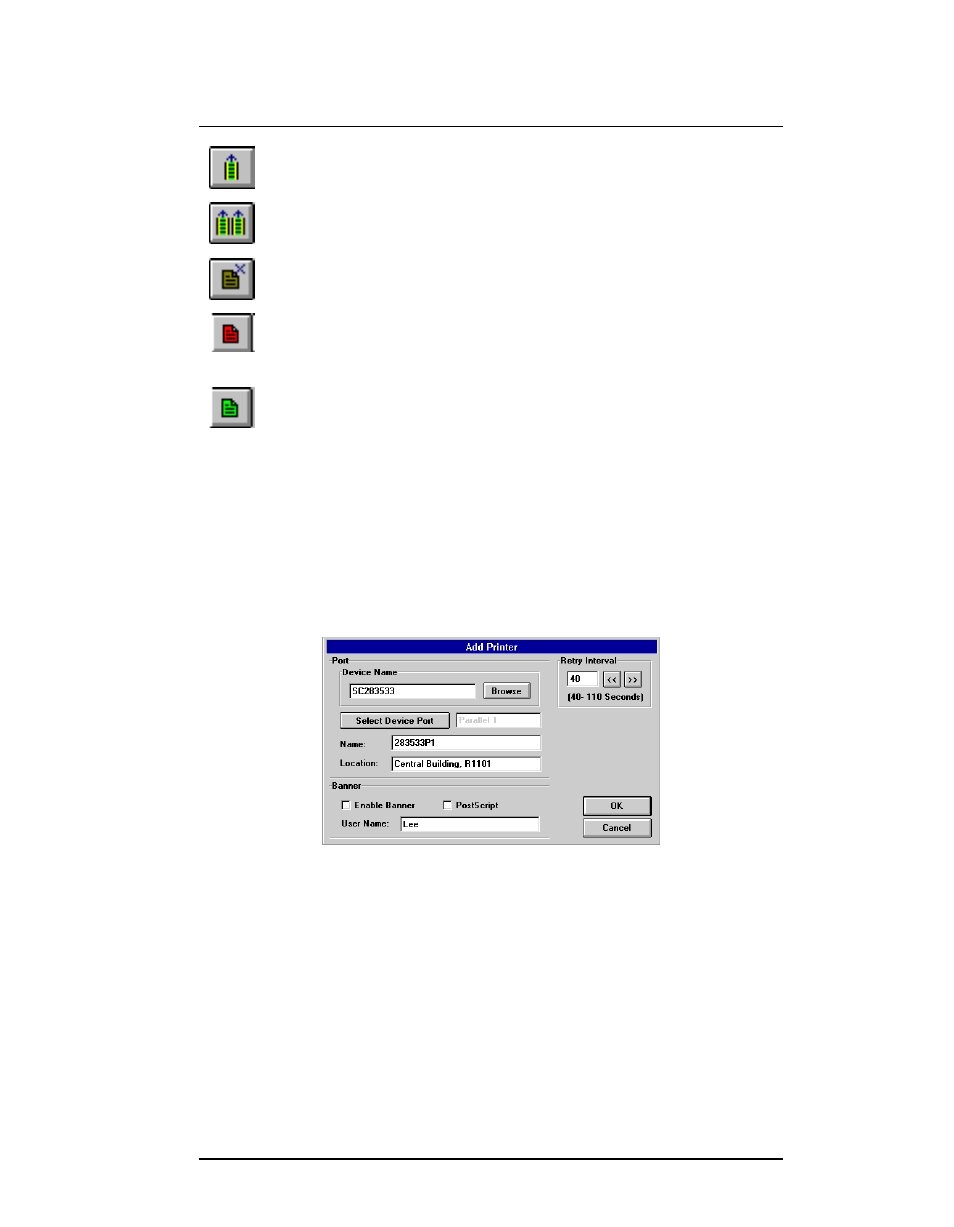
3. When prompted with the Add Printer dialogue box (see example below), enter the
configuration information as described in Software configuration on page 47.
Figure 16 Pserver Add Printer
4. Upon clicking OK, the Pserver utility will automatically create a print queue for the
port just added.
5. Repeat steps 2 to 4 for each printer. Ensure that you select a different FastPrint port
each time, and that each port has a unique name.
7.5.4.4. Control Panel configuration
1. Go to Control Panel and invoke the Printers icon. The following Printer dialog box
will appear: