Allied Telesis FastPrint Server User Manual
Page 61
Chapter 7. Windows Peer-to-Peer
Software configuration
FastPrint Server User’s Guide
51
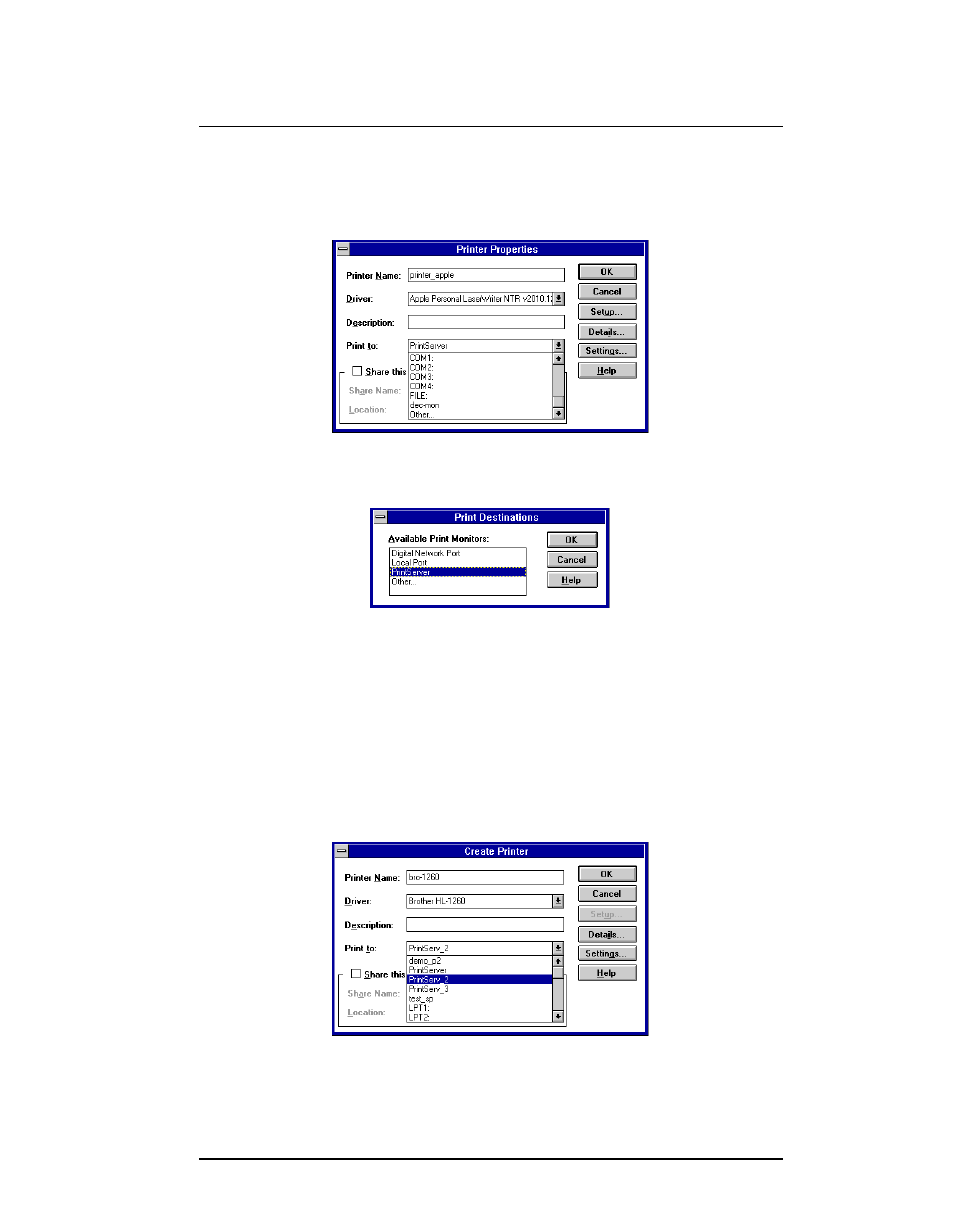
7.5.3.2. Configuring additional ports
Next, you must add additional ports and printers. Follow the steps below.
1. Select the newly added printer using Printer Manager. Then go to the Printer menu
and select Properties. The following Printer Properties screen will appear.
Figure 12 Printer Properties (NT 3.51 PtP)
2. In the Print to dialogue box, select Other… and click OK. The Print Destinations
screen will appear:
Figure 13 Print Destinations (NT 3.51 PtP)
3. Select PrintServer and click OK. The Configure PrintServer window shown
previously will appear.
4. Enter the configuration information as described in Software configuration on page
47. Ensure that you select a different FastPrint Server port each time, and assign a
unique name to that port (e.g. pserv_2, pserv_3).
5. Repeat steps 2 to 4 until all ports have been added.
6. Install the correct printer for each port. When prompted with the following Create
Printer screen, ensure that the appropriate Print to option is selected for each
printer.
Figure 14 Create Printer (NT 3.51 PtP)