On-screen features with a hardi controller, On−screen features with a hardi controller – Ag Leader EZ-Guide 500 Variable Rate Getting Started Guide User Manual
Page 20
Select Continue and press
5.
To configure the number of boom sections and section widths, go to the Application Control / Boom
Setup menu.
6.
Hardi controller setup
On the Hardi 5500 controller, do the following:
On the Hardi 5500 controller, go to the Settings menu.
1.
Change Remote to Enable .
2.
For more information on configuring or calibrating the Hardi 5500 controller, refer to the Hardi instruction
manual.
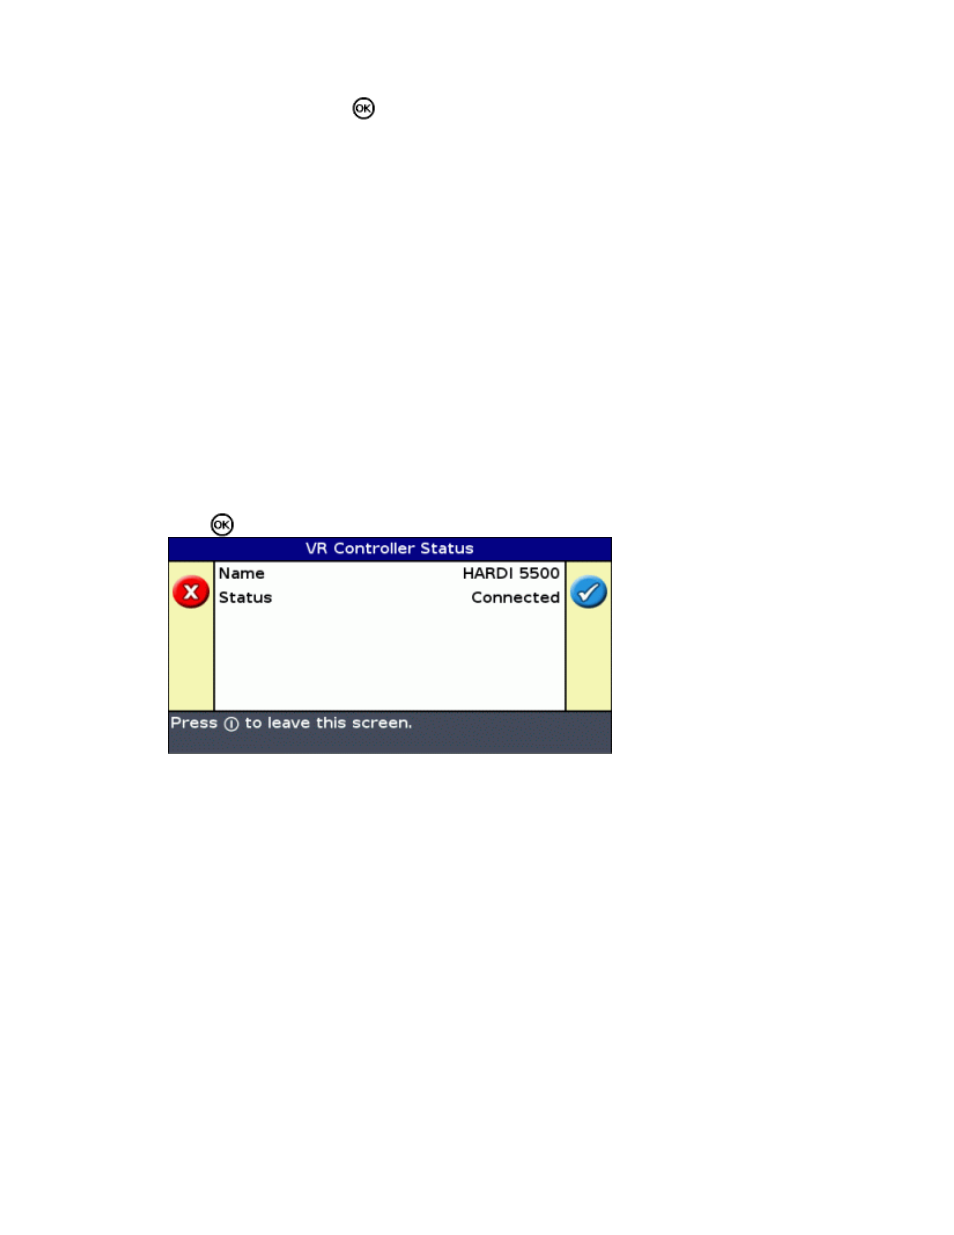
Verify Hardi controller communication
To verify that the EZ−Guide 500 lightbar and the Hardi 5500 variable rate controller are communicating
correctly, view the VR Controller Status screen. To do this:
Select Configuration / Status / VR Controller Status .
1.
Press
.
2.
Verify that Status displays Connected.
3.
Note: If Status displays Not Connected, verify that the EZ−Guide 500 to Hardi controller cable is
securely connected to the EZ−Guide 500 lightbar and the Hardi 5500 controller. If the cable is secure,
verify that the EZ−Guide 500 lightbar and Hardi 5500 controller are configured correctly, as detailed
above.
On−Screen Features with a Hardi Controller
When the Hardi 5500 variable rate controller is connected to the lightbar, the following features appear or become
available:
18