Enter server login information, Configure protection settings, Enter server login information -5 – HP Storage Mirroring V4.5 Software User Manual
Page 91: Configure protection settings -5
7 - 5
3.
To add a non-discovered server to the Current Servers list, enter the server name in the field
next to the Add button, then click Add.
4.
After a server has been added to the Current Servers list, you can manage that server. Select
the server, then select one of the following options:
Remove—Click the Remove button to remove the selected server from the drop-down list
on the Manage SharePoint main page.
Test SQL—Click the Test SQL button to determine if SQL is installed and accessible for the
selected server.
5.
When you have finished adding, managing, or testing servers, click OK to save your changes, or
Cancel to return to the Manage SharePoint main page without saving.
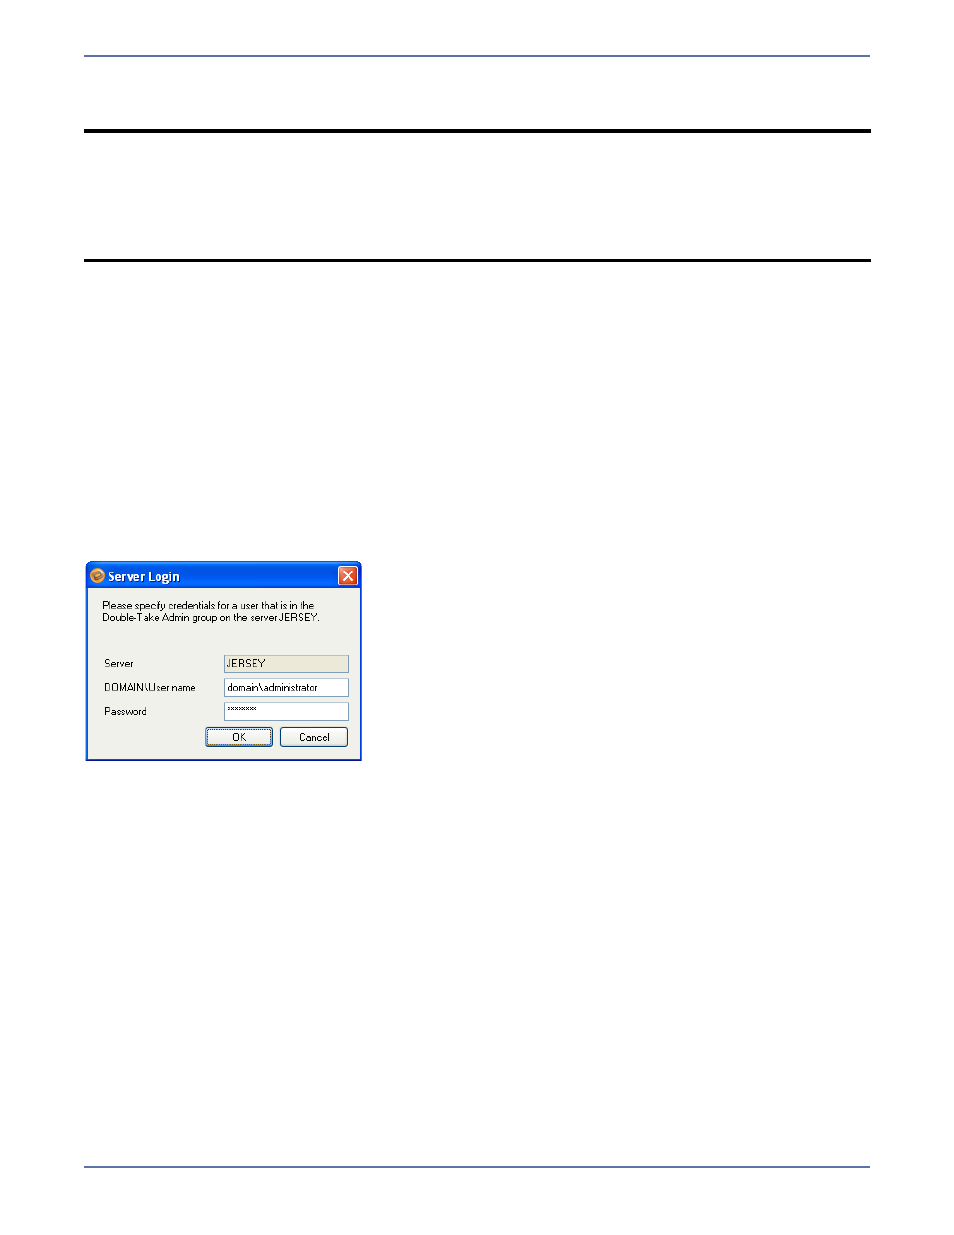
Enter server login information
After you select a server for the first time, you will be prompted to enter a user name and password
to use for logging in to the selected server. The login account MUST be a member of the Storage
Mirroring Admin local security group for the selected server. For more information about permissions,
see
Recommended Credentials
on page A-1.
You may enter a user name for a different domain by entering a fully-qualified user name. The
fully-qualified user name must be in the format domain\username or username@domain. If you
enter a non-qualified name, the DNS domain will be used. Entering the credentials for the logged-on
user may be valid.
The Application Manager will attempt to use the same user name and password the next time you
select a server.
Configure protection settings
If you do not need to change the configuration settings, continue with
Validate the Configuration
on page 9-1.
If you have already enabled protection for a connection and need to change the configuration
parameters, you will first need to disable protection as described in
Disable protection
on
page 10-2.
To change the default configuration parameters, click Configure from the main Application Manager
window, or select Actions, Configure Protection from the menu. The Configure Protection window
will appear.
The Configure Protection window has tabs for configuring failover, connection, SharePoint, and
advanced settings. The following sections describe the options on each of these tabs.
NOTE:
In environments with a very large number of servers in Active Directory, you may
experience significant delays while the Application Manager searches for SQL servers.
To override the automatic scan for SQL servers, you can launch Application Manager
through the command line using the
/nosqlsearch
option
(
dtam /sharepoint /nosqlsearch
). This will cause the Application Manager not to
populate the Source and Target fields automatically. You will then need to click the
Advanced Find button and add the source and target SQL servers manually.