Validate the configuration, Chapter 9 validate the configuration -1 – HP Storage Mirroring V4.5 Software User Manual
Page 124
9 - 1
Validate the
Configuration
Click Validate, or select Actions, Validate, to ensure that the source and target servers are
configured correctly for failover. A description of the validation activity being performed is displayed
in the status bar at the bottom of the Application Manager window, along with status progress
indicator. When validation completes, the status progress indicator is removed.
If you are using DNS Failover and did not enter DNS credentials on the Configure Protection
window, you will be prompted to enter a user name and password for accessing/modifying DNS
records.
If the configuration is good, a green checkmark icon will appear next to a validation message that
states that the servers are configured correctly. Continue with the next section,
.
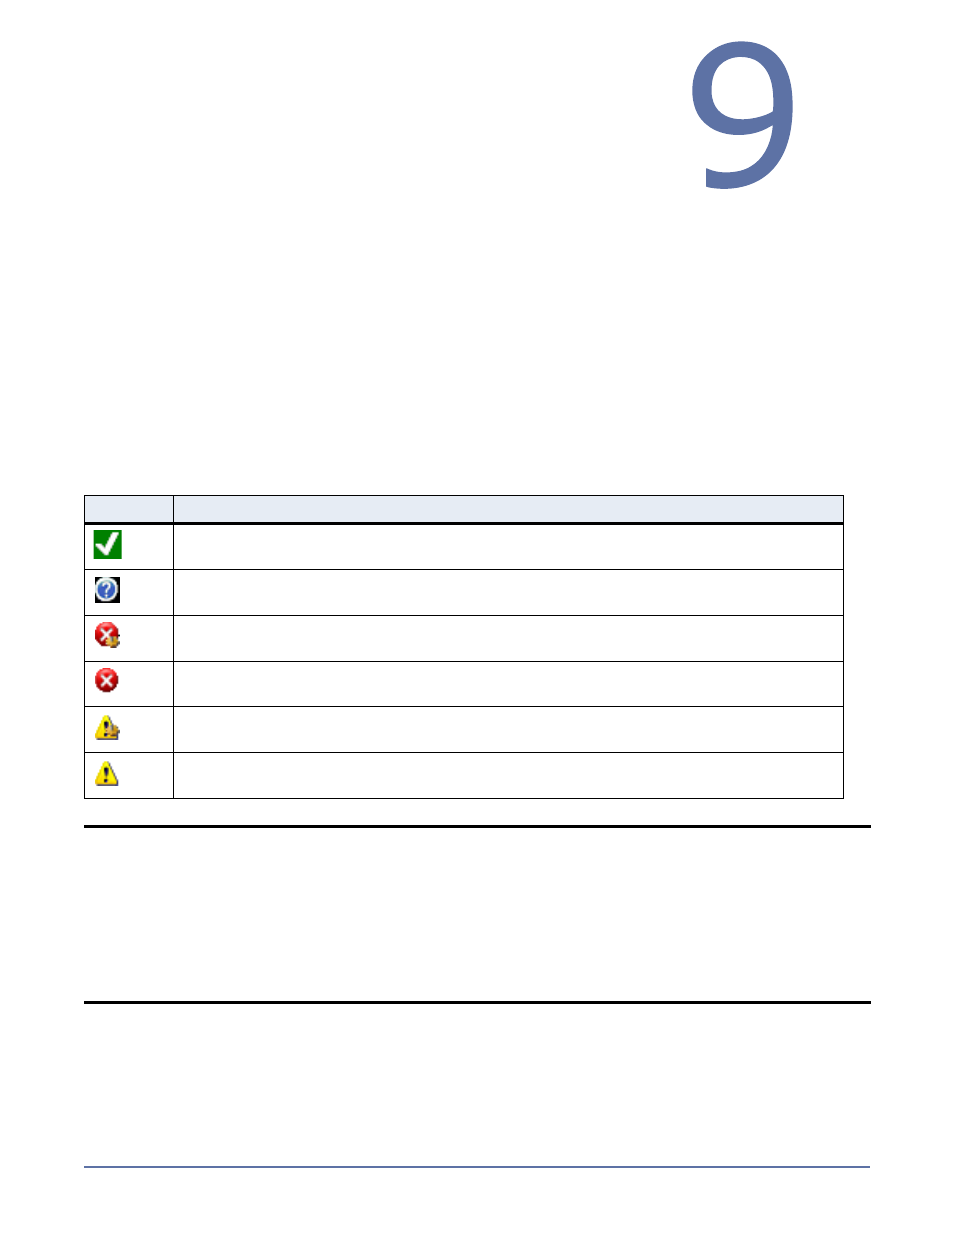
If the validation detects potential configuration issues, an icon will appear next to the message(s).
The following table identifies the icons and the validation conditions that they represent.
Double-click on a message to view details concerning the issue. On the Validation Details window,
review the additional information, and, if available, click Fix and Application Manager will attempt
to resolve the issue. If you would rather address the issue manually, click Cancel. After correcting
any issues, click Validate again to verify the change was made.
Icon
Validation Status
Good
Unknown
Error, Fixable—If not fixed, failover cannot occur. Can be fixed by Application
Manager.
Error, Not Fixable—If not fixed, failover cannot occur. Must be fixed manually.
Warning, Fixable—The Application Manager detected an issue that should be
addressed prior to failover. Can be fixed by Application Manager.
Warning, Not Fixable—The Application Manager detected an issue that should be
addressed prior to failover. Must be fixed manually.
NOTE:
If you run a validation against a source/target pair that is in a Protected state and the
validation detects issues with the target (such as the target is missing or contains
incorrect data), the Fix or Fix All button will be disabled. You must disable protection
for the source/target pair before you can fix the issue. Then, you can re-enable
protection.
If the IP address(es) for the source or target server have changed since you originally
configured protection (for example, if you configure the source or target in a staging
area and then send it to a production location), you must re-configure the protection
settings. When you are prompted to re-use the previous protection configuration,
click No, then click the Configure Protection button.