Brother NC-2010p User Manual
Page 50
CHAPTER 3 WINDOWS NT AND LAN SERVER NETWORK CONFIGURATION (TCP/IP)
3-7
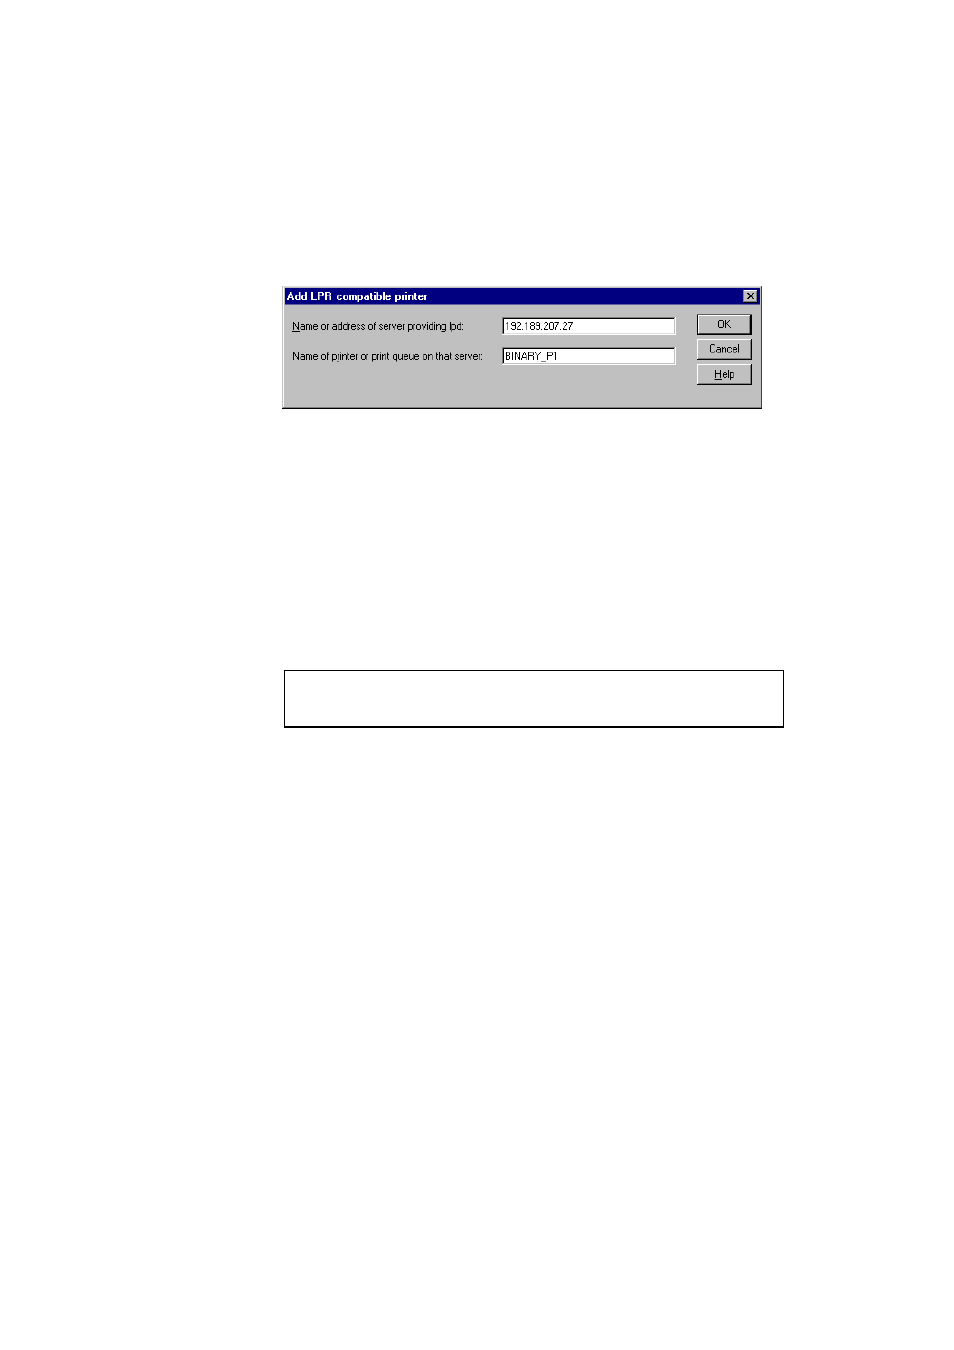
6. Type in the print server service name in the Name of printer or print
queue on that server: box. If you do not know which service name to
use, enter
BINARY_P1
and then click on OK:
7. Click on the Close button.
8. You should now see that the printer driver is configured to print to the
IP address (or name) that you specified.
9. If you wish to share the printer, click on the Share tab and share the
driver.
Windows NT 4.0 Print Queue Configuration (Printer Driver not
installed)
✒ Note
If you have Windows NT 3.5 or 3.51, skip to the next section.
1. Go to the Start button, choose Settings, and then select Printers.
Double click the Add Printer icon to get the Add Printer Wizard.
Click. Select My Computer (Not Network Printer) and click on Next.
2. Select Add Port, select LPR Port (LPR Port will not be displayed
unless you install the "Microsoft TCP/IP Printing" protocol as described
earlier) from the list of available ports and click on New Port.
3. Type in the IP address that you wish to assign to the print server in the
Name or address of server providing lpd: box. If you have edited
your
HOSTS
file, enter the name associated with the print server,
instead of an IP address.