11 electrode care 48 – Thermo Fisher Scientific CyberScan pH 10/pH 100 User Manual
Page 50
46
10.4
Capturing And Printing Data Into Computer Using CyberComm
Portable
After matching the Communication Settings between your computer using CyberComm
Portable and the CyberScan pH 100 meter, you can now capture data into your computer for
analysis and storage purposes.
1.
Ensure the 1-meter RS232 communication cable (supplied with the meter) is connected
between the computer and the CyberScan pH 100 meter’s Com port. Refer to section 3.4
“Connecting the RS232C Cable (Only For CyberScan pH 100)” for connection procedure.
2.
Switch on the CyberScan pH 100 meter and run the CyberComm Portable DAS software
as indicated in Figures 50 and 51.
3.
Click “ENABLE CONNECTION” button.
4.
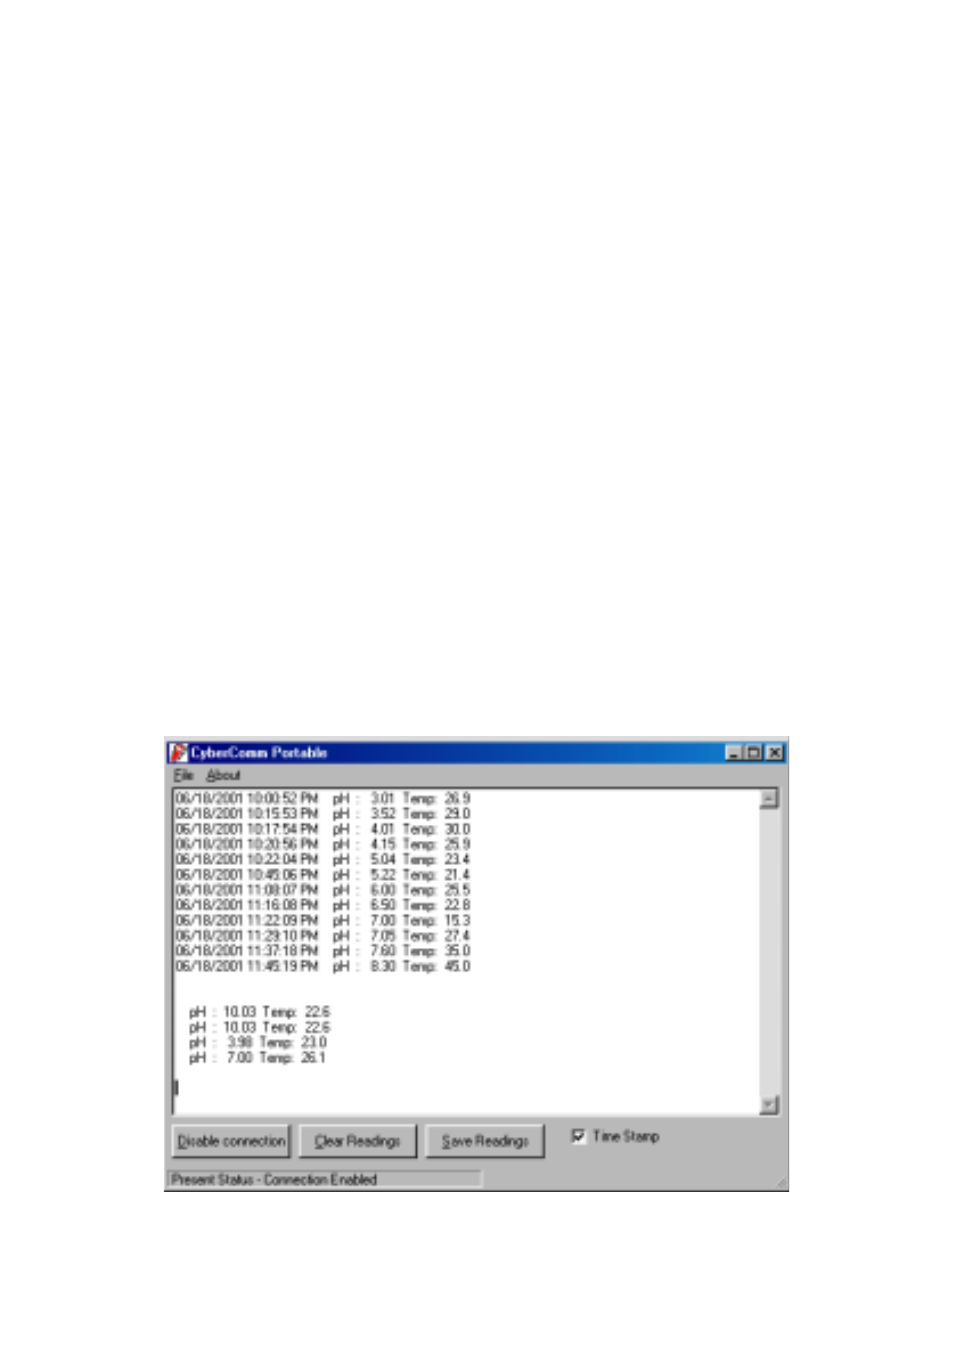
With the CyberScan pH 100 meter switched on, press the PRINT key to send data to the
computer. See Figure 55 below.
5.
You can use MODE key on the meter and change to other parameter such as mV or Rel
mV and print data accordingly.
6.
You can also check off the Time Stamp function, so as to print without the Time and Date
information.
7.
You can click Clear Readings button to begin another set of measurements, or click Save
Readings to store readings for future retrieval.
Figure 55 - A set of data print in CyberComm Portable DAS