Sending data to computer, Program 1 – software initialization – Thermo Fisher Scientific CyberScan pH 10/pH 100 User Manual
Page 30
26
8.2
Sending Data To Computer
To send data to the computer, connect the RS232C cable from the base of the CyberScan pH
100 to the communication port of the computer. Load and run the CYDATA data acquisition
program ensuring that the parameters of the settings in the CyberScan pH 100 and the
CYDATA are identical (See Section 10.4 “Setting Up CYDATA” on page 37). To print, press
the PRINT key.
8.2.1 Printing Measurement Data
To print any data that currently being measured, press the PRINT key as shown in the
diagram below. Note that the PRINT capability is available for the [MEAS], [Rel mV] and [mV]
modes. The data will be printed onto the printer paper or the screen of the CYDATA program
automatically.
8.2.2 Printing Data From Memory
The CyberScan pH 100 meter can print data that is stored in the memory. Firstly ensure that
the cables are properly connected to either the printer or the computer and the units are
configured to receive data from the meter.
Change the mode to the mode of measurement from which data needs to be printed. For
example, the data stored is in the memory location of the mV mode.
Scroll to the data that needs to be printed by pressing the MR/
"
key. To print, press the
[PRINT] key.
The data displayed will then be sent to the printer or the computer.
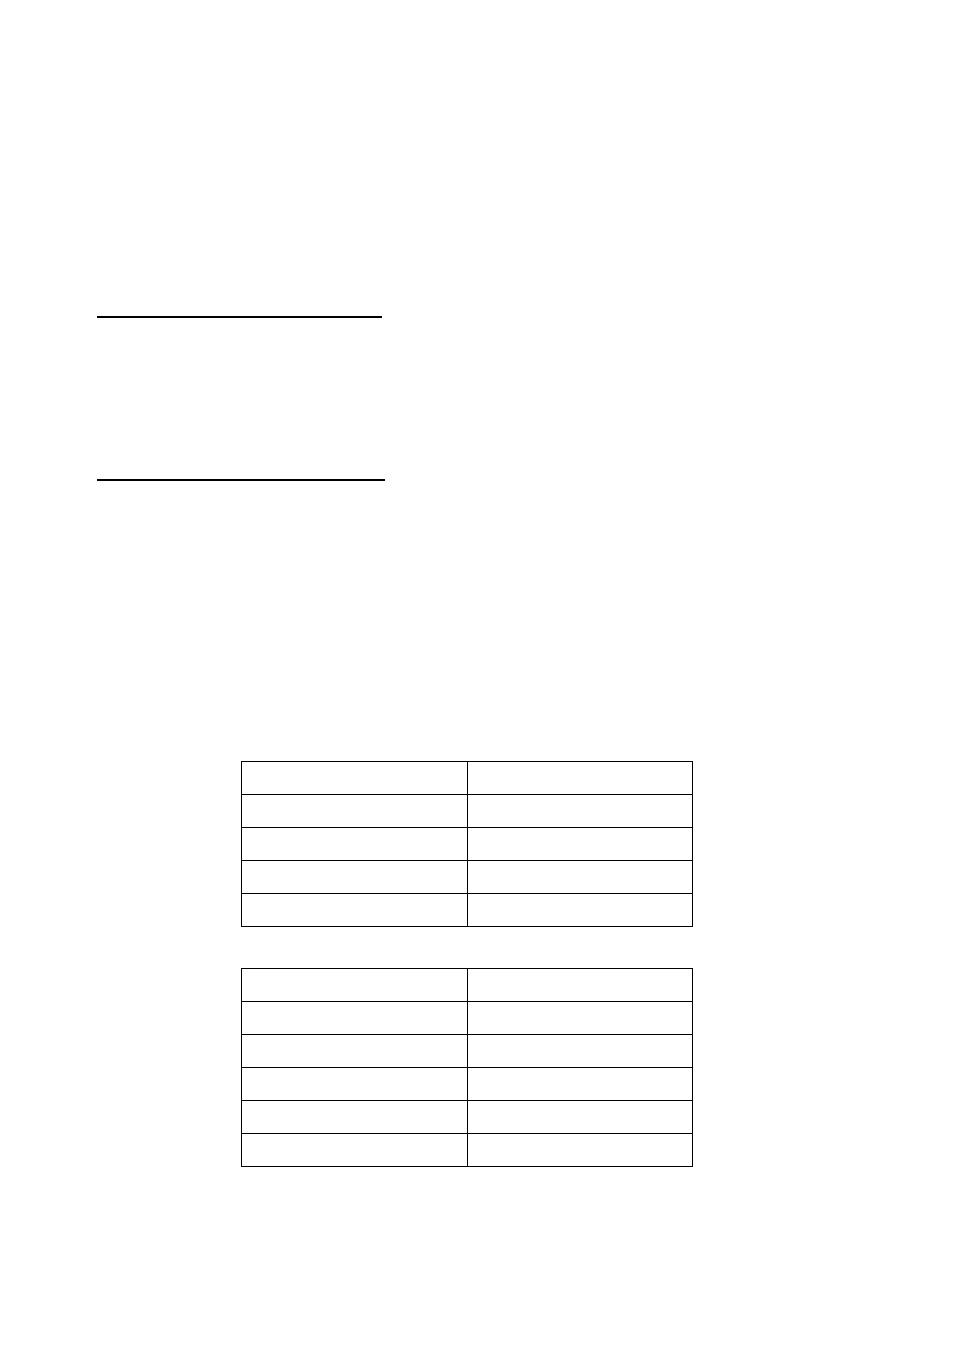
Parameter
Format
pH, Rel mV, mV
-
Temperature
-
Date
mm/dd/yy
Time
hh/mm/ss
Note:
Abbreviation
mm
month
dd
date
yy
year
hh
hour
mm
minute