Teledyne LeCroy PETracer ML Analyzer and Exerciser User Manual User Manual
Page 40
Chapter 3: Installation
PETracer ML User Manual
32
Teledyne LeCroy
Installing the Interposer between the Devices Under Test (DUTs)
To install the Interposer between the Devices Under Test (DUT), perform the following
step:
Step 1 If not already powered off, power off the UPAS 10000 Analyzer and the
DUTs.
Step 2 Insert the gold male connector on the Interposer probe [e] into a
PCI Express slot in the motherboard (or whatever board you are testing).
The x4 Interposer is designed to fit tightly into any standard x4, x8, or x16
PCI Express slot. The x8 Interposer is designed to fit into any x8 or x16
PCI Express slot.
Step 3 Insert the PCI Express DUT into the black female device connector on
the top edge of the Interposer. The Interposer's female device connector
can accommodate any standard PCI Express device (x1, x4, x8, x16).
Step 4 The slot Interposer is shipped from Teledyne LeCroy with a metal face
plate for attachment to a PC case. If you are working with a motherboard
that is not in a PC case, you may prefer to remove the metal face plate
so the Interposer can sit flat with the motherboard. To remove the face
plate, unscrew the two screws that hold it onto the Interposer.
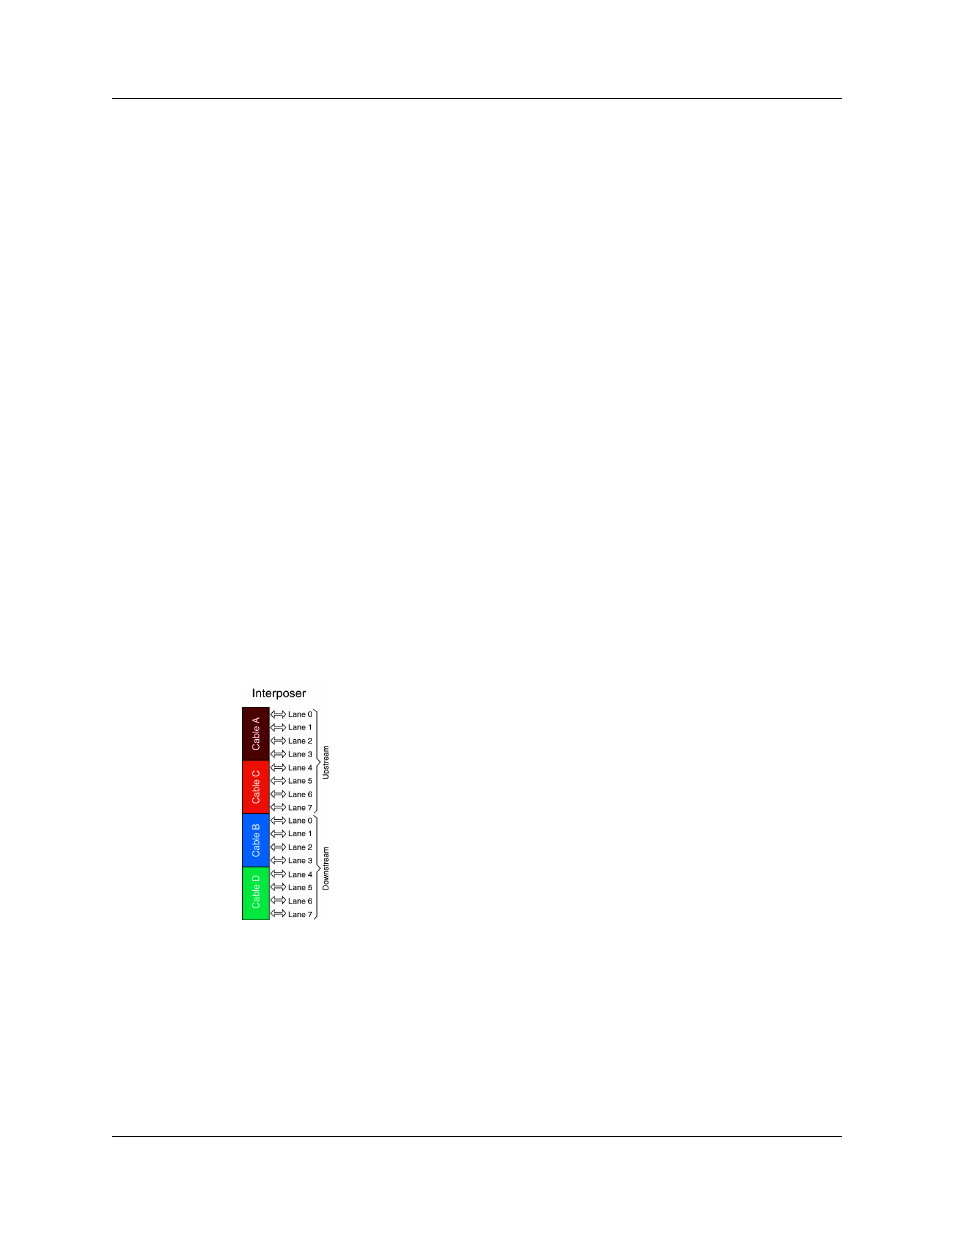
Connecting the Probe Data Cable
The next step is to connect the Probe Data cable. How you connect the cable depends
on the width of your connection.
Probe Data Cable Description
The Probe Data cable consists of a single, large connector on one end and two or four
smaller, 16 pin connectors on the other end. The large connector attaches to the
Interposer, the smaller connectors attach to the front of the Analyzer.