Target analyzer, Trigger position, Trigger on – Teledyne LeCroy PETracer ML Analyzer and Exerciser User Manual User Manual
Page 128: Trace filename and path
Chapter 8: Recording Options
PETracer ML User Manual
120
Teledyne LeCroy
Target Analyzer
Target Analyzer presents a menu with these choices:
•
PETracer Edge: Displays the options for the PETracer Edge Analyzer.
•
PETracer ML: Displays the options for the PETracer ML Analyzer.
•
PETracer ML (2 Units): Displays the same options as PETracer ML but lists
Unit 1 and Unit 2 in the Link Section on the right. In a two-unit setup, Unit 1
and Unit 2 are two separate Analyzers linked together by BNC on the back of
the units to form a single, logical Analyzer. The cabling for a two-unit setup is
described in “Connecting the PETracer ML Analyzer to the Device Under
Test” on page 31.
•
PETracer EML: Displays the options for the PETracer EML Analyzer.
•
PETracer Summit and Summit T2-16: Displays the options for the PETracer
Summit or Summit T2-16 Analyzer.
Selecting an Analyzer platform changes the options presented in the Link and Events
pages within the Recording Options dialog.
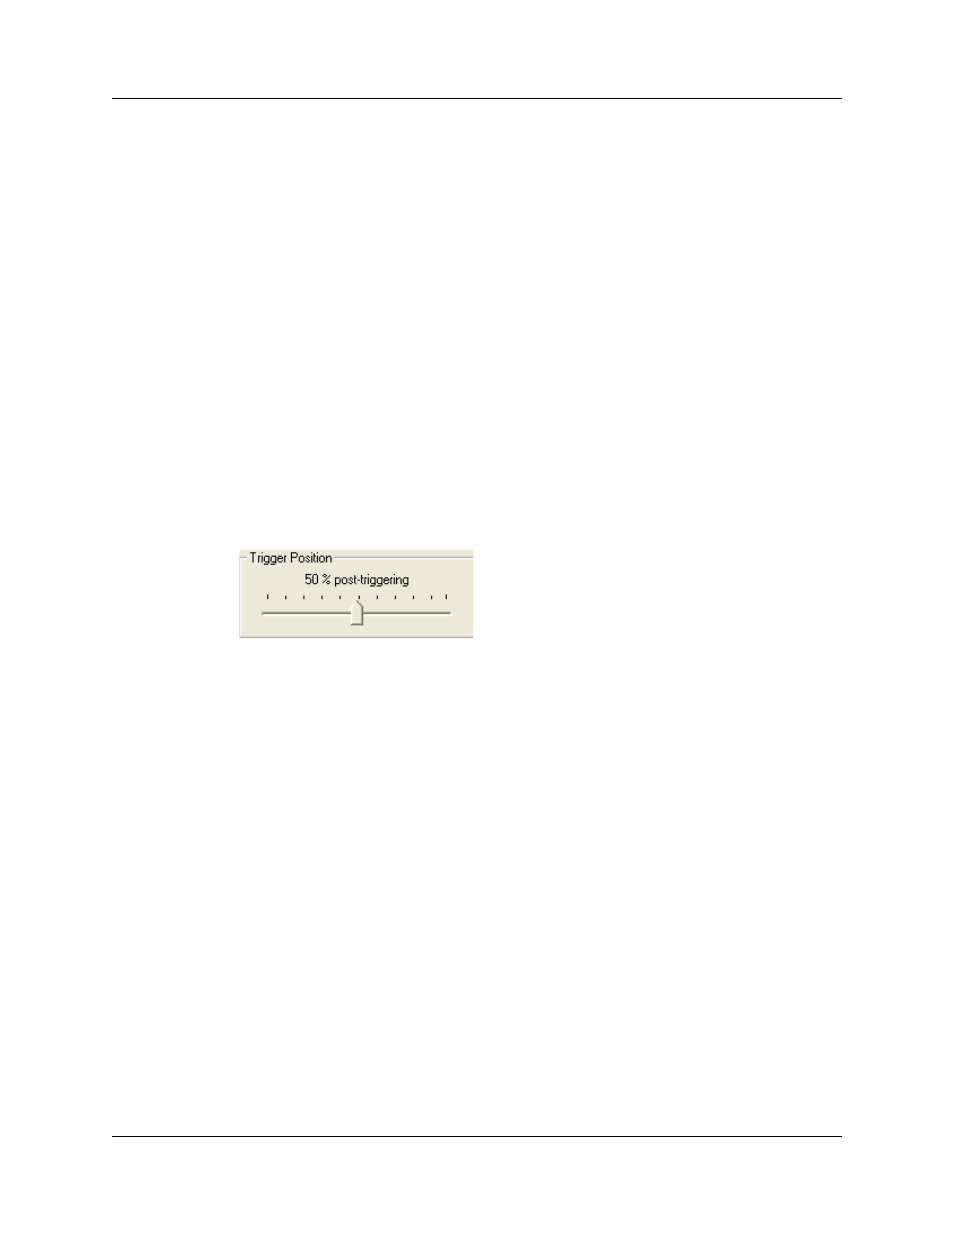
Trigger Position
This Trigger Position slide-bar lets you to adjust the amount of recording buffer allocated
to recording pre-trigger and post-trigger traffic.
For example, if you set the Trigger Position to 90% Post-Triggering Traffic, the Analyzer
records 10% pre-trigger traffic and 90% post-trigger traffic.
Trigger Position is only available when Manual Trigger or Event Trigger is selected.
Trigger On
In Simple Mode, Trigger On allows you to select: Error, Link Up/Link Down. TS1, TS2,
FTS, Any TLP, Config Rd, Config Wr, IO Rd, IO Wr, Mem Rd, Mem Wr, Message,
Completion, InitFC1, InitFC2, ACK, NAK, and/or PM.
Trace Filename and Path
The Trace Filename and Path button on the Recording Options General panel allows you
to change the default file name and path for the recorded CATC Trace file. The
pre-defined name is data.pem.
Step 1 Select the Recording File Name button.
Step 2 When you see the Save As menu, navigate to the directory you want.
Step 3 Enter the new file name in the File name field.
Step 4 Click the Save button.
This action does not do any immediate save operation. It just changes the default name
and uses it in subsequent recordings.