Replacing fuses, Maintenance logs – Luminex MAGPIX Hardware and Installation Manual User Manual
Page 83
Replacing Fuses
Periodically, you may need to replace a fuse on MAGPIX. Use fuses with the following
specifications:
F2A, 250 V
The fuse cartridge will accept either 5 mm x 20 mm or 0.25” x 1.25” fuses. Fuses are
available from Luminex Corporation. Replacing a fuse requires access to the back of
MAGPIX.
DANGER:
To avoid serious injury or death by electric shock, turn off
MAGPIX and unplug it from the wall before replacing a fuse.
To replace a fuse:
1. Unplug the power cable from the instrument.
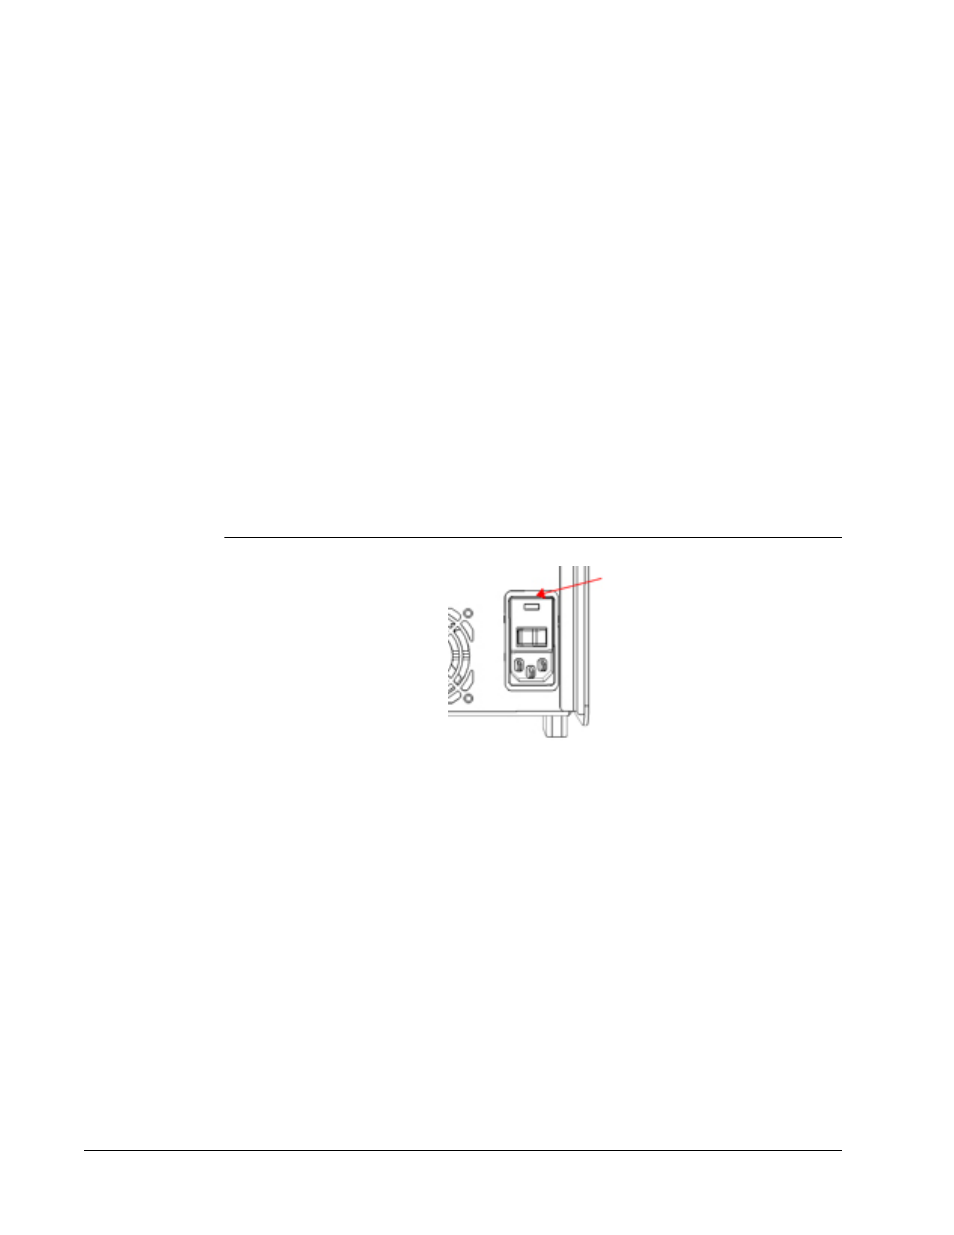
2. Use a small, flat blade screwdriver to open the power module door on the lower right
corner of the back of the instrument. The door opens downward. Inside is a red cartridge.
3. Use the screwdriver to remove the cartridge.
FIGURE 60.
Power Module
Insertion point for screwdriver blade
4. Check both of the fuses in the cartridge for damage. A fuse can display physical evidence
of damage, for example, broken wire or blackened glass; if it displays no physical
evidence, test it for continuity with a voltmeter.
5. Replace any damaged fuse with the correct type of fuse.
6. Replace the cartridge.
7. Shut the module door.
8. Plug in the power cord and turn on MAGPIX.
Maintenance Logs
Reproduce the following forms as necessary and use them to record maintenance
information. Fill in the dates in the first line of the table. The first table includes a sufficient
number of columns for one week (7 days). The second table includes a sufficient number of
columns for monthly maintenance (one task monthly), semi-annual maintenance (two tasks
MAGPIX
®
70