4 measuring resistance, 1 connections – B&K Precision 5491B - Manual User Manual
Page 23
23
2. From the front panel, use a screwdriver to rotate the fuse carrier several turns counter-clockwise.
Take the fuse carrier out of the socket.
3. Remove the fuse and replace it with the same type (T1AL, 250V, 5×20mm).
CAUTION: Do not use a fuse with a higher current rating than specified or instrument may be
damaged. If the instrument repeatedly blows fuses, try to find out the reason before
replacing the fuse.
4. Install the new fuse by reversing the procedure above.
3.4 Measuring Resistance
Model 2831E Resistance measurement range: 200
Ω, 2 kΩ, 20 kΩ, 200 kΩ, 2 MΩ, 20 MΩ; Maximum
resolution: 10
mΩ (on 200 Ω range)
Model 5491B Resistance measurement range: 500
Ω, 5 kΩ, 50 kΩ, 500 kΩ, 5 MΩ, 50 MΩ; Maximum
resolution: 10
mΩ (on 500 Ω range)
3.4.1 Connections
Assuming the multimeter is under factory default conditions, the basic procedure for measuring
resistance is as follows:
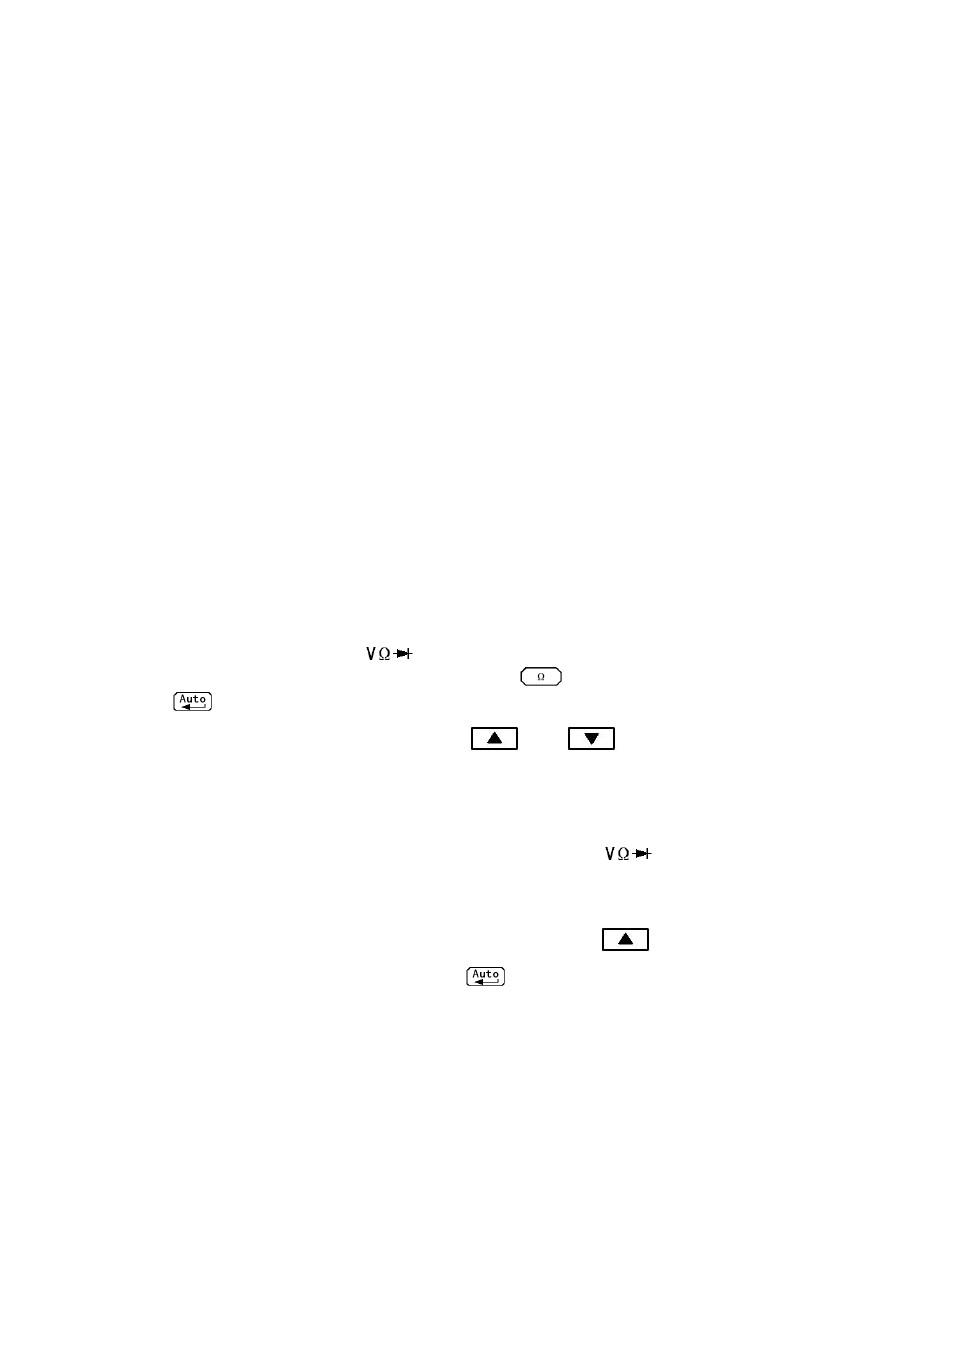
1. Connect the test leads between
and COM.
2. Select resistance measurement function by pressing
3. Press
toggles auto ranging. Notice the AUTO annunciator is displayed with auto ranging. If
you want manual ranging, use the RANGE
and
keys to select a measurement
range consistent with expected resistance.
4. Connect test leads to the resistance as shown in Figure 3-3:
CAUTION: Do not apply more than 1000 V peak
between
and COM or instrument
damage may occur.
5. In manual range, i
f the “OVL.D” message is displayed, press up
key to select a higher range
until a normal reading is displayed (or press
key for auto ranging). Use the lowest possible
range for the best resolution.
6. Take readings from the display.