Installation guide, Basic network configuration – Veris Industries H8822 Install User Manual
Page 5
VERIS INDUSTRIES
™
H8822
INSTALLATION GUIDE
ZL0056-0C
PAGE 5
©2010 Veris Industries USA 800.354.8556 or +1.503.598.4564 / [email protected]
06101
Alta Labs, Enercept, Enspector, Hawkeye, Trustat, Veris, and the Veris ‘V’ logo are trademarks or registered trademarks of Veris Industries, L.L.C. in the USA and/or other countries.
basic network confiGuration
1. Determine the IP addressing needs: The IP address of the AcquiSuite DR™ server
can be implemented using one of three methods. Check with the network
administrator to determine which method applies. For phone installations, use
“direct connection to laptop” to allow initial configuration.
Static IP address - this is a fixed IP address which is assigned by a network
•
administrator and “hard-coded” into the AcquiSuite DR; or
Dynamic Host Configuration Protocol (DHCP) address - this process
•
assigns an IP address dynamically to the AcquiSuite DR when it is
connected to the network from a host DHCP server; or
Direct connection between the AcquiSuite DR and a single temporary
•
computer such as a laptop. (primary connection will be dialin or dialout
by modem)
You will need the following information from your network
•
administrator: The addresses will be in the form of “###.###.###.###”),
where “#” refers to the numbers 0 to 9. See the Network Address
Worksheet below for more information.
2. Configure the IP address as selected from the table above. For Direct Connection to
Laptop, the address settings above are set as the factory default, and you may be
able to skip to the “Laptop/Computer Setup” section if the factory default settings
are present.
To begin configuration, make sure that the server displays the start screen:
AcquiSuite Ready
If this screen does not appear on the LCD display, press and hold the menu (top)
button on the server for several seconds and the message should appear. To
change the IP address to the static address assigned by the network administrator,
do the following:
A. Press the menu (top) button once to get the TCP/IP configuration menu.
Main Menu
TCP/IP Config
B. Press the select (bottom) button twice to get the IP config menu.
TCP/IP Config
IP Address
Static IP Address
DHCP
Direct Connection to Laptop
IP address: ___.___.___.___
proxy server port: ______
IP Address: 192.168.40.50
Netmask: ___.___.___.___
IP address: (dhcp assigned)
Netmask: 255.255.255.0
Gateway: ___.___.___.___
Netmask: (dhcp assigned)
Gatway: 192.168.40.1
DNS server: ___.___.___.___
Gateway: (dhcp assigned)
DNS: 198.107.56.37
DNS server: ___.___.___.___
DNS server: (dhcp assigned)
HTTP Proxy: [blank]
HTTP Proxy _____________
HTTP Proxy __________
(factory default settings)
proxy server port: _________
proxy server port: ______
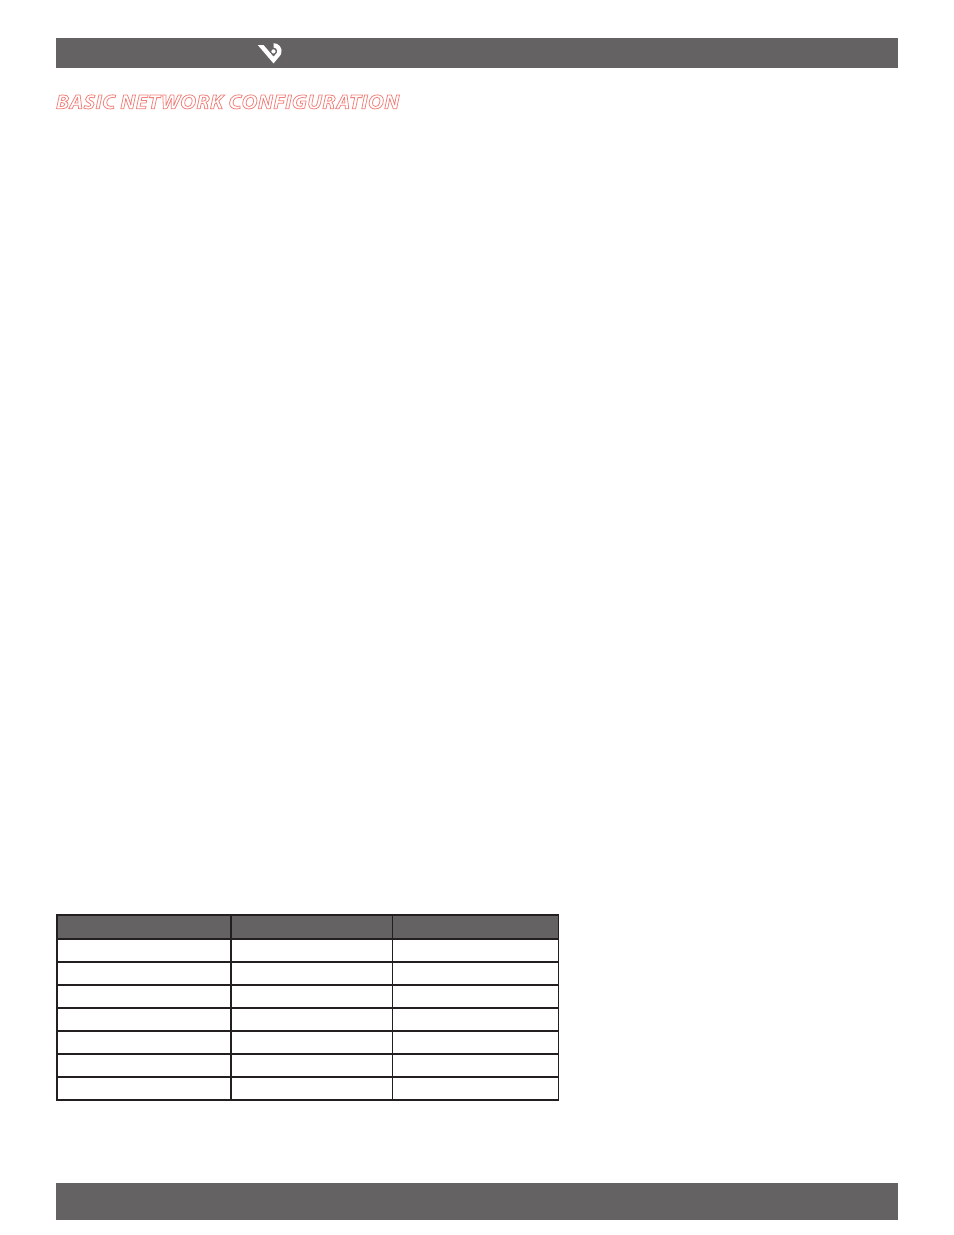
Network Address Worksheet
Network Address Worksheet:
C. Press the select button again to see the IP address menu.
IP Address
192.168.40.50
D. At this point, the cursor on the display will be blinking on the first number
in the IP address on the second line.
E. To change the number, press the menu (top) button and the display will
cycle through the digits 0-9 as well as “.”. Once the correct digit is displayed,
press the select (lower) button to advance to the next digit and repeat the
process until all the digits are correct.
F. Once the IP address on the server matches the assigned IP address, press
the select (bottom) button once more to return to the main TCP/IP menu.
3. Set the Netmask, gateway, and DNS server(s) addresses as noted in the chart
“Network Address Worksheet” using the same technique as shown above. The
only change is that after Step B, press the menu (top) button multiple times to see
the netmask, gateway, and dns setup menu, then push the select button to set
the option.
Note: If DHCP configuration is selected, the IP, netmask, gateway, and dns
server addresses will be obtained automatically. Simply select the “Enable
DHCP” from the first TCP/IP configuration manu.
4. After the address information has been set, you must reboot the AcquiSuite DR.
Select the “(Previous Menu)” option after step B above. The menu will then state
that the AcquiSuite DR must be rebooted to take effect. Press ‘select’ to allow the
AcquiSuite DR to reboot. Once the AcquiSuite DR has rebooted, the new IP address
will be displayed on the console. If DHCP addressing was specified, the server
assigned address will be displayed.
Note: if DHCP is unable to obtain an ip address, the AcquiSuite DR will use the
fallback address of 192.168.0.100.