Selecting the clip digitization type, Creating a clip by marking boundaries on tape, Introduction – EVS IPDirector Version 6.0 - November 2012 Part 4 User's Manual User Manual
Page 76: Clip creation buttons and shortcuts
•
Drag a recorder channel from the Channel Explorer onto the Recorder Name field of
the open VTR Control Panel.
•
Right-click the Recorder Name field of the open VTR Control Panel and select a
recorder channel from the contextual menu.
Note
A default recorder can be defined in the VTR Engine configuration. If a default
recorder channel is associated, it is automatically assigned when selecting a
VTR device. Refer to the IPDirector Technical Reference manual for more
information.
3.5.4.
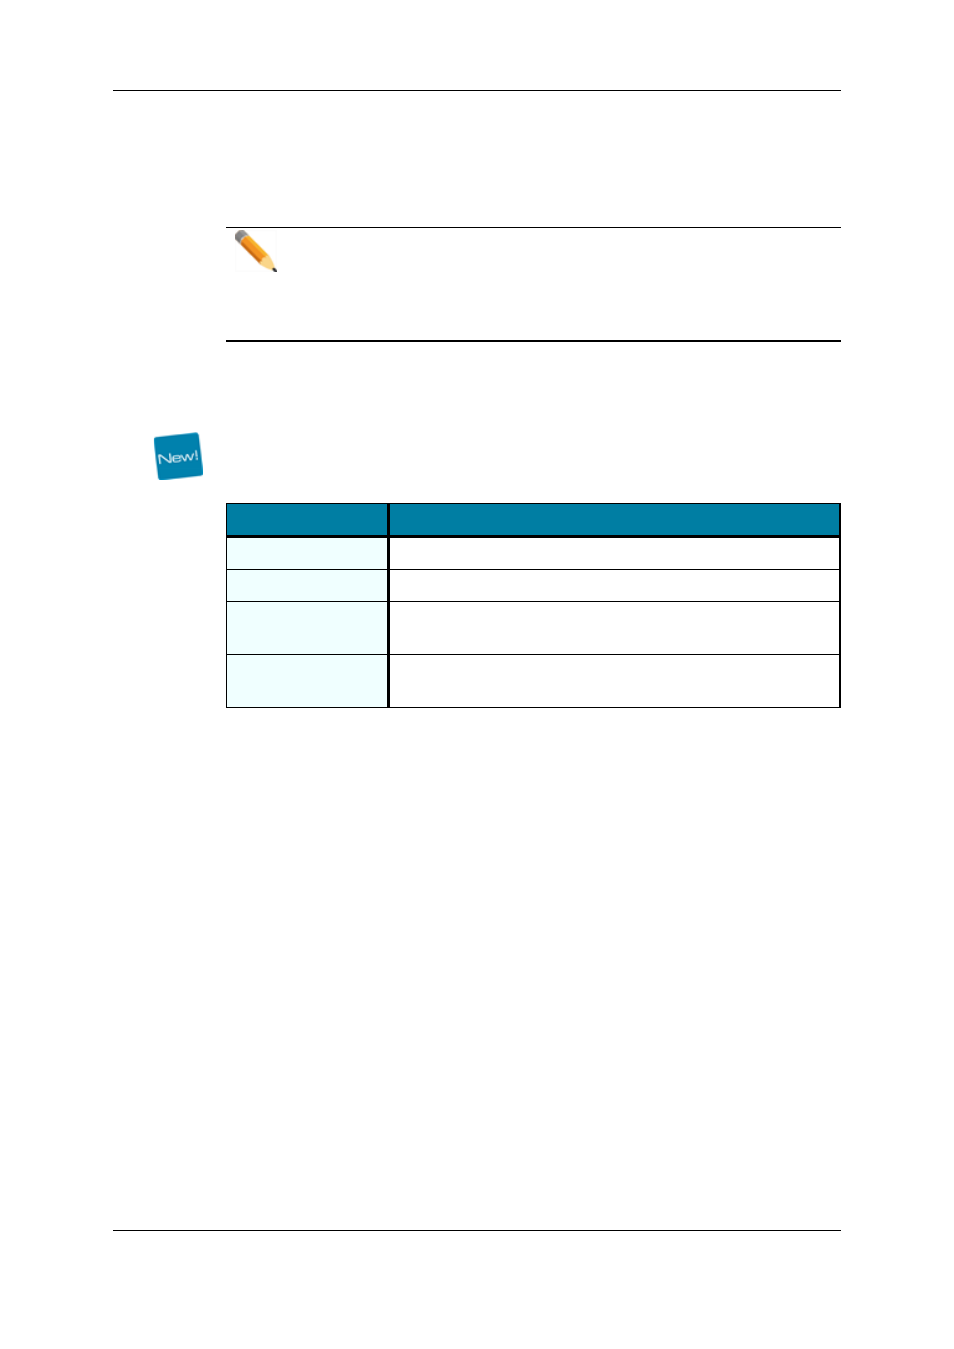
Selecting the Clip Digitization Type
The different options available to digitize a tape, or a portion of it, are shown in the Digitize
Types area of the Clip Information pane. The table below describes the use of each
option.
Option
Used for
Auto Edit
the digitization of a selected portion of tape.
Complete Tape
the digitization of an entire tape into a single clip.
Complete Tape +
Duration
the digitization of a media for a selected duration from the
beginning of the tape.
Derush
the digitization of an entire tape into as many clips as there are
timecode disruptions.
3.5.5.
Creating a Clip by Marking Boundaries on
Tape
Introduction
When the Auto Edit option is selected, to digitize a portion of tape, users can mark the
boundaries of a clip from the tape media thanks to the clip creation functions of the Clip
Creation pane.
Clip Creation Buttons and Shortcuts
The following table gives the meaning of each clip creation operation. A button and/or a
keyboard shortcut can be used to perform each action. The ShuttlePRO device has
buttons dedicated to most of these functions as well.
66
3. VTR Control Panel
EVS Broadcast Equipment S.A. - November 2012
Issue 6.00.A