Time information fields, Recorder contextual menu – EVS IPDirector Version 6.0 - November 2012 Part 4 User's Manual User Manual
Page 65
Area
Description / See also…
1.
Time
Information
fields
Those fields provide information on the duration and IN and OUT
points of the clip being created.
See section "Time Information Fields" on page 55.
They can be used to create a clip. See section "How to Mark a Clip
on a Tape" on page 67.
2.
Clip
Creation
commands
Those commands are used to create a clip from the tape media.
See section "Clip Creation Buttons and Shortcuts" on page 66 for the
list of clip creation buttons and shortcuts.
Note
The GoTo IN and GoTo OUT functions are described in
See section "Transport Buttons and Shortcuts" on page 63.
3.
Recorder
Channel
field
This field displays the name of the selected recorder channel of the
EVS video server which will be used in the clip digitization process.
A contextual menu is available to select a recorder channel. See
section "Recorder Contextual Menu" on page 55.
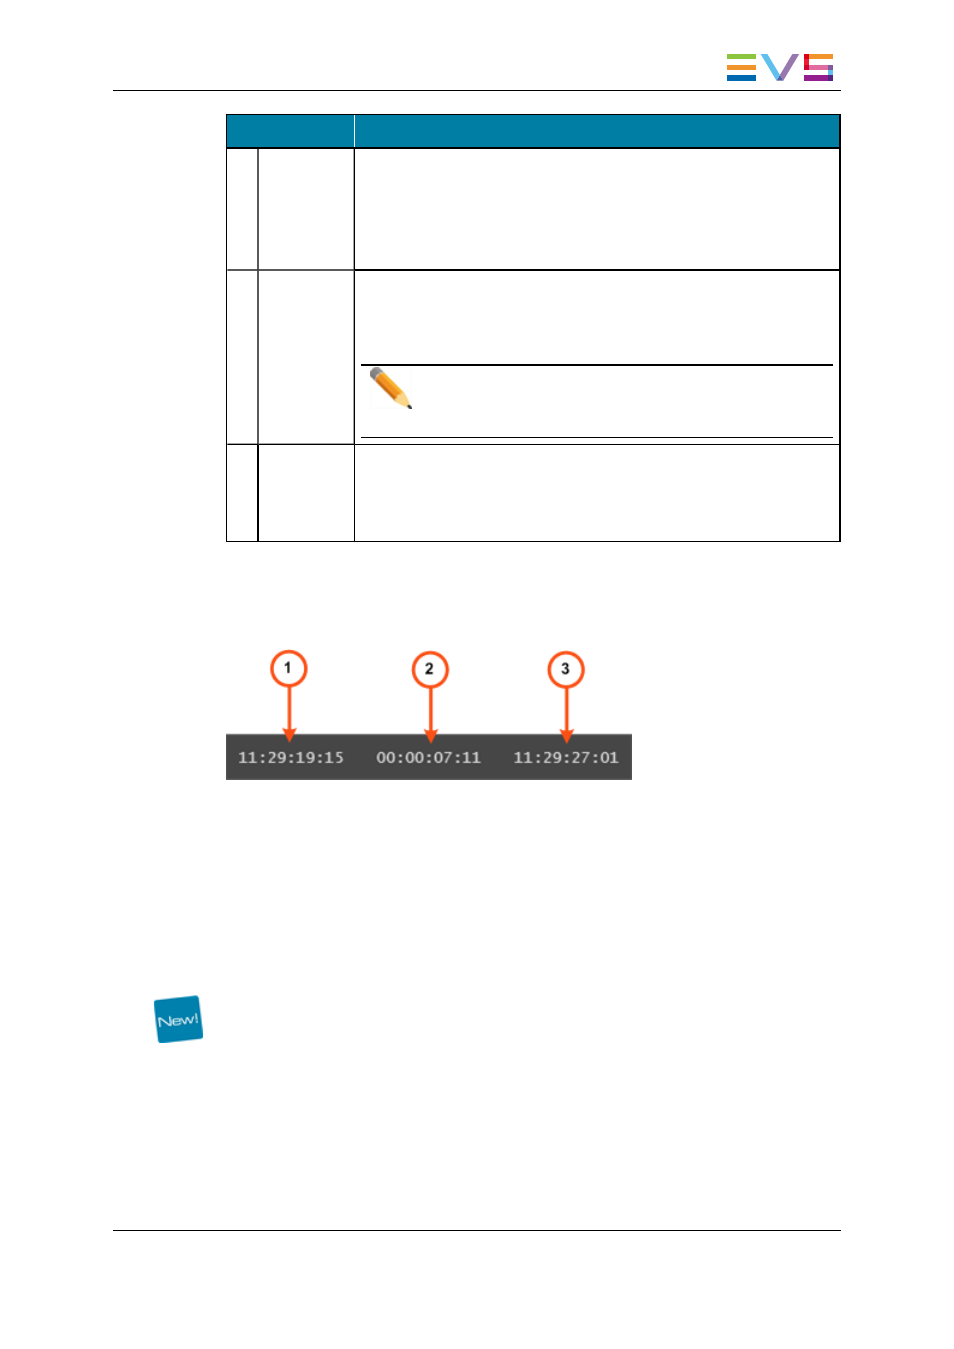
Time Information Fields
The following time information is displayed for the clip being digitized.
1. IN field: timecode of the IN point
2. Duration field: time interval between the IN and OUT points, i.e. clip duration
3. OUT field: timecode of the OUT point
Values can be entered directly from the keyboard. After entering two values, the third
value is calculated automatically.
Recorder Contextual Menu
A contextual menu appears when you right-click the Recorder Channel field.
The following table describes the commands available from the contextual menu.
IPDirector - Version 6.00 - User Manual - Ingest Modules
3. VTR Control Panel
55