3 recording a take, Auto save mode, How to record a take – EVS INSIO Version 1.0 - October 2009 User's Manual User Manual
Page 55: Recording a take, Auto save mode’ on, Ecording a
Issue 1.0.D
INSIO Version 1.0 – User Manual
EVS Broadcast Equipment – October 2009
48
Locator button: inserts flags within a take to indicate when the actors start again
their lines, in case of successive repetitions within an ongoing take.
5.3.3 R
ECORDING A
T
AKE
This section explains how to proceed to record a take with or without the Auto
Save mode activated. It provides information on how to abort the recording of a
take when, for example, something wrong happens, or how to place tags within a
take when, for example a sentence is repeated several times by an actor but you
do not want to stop and re-start the recording.
A
UTO
S
AVE
M
ODE
Before, or during, the recording of a take, you can activate the Auto Save mode by
pressing the Auto Save button. In this case, you will not have to press the Save
button at the end of the take recording and the clips recorded from all the selected
cameras will automatically be saved on the server.
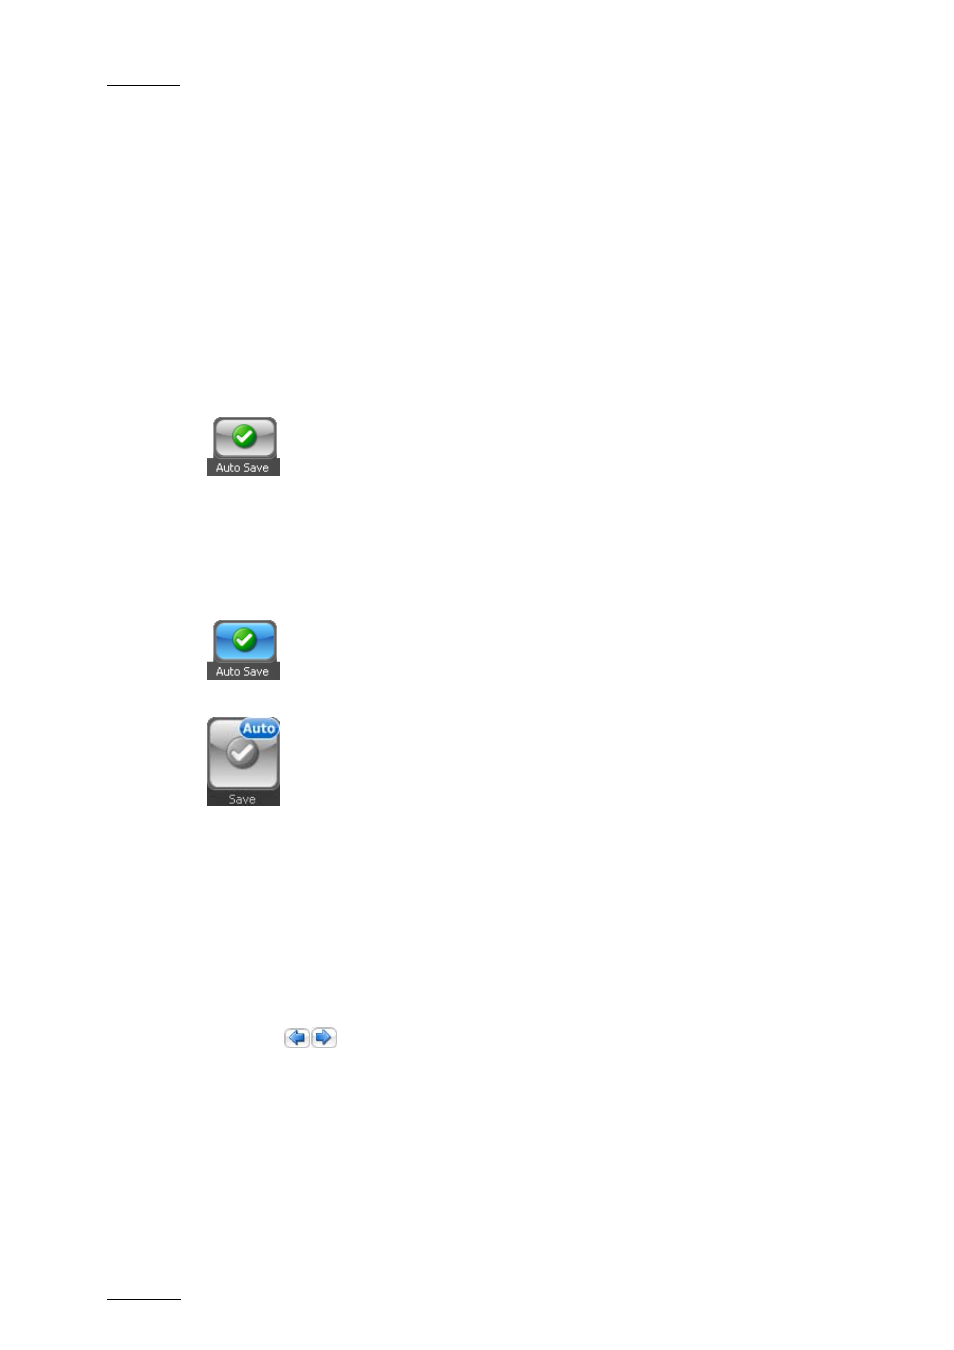
When the Auto Save mode is activated, the background color of the Auto Save
button is blue:
and an ‘Auto’ flag is present on the top of the Save button:
The button can be deactivated by pressing it again. The background color of the
Auto Save button turns then grey. When the Auto Save mode is not activated, you
will be able to deselect cameras before saving them.
H
OW TO
R
ECORD A
T
AKE
To record a take for a scene with or without the Auto Save mode, proceed as
follows:
1.
Select the scene you want to work on from the list in the Scene field or with
the
buttons.
2.
You can select which cameras will be active when recording a clip.
From the list of cameras,
•
deselect the cameras you do not want to record the take by clearing the
check box on the corresponding line(s),
•
select the cameras you want to record the take by selecting the check box
on the corresponding line(s)