Ta (p. 113), P. 113, Connecting a computer – Roland ATELIER Combo AT-350C User Manual
Page 113: Connecting midi devices, Making the settings for the usb driver, About midi connectors, Connec tions with o ther e quipmen t, What’s midi, Midi out connector, Midi in connector
113
Connec
tions with O
ther E
quipmen
t
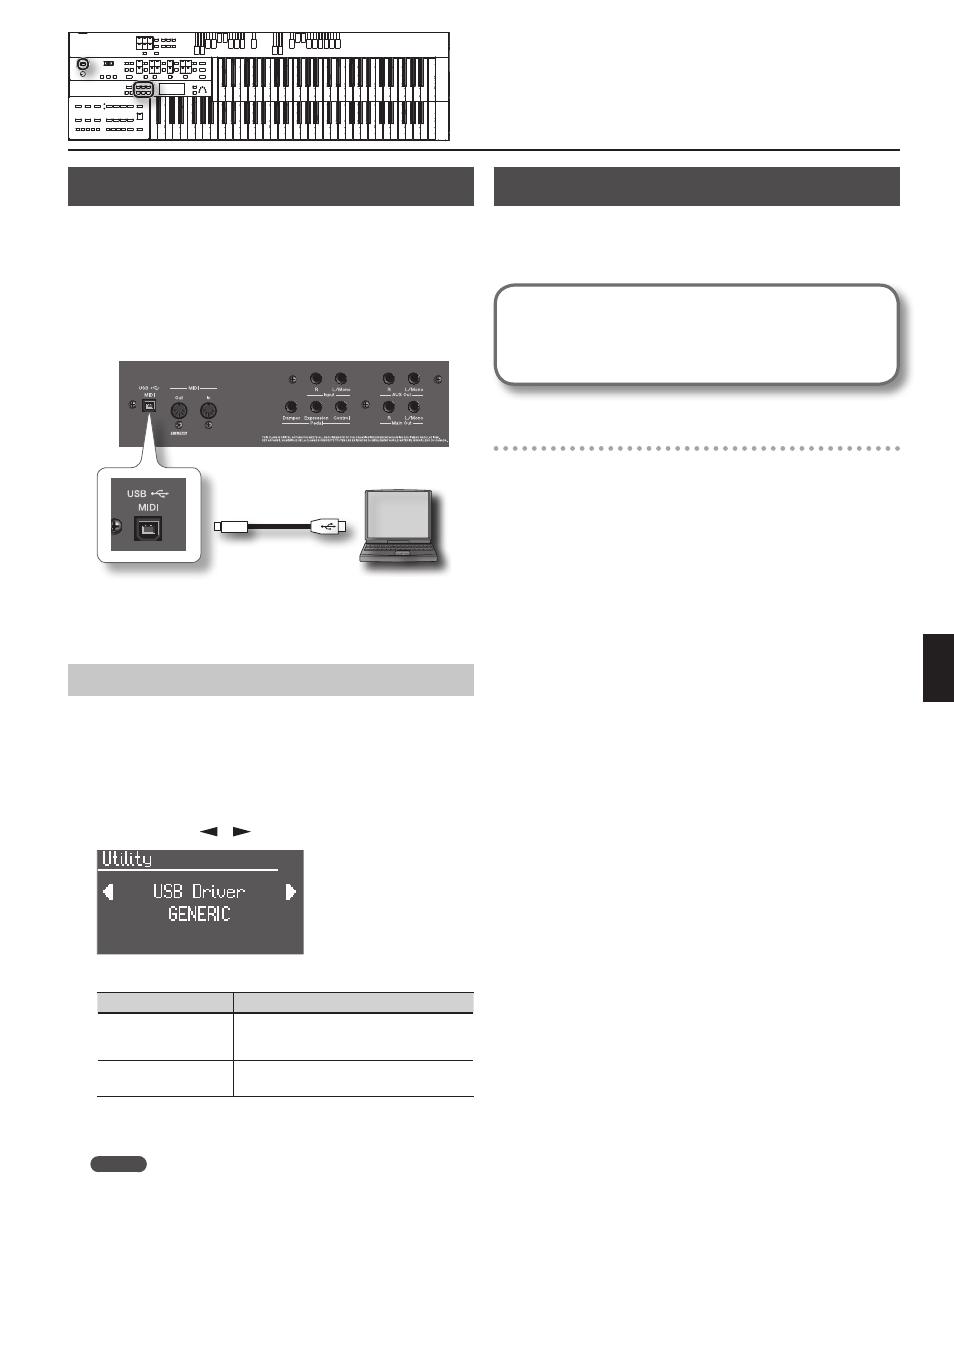
Connecting a Computer
The following become possible once you connect a USB cable
(available separately) between the USB (MIDI) connector located to the
lower left of the ATELIER and the USB connector of your computer.
• You can use the ATELIER to play sounds from SMF music files played
back with MIDI software.
• By exchanging MIDI data with sequencer software, you can save songs
recorded with the ATELIER to your computer, and enjoy a variety of
musical control and editing features.
USB (MIDI) connector
Computer
USB connector
USB cable
* If you’re using sequencer software, set your software so that it does
not pass the audio through.
* Refer to the Roland website for system requirements.
Roland website: http://www.roland.com/
Making the Settings for the USB Driver
If you’re unable to connect successfully with your computer, the
problem might be solved by using the dedicated Roland driver.
Normally, there is no need to use the dedicated Roland driver.
If you want to use the dedicated Roland driver, set USB Driver to
“ORIGINAL,” and install the driver in your computer.
1. Press the [Utility] button.
2. Press the Menu [
] [
] buttons to select “USB Driver.”
3. Press the Value [-] [+] buttons to select the mode.
Value
Explanation
GENERIC
Choose this if you want to use the standard USB
driver that was included with your computer.
Normally, you should use this mode.
ORIGINAL
Select this if you want to use the dedicated
Roland driver.
4. Turn the ATELIER’s volume to the minimum level, switch off
the power, then turn it back on again.
MEMO
For details on downloading and installing the Roland original driver,
refer to the Roland website.
Roland website: http://www.roland.com/
Connecting MIDI Devices
By connecting an external MIDI device so that performance data can
be exchanged, you’ll be able to control each device’s performance. For
example, you can play the ATELIER’s keyboard to produce sound or
switch voices on an external MIDI device.
What’s MIDI?
MIDI, short for “Musical Instrument Digital Interface,” was
developed as a standard for the exchange of performance data
between electronic instruments and computers.
About MIDI connectors
MIDI Out Connector
Connect the external MIDI device to the MIDI IN connector with an
optional MIDI cable.
The notes played on the keyboard, movements of the Damper pedal,
Expression data, data indicating that a Registration button [1]–[8], etc.,
was pressed will be transmitted to the external MIDI connector.
The Solo voice will be transmitted only if the Solo [To Lower] button is
ON.
MIDI In Connector
Connect the external MIDI device to the MIDI out connector with an
optional MIDI cable. Performance messages from an external MIDI
device are received here.
These incoming messages may instruct the receiving MIDI instrument
to play sounds or switch voices.
The ATELIER contains two sound generators: one sound generator
for its own keyboards and one GM2/GS sound generator. Normally,
musical data transmitted from an external device to the MIDI In
connector is sent to the GM2/GS sound generator, but you can also
set the “MIDI IN Mode” parameter (p. 105) so that the keyboard sound
generator is controlled.