Setting customer identification, Displaying led conditions – Paradyne 3163 User Manual
Page 30
ACCULINK 3163 DSU/CSU
3-8
March 1999
3163-A2-GB20-10
Setting Customer
Identification
The customer identification is the only identity number
you can change. It is used to uniquely identify the
DSU/CSU.
"
Procedure
To change the customer identification (CID):
1. From the top-level menu, press the
key until
the Ctrl selection appears on the screen.
2. Select Ctrl.
3. From the Control screen, press the
key until
the CID selection appears on the screen.
4. Select CID.
F1
Control:
Reset
CID Passwd
F2
F3
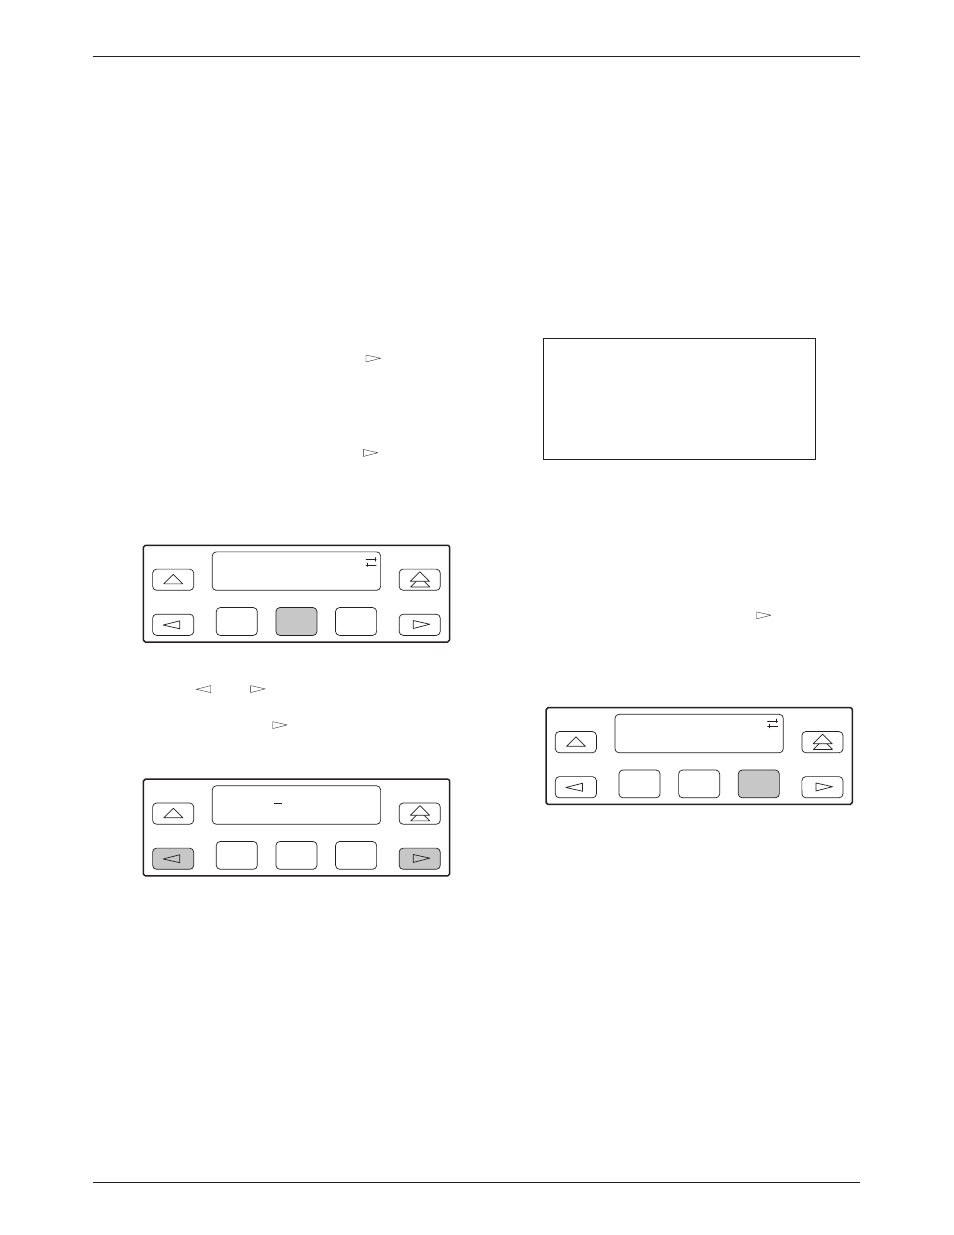
5. Use the
and
keys to position the cursor
under the desired character. You must enter a
character before the
moves the cursor to the
next space to the right.
F1
CustID:
xxxxxxxx
Up
Down
Save
F2
F3
6. Enter the desired ID. Press F1 (Up) and F2
(Down) to scroll up and down through the valid
characters/numbers for the customer ID. Valid
characters are 0 through 9, #, -, ., /, A to Z, and
blank space. Press F3 (Save) to save the ID.
Displaying LED Conditions
The same conditions monitored by the front panel
LEDs can also be monitored by the LED command. This
command is most useful when the DSU/CSU is being
accessed remotely (see Appendix F,
). When using Front Panel Emulation, no LEDs
are shown on the PC’s screen; you must use the Stat
command procedure described below to get LED
information.
NOTE
The following procedure is an
example only. Screen displays
may vary depending on the
model of the DSU/CSU.
"
Procedure
To display LED conditions on the front panel screen:
1. From the top-level menu screen, select Stat.
2. From the Status screen, press the
key until the
LED selection appears on the screen.
3. From the Status screen, select LED.
F1
Status:
Perf
TStat
LED
F2
F3