Removing a hot-swap fan, Removing, Hot-swap – Lenovo 3797 User Manual
Page 88
4.
Connect
the
power
cord
for
the
new
ac
power
supply
to
the
power-cord
connector
on
the
power
supply.
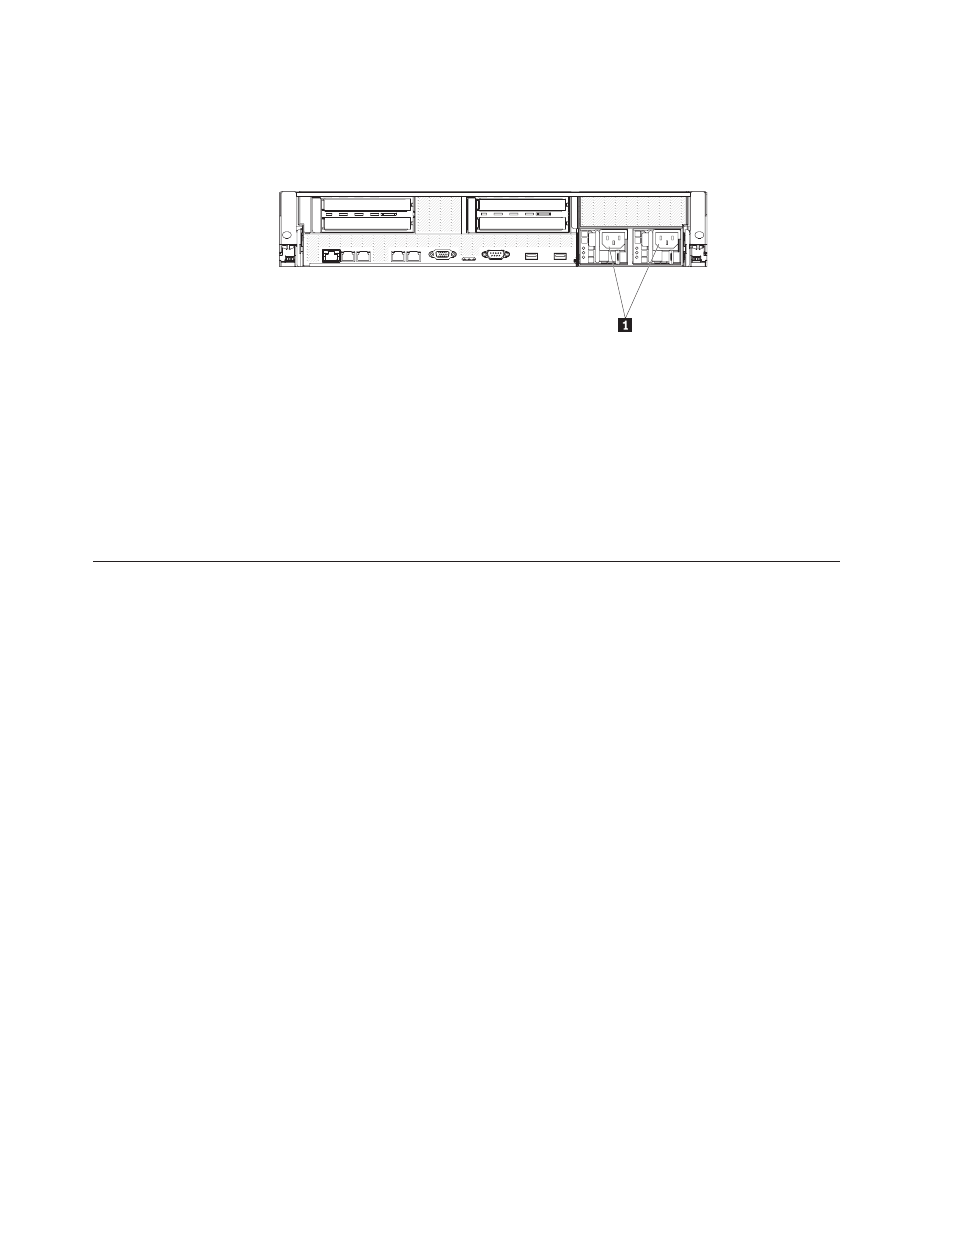
The
following
illustration
shows
the
ac
power-supply
connectors
1
on
the
rear
of
the
server.
5.
Route
the
power
cord
through
the
power-supply
handle
and
through
any
cable
clamps
on
the
rear
of
the
server,
to
prevent
the
power
cord
from
being
accidentally
pulled
out
when
you
slide
the
server
in
and
out
of
the
rack.
6.
Connect
the
power
cord
to
a
properly
grounded
electrical
outlet.
7.
Make
sure
that
the
error
LED
on
the
power
supply
is
not
lit,
and
that
the
dc
power
LED
and
ac
power
LED
on
the
power
supply
are
lit,
indicating
that
the
power
supply
is
operating
correctly.
If
you
have
other
optional
devices
to
install
or
remove,
do
so
now.
Otherwise,
go
to
Removing
a
hot-swap
fan
The
server
comes
with
three
replaceable
fans.
Attention:
To
ensure
proper
server
operation,
if
a
fan
fails,
replace
it
immediately.
Have
a
replacement
fan
ready
to
install
as
soon
as
you
remove
the
failed
fan.
To
remove
a
replaceable
fan,
complete
the
following
steps.
1.
Read
the
safety
information
that
begins
on
page
and
2.
Leave
the
server
connected
to
power.
3.
Slide
the
server
out
of
the
rack
and
remove
the
cover
(see
The
LED
near
the
failing
fan
will
be
lit.
Attention:
To
ensure
proper
system
cooling,
do
not
remove
the
top
cover
for
more
than
two
minutes
during
this
procedure.
72
ThinkServer
RD220
Types
3729,
3779,
3797,
and
3798:
Installation
and
User
Guide