Removing a microprocessor and heat sink, Removing, Microprocessor – Lenovo 3797 User Manual
Page 108: Heat, Sink
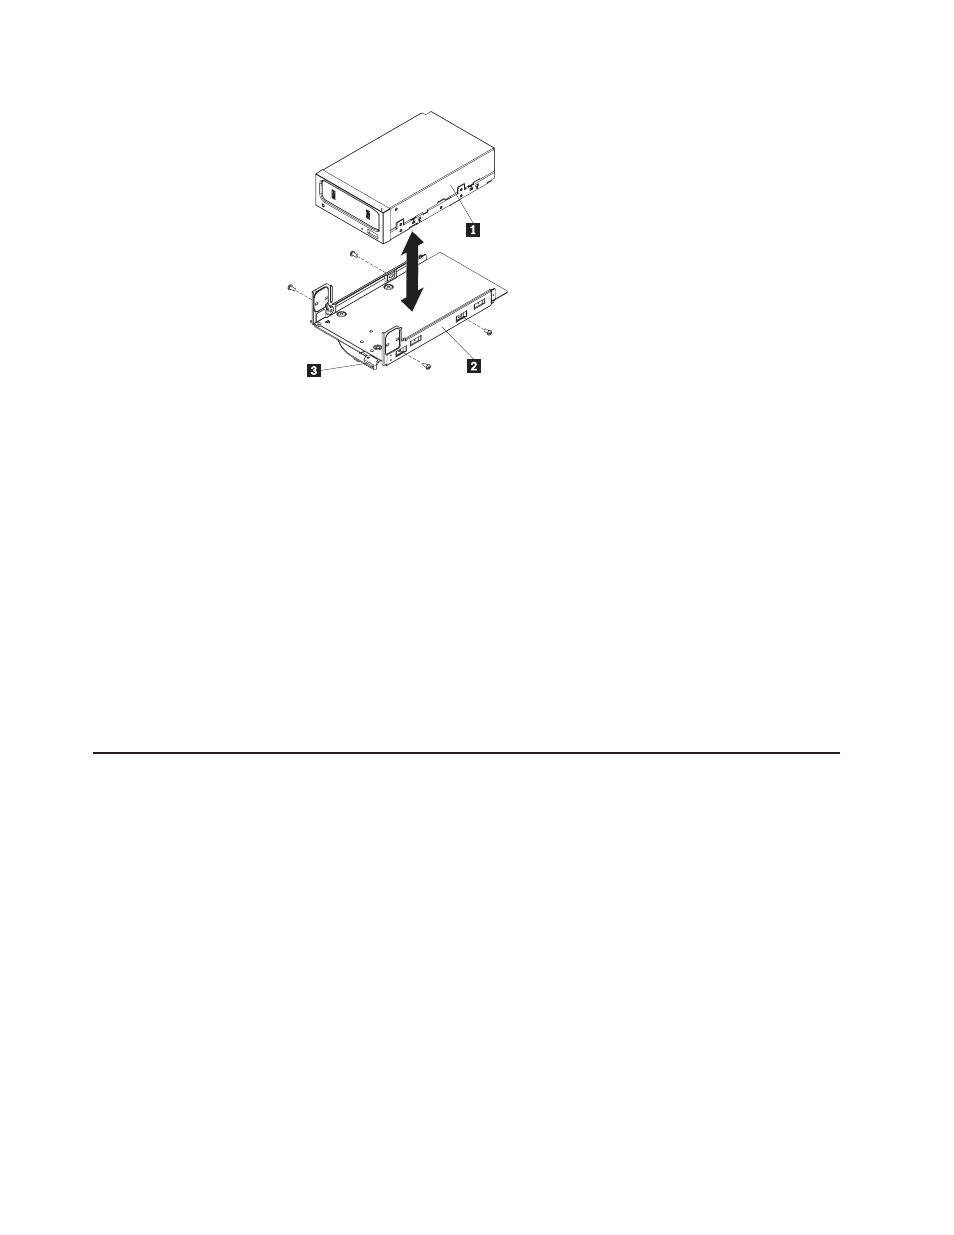
1
Tape
drive
2
Tray
3
Latch
3.
Prepare
the
drive
according
to
the
instructions
that
come
with
the
drive,
setting
any
switches
or
jumpers.
4.
Slide
the
tape-drive
assembly
most
of
the
way
into
the
tape-drive
bay.
5.
Using
the
cables
from
the
former
tape
drive,
connect
the
signal
and
power
cables
to
the
back
of
the
tape
drive.
6.
Make
sure
all
the
cables
are
out
of
the
way,
and
slide
the
tape-drive
assembly
the
rest
of
the
way
into
the
tape-drive
bay.
7.
Push
the
tray
handle
to
the
closed
(locked)
position.
8.
Install
the
cover
(see
9.
Slide
the
server
into
the
rack.
10.
Reconnect
the
external
cables;
then,
reconnect
the
power
cords
and
turn
on
the
peripheral
devices
and
the
server.
Removing
a
microprocessor
and
heat
sink
Attention:
v
Do
not
allow
the
thermal
grease
on
the
microprocessor
and
heat
sink
to
come
in
contact
with
anything.
Contact
with
any
surface
can
compromise
the
thermal
grease
and
the
microprocessor
socket.
v
Dropping
the
microprocessor
during
installation
or
removal
can
damage
the
contacts.
v
Do
not
touch
the
microprocessor
contacts;
handle
the
microprocessor
by
the
edges
only.
Contaminants
on
the
microprocessor
contacts,
such
as
oil
from
your
skin,
can
cause
connection
failures
between
the
contacts
and
the
socket.
To
remove
a
microprocessor
and
heat
sink,
complete
the
following
steps:
1.
Read
the
safety
information
that
begins
on
page
and
2.
Turn
off
the
server
and
peripheral
devices
and
disconnect
the
power
cord
and
all
external
cables.
3.
Remove
the
cover
(see
92
ThinkServer
RD220
Types
3729,
3779,
3797,
and
3798:
Installation
and
User
Guide