Printing a banner – Lexmark 5300 User Manual
Page 14
d
From the Paper Type pop-up menu, choose Iron-On Transfer.
Note: Choosing Iron-On Transfer automatically mirrors the image you want to print.
e
Select a print quality other than Quick Print. Best is recommended.
4
Click Print.
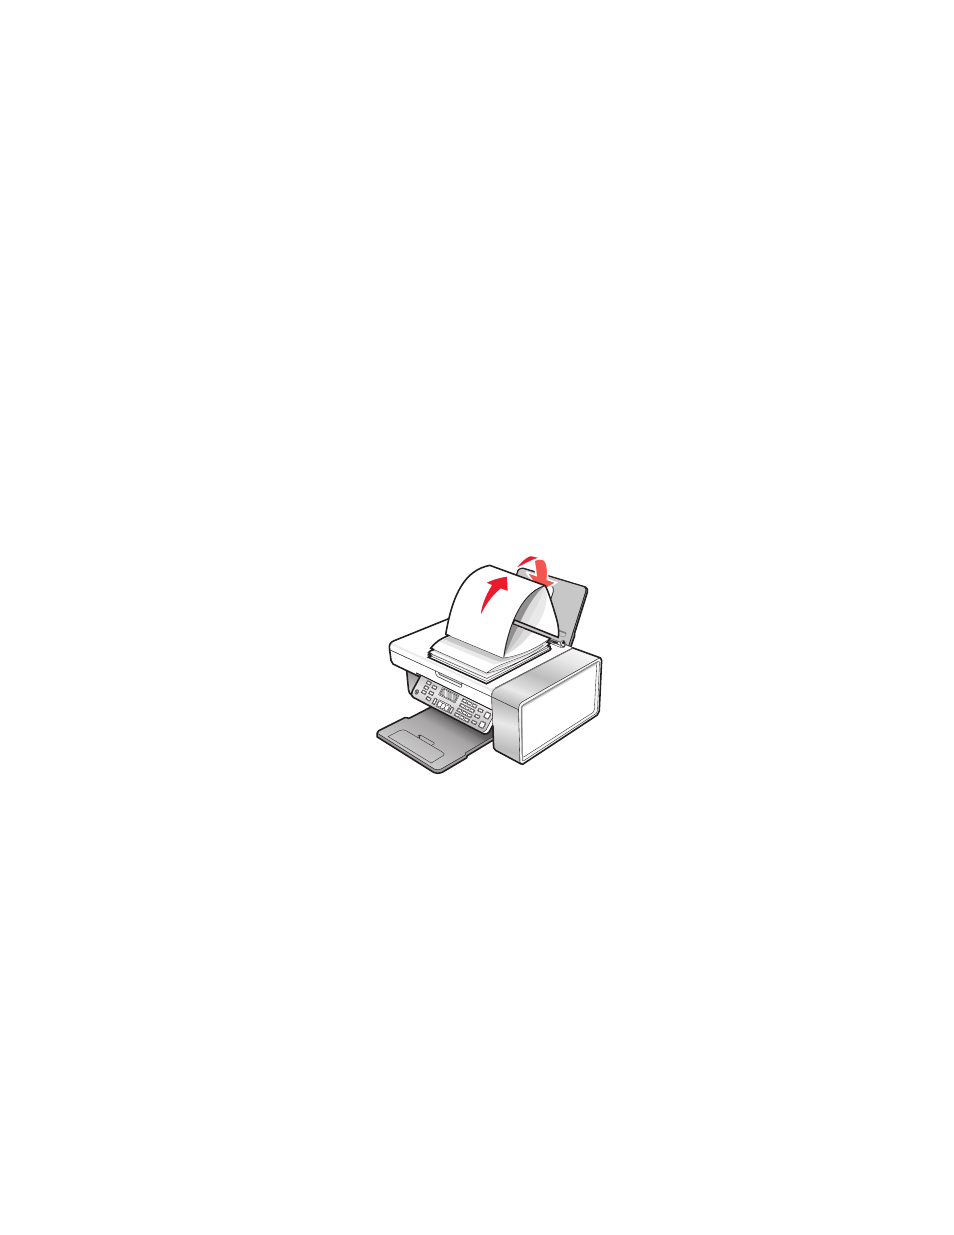
Note: To prevent smudging, remove each iron-on transfer as it exits, and let it dry before stacking.
Related topics:
•
“Loading iron-on transfers” on page 9
•
“Using the Page Setup dialog” on page 98
•
“Using the Print dialog” on page 99
Printing a banner
1
Remove all paper from the paper support.
2
Tear off only the number of pages needed for the banner (up to 20 sheets).
3
Place the required stack of banner paper on the top cover.
4
Load only the first page of banner paper into the paper support with the leading edge of the banner going into
the printer.
5
Adjust the left and right paper guides.
6
Customize the settings in the Page Setup dialog.
a
With your document open, choose File Page Setup.
b
From the Settings pop-up menu, choose Page Attributes.
c
From the “Format for” pop-up menu, choose the printer.
d
From the Paper Size pop-up menu, choose A4 Banner or US Letter Banner.
e
Select an orientation.
f
Click OK.
7
Customize the settings in the Print dialog.
a
With your document open, choose File Print.
b
From the Printer pop-up menu, choose the printer.
Printing
14