Specify the destination – Sharp MX-7001 User Manual
Page 443
83
4
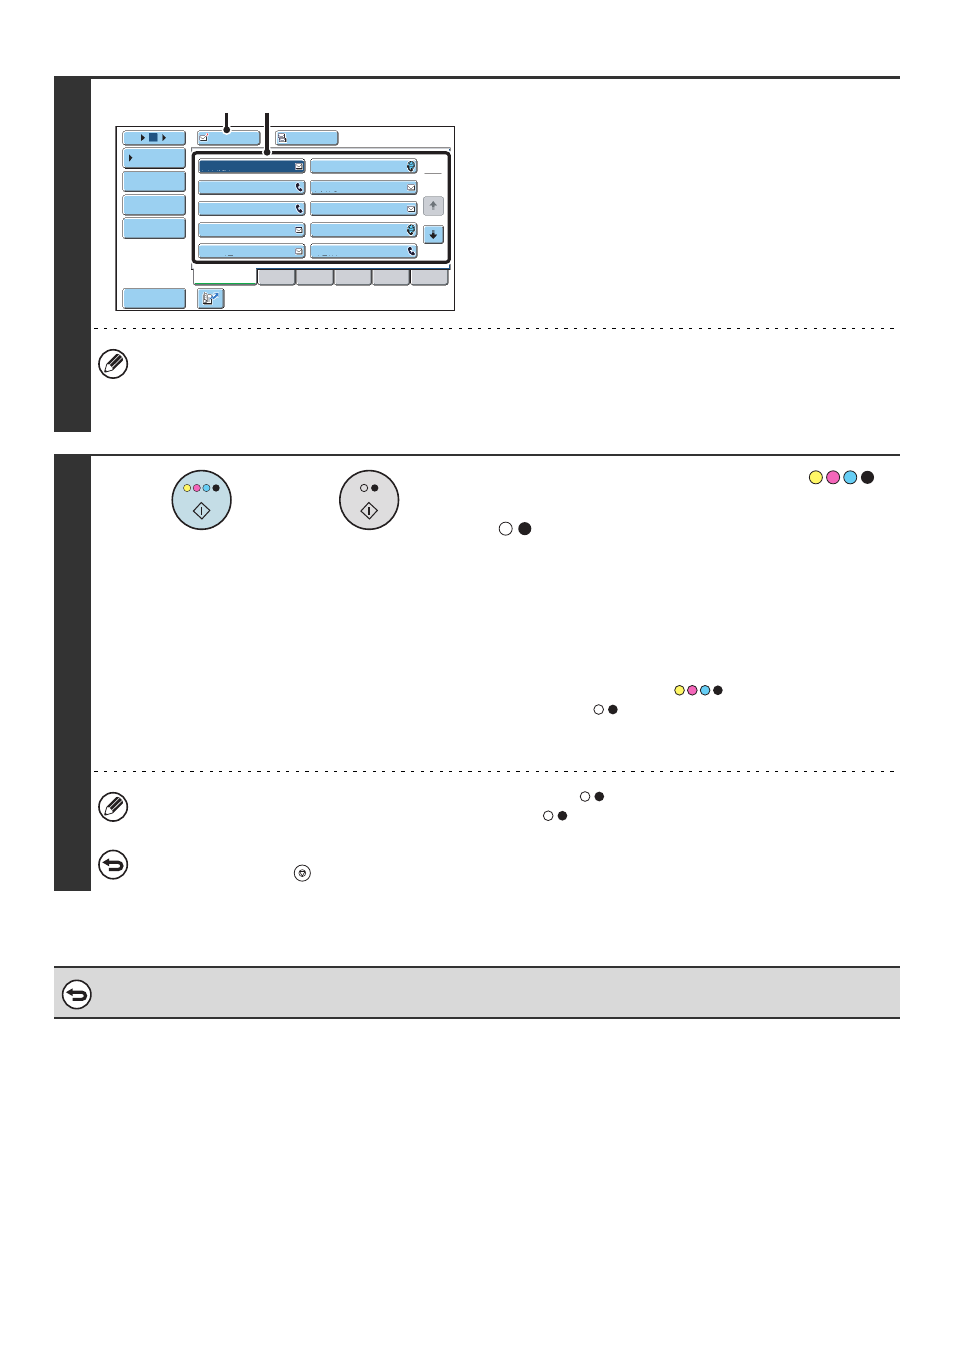
Specify the destination.
(1) Touch the [Address Book] key in the base
screen.
(2) Touch one-touch keys of the destinations
that you wish to store in the group.
(3) Touch the [To] key.
• When scanning to USB memory, there is no need to specify the destination. Go to step 5.
• In addition to specification by a one-touch key, a destination can also be specified by a search number. You can
also manually enter an e-mail address or look up an e-mail address in a global address book. For more information,
see "
5
Press the [COLOR START] key (
)
or the [BLACK & WHITE START] key
(
).
Scanning begins.
• If you inserted the original pages in the document feeder
tray, all pages are scanned.
A beep will sound to indicate that scanning is finished.
• If you are scanning the original on the document glass, scan
each page one page at a time.
When scanning finishes, place the next original and press
the [COLOR START] key (
) or the [BLACK & WHITE
START] key (
). Repeat until all pages have been
scanned and then touch the [Read-End] key.
A beep will sound to indicate that scanning is finished.
When the color mode setting of the [BLACK & WHITE START] key (
) is [Mono2], the suppress background
function will not operate if the [BLACK & WHITE START] key (
) is pressed.
To cancel scanning...
Press the [STOP] key (
) to cancel the operation.
To cancel the background suppression setting...
Touch the [Cancel] key in the screen of step 3.
AAA AAA
To
Cc
III III
GGG GGG
EEE EEE
CCC CCC
HHH HHH
FFF FFF
DDD DDD
BBB BBB
ABCD
Frequent Use
EFGHI
JKLMN
OPQRST
UVWXYZ
1
2
5
15
10
Global
Address Search
Address Entry
Sort Address
Address Review
Condition
Settings
JJJ JJJ
(3)
(2)
or