Enter the subject – Sharp MX-7001 User Manual
Page 394
34
3
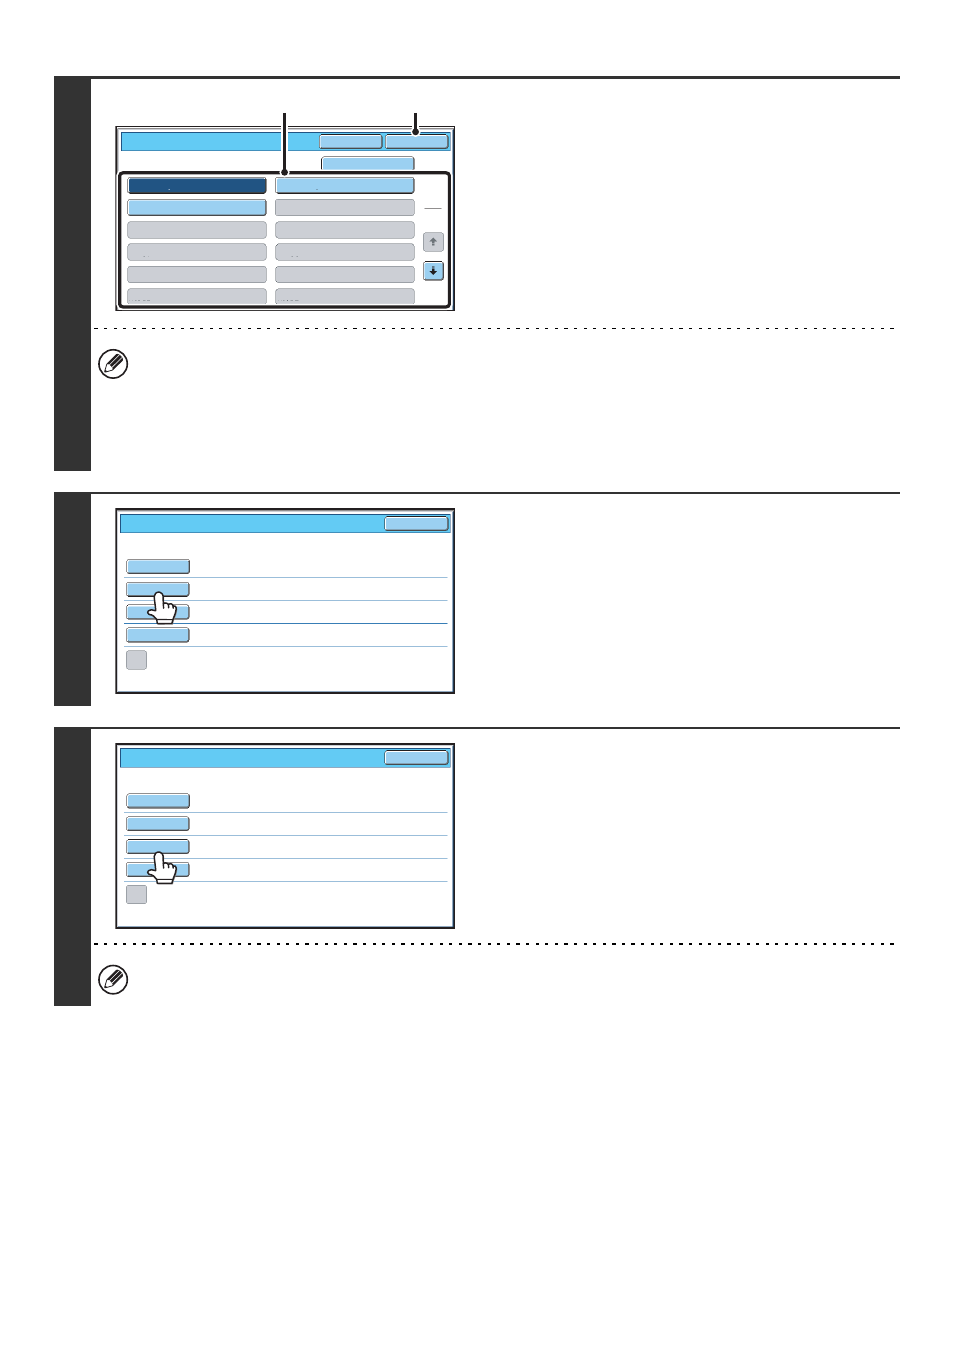
Enter the subject.
(1) Touch a Pre-Set text key.
(2) Touch the [OK] key.
• If you wish to directly enter the text, touch the [Direct Entry] key to open the text entry screen. Enter the text and
touch the [OK] key.
• The text in a pre-set text key can be edited by touching the pre-set text key and then the [Direct Entry] key. The text
entry screen will appear with the selected pre-set text entered. (When a destination is stored using the Web pages,
up to 80 characters can be entered. However, only 54 characters* can be edited in the touch panel.)
* When the number of preset keys displayed is 6
4
To change the file name, touch the [File
Name] key.
• The file name is entered in the same way as the subject.
• If you are sending to a Scan to FTP, Scan to Desktop, or
Scan to Network Folder destination, go to step 9.
5
To change "Reply-To", touch the
[Reply-To] key.
If user authentication is being used, the information of the user that logged in will be applied, and thus "Reply-To"
cannot be changed.
No.01 Sub: Schedule coordination
No.02 Sub: Monthly Schedule
No.04
No.06
No.05
No.08
No.07
No.10
No.09
No.12
No.11
No.03 Sub: Minutes of planning m
Subject
OK
Cancel
Direct Entry
1
5
(2)
(1)
Send Settings
OK
Subject
File Name
Reply-To
Body Text
Add 'Reply to' to Cc
Sub: Schedule coordination meeting
Material for planning meeting
Send Settings
OK
Subject
File Name
Reply-To
Body Text
Add 'Reply to' to Cc