Disconnect the ac power cord(s) from the server, Figure 26. lifting the processor socket handle, Raise the cpu load plate (see figure 27) – Intel SERVER SYSTEM SR2500AL User Manual
Page 60: Figure 27. installing the processor, Remove the protective socket cover (see figure 28)
38
Intel® Server System SR2500AL User’s Guide
3. Disconnect the AC power cord(s) from the server.
4. Remove the server's cover. See the documentation that came with your server
chassis for instructions on removing the server's cover.
5. Locate the processor socket and raise the socket handle completely (see
).
Figure 26. Lifting the Processor Socket Handle
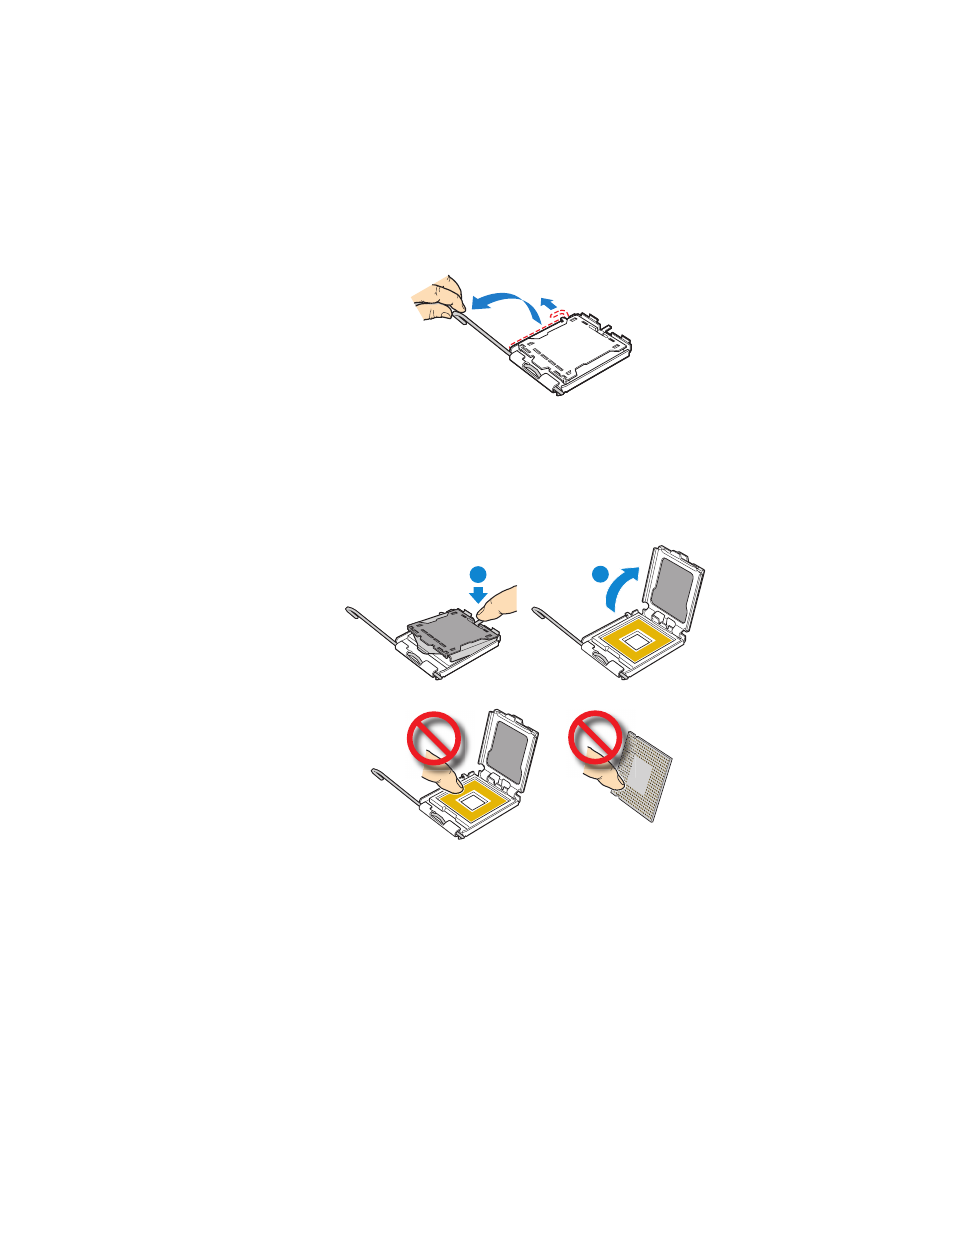
6. Raise the CPU load plate (see
Figure 27. Installing the Processor
Note: Do not touch the socket pins; they are very sensitive and easily damaged.
7. Line up the alignment marks on the processor and the socket, and insert the
processor into the socket.
Note: Make sure the alignment triangle mark and the alignment triangle cutout align correctly.
8. Remove the protective socket cover (see
).
Note: Retain the protective socket cover for use when removing a processor that will not be
replaced.
TP02074
TP02075
A
B