Auto punch (punch), Corresponding, Auto-punch features – MACKIE HDR24/96 User Manual
Page 82: Auto punch, Hdr 24/96
HDR 24/96
Auto Punch (PUNCH)
In Auto Punch mode recording automatically starts and stops on armed tracks at preset punch-in and
punch-out times, just as if you had pressed the RECORD button. Auto-Punch is frequently used in
combination with the
Typically this feature is used when you want to re-record a portion of a track. By setting up Auto-
punch points, you can be assured of punching in and out at the same spots every pass, protecting
yourself from accidentally recording over a good section of the track. By setting Loop points
surrounding the Auto-punch points, you can continuously repeat a punch until you get it right or
decide you need to practice the part some more.
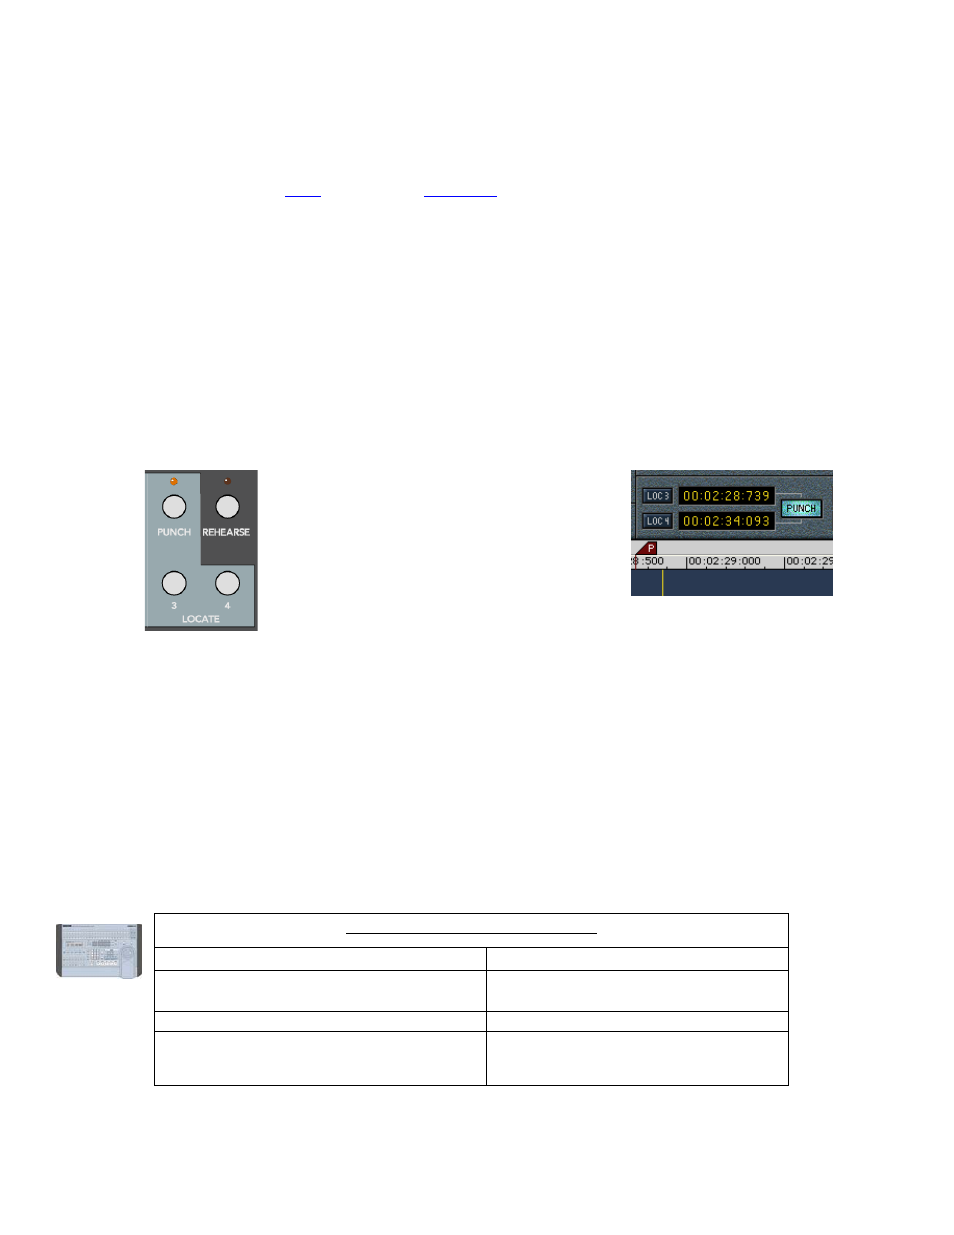
The Auto-punch times are stored in LOC3 and LOC4 (page 62). While it’s logical to set LOC3 to the
punch-in time and LOC4 to the punch-out time, recording always starts at the earliest of the two
times, and stops at the later time.
In the GUI, when Auto-punch is enabled, the two Auto-punch markers indicated by the letter P are
displayed on the marker bar above the time bar. They disappear when Auto Punch is turned off. If
you prefer to adjust the punch points visually, you can drag their markers with the mouse.
In order to perform an automatic punch, the
PUNCH button must be engaged, the track on
which you’re punching must be in record-
ready, and the recorder must be running in the
Master Record mode (press RECORD and
PLAY or click RECORD in the GUI).
Auto-Punch in the GUI
Auto-Punch on
the Remote 48
When in the Auto-punch mode, the HDR24/96
will actually Record only between the two
Auto-punch markers. Pressing the RECORD
button when the transport is outside of these markers has no effect other than to
arm for auto-punching. Within the Auto-punch region, you actually have some
manual control over punching. You can stop recording by pressing either the STOP or PLAY button.
If you disengage recording with PLAY, you can re-enter Record mode by pressing the RECORD
button (the Transport must still be running – see note below).
Always start a new recording pass in front of the punch-in point. You cannot start a recording from
Stop within the Auto-punch region.
Automatic punching can only be set up, enabled, and disabled from the GUI or the remote controllers.
Once the punch-in/-out points are set, you can use either the front panel, GUI, or remote controllers to
control recording in the Auto-punch mode. PUNCH must be disengaged in order to manually control
recording operations outside of the Auto-punch area.
Auto-Punch on the Remote 48
Autolocator Action
Remote 48 Key Sequence
Preview Punch length in LOCATE TIME
display
RECALL PUNCH
Recall Punch length to Locate Time
RECALL PUNCH ENTER
Store Locate Time to Punch Length
• Value of Punch End Time = Punch Start +
Locate Time
STORE PUNCH
HDR 24/96
82