Choosing a key/chord for intro 1 and ending 1, Playing back the pattern, Guitar mode parameters – KORG Pa300 Arranger User Manual
Page 209: Style/pad record, Re fe rence
205
Style/Pad Record
Main page - Guitar Mode
Re
fe
rence
Choosing a Key/Chord for Intro 1 and
Ending 1
The pattern is recorded in the key indicated by the Key/Chord
pair of parameters. However, this parameter is only used for
playback by the Intro 1 and Ending 1 Style Elements. All other
Style Elements will be played back according to the recognized
chord.
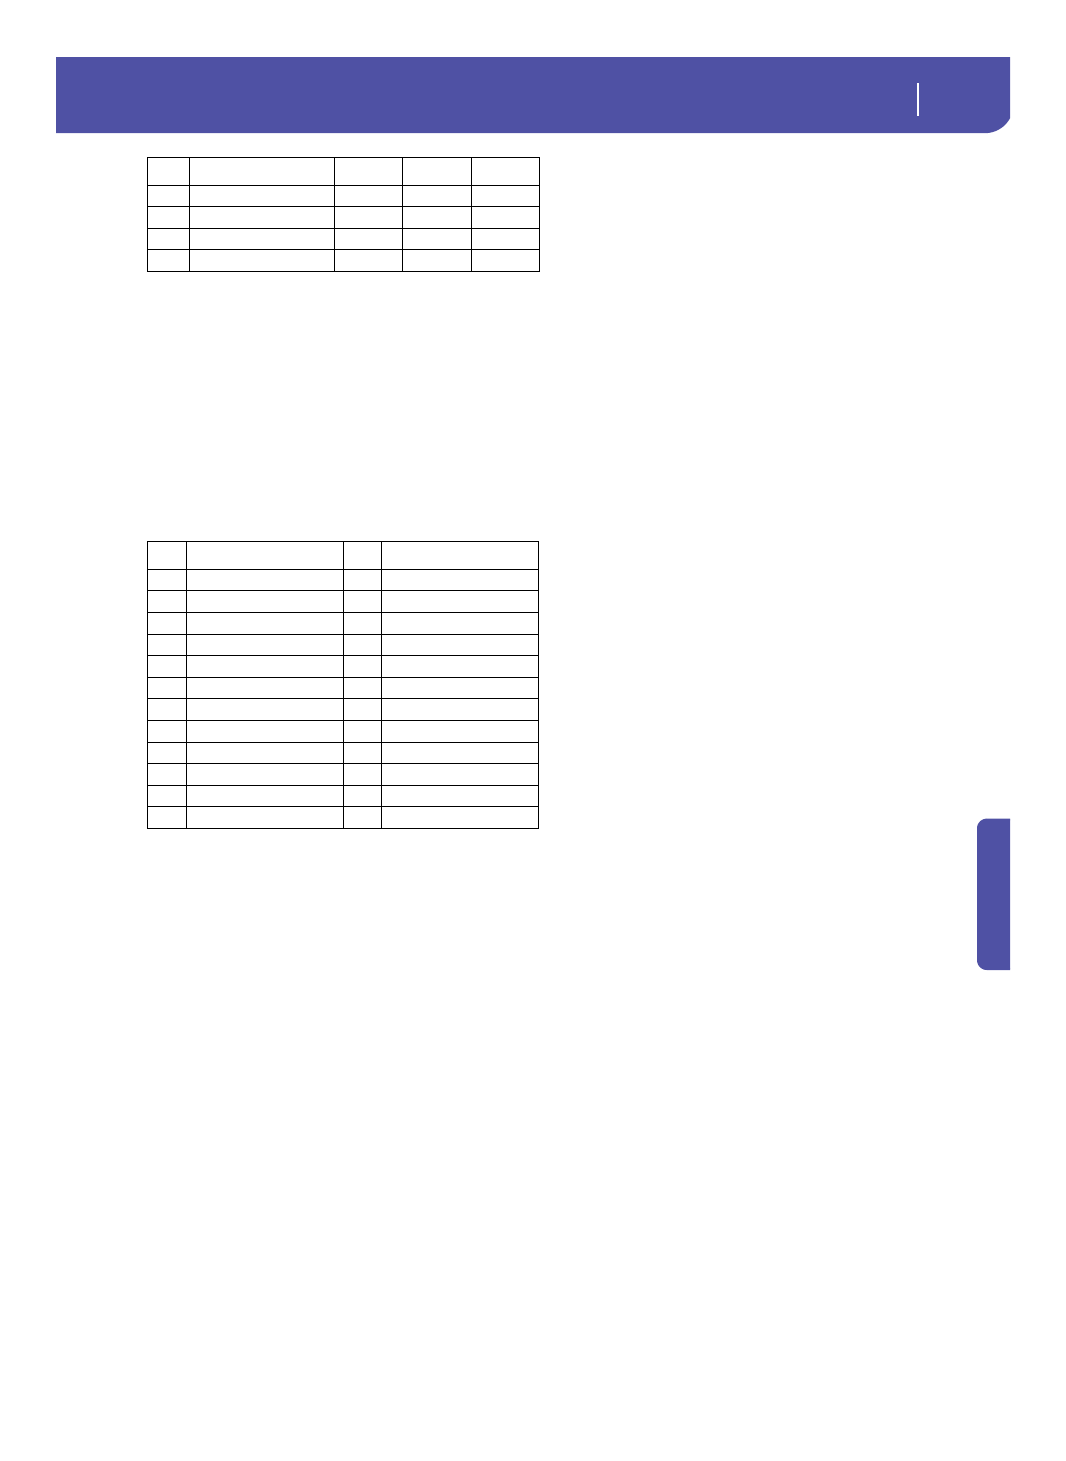
With Intro 1 and Ending 1 (both Chord Variation 1 and 2) you
can also prefer to enter a chord progression, to be played on the
lowest MIDI octave (C-1 ~ B-1). Chord types are inserted by
using velocity values, as shown in the following table:
Playing back the pattern
When in Stye Play mode, the recorded Guitar pattern is trans-
posed according to the chord recognized on the keyboard. The
way it is transposed depends on the programmed pattern, with
the chosen positions, strumming mods, etc…
Guitar mode parameters
Here is a detailed description of the parameters of the Guitar
Mode page.
Key/Chord
This parameter pair allows you to define the track’s original key
and chord type. This parameter works in a different way than the
other tracks. While with other tracks this is always the reference
key used for NTT transposition, with Guitar tracks there is a dif-
ference, whether you are recording a Chord Variation contained
in an Intro 1 or Ending 1 Style Element, or any other Chord
Variation:
•
With Intro 1 and Ending 1, this chord will be used as the
reference key for the chord progression.
•
With all the other Chord Variations, this chord will be used
only for listening during recording. During playback in
Style Play mode, the chord will follow chord recognition.
Capo - Fret
A capo (from the Italian “capotasto”, “head of fingerboard”) is a
movable bar attached to the fingerboard of the guitar, to uni-
formly raise the pitch of all the strings. Its use makes the strings
shorter, therefore changing the timbre and position of the chords
(but not its shape).
0
Open string – no capo.
I…X
Position of the capo over the fingerboard (i.e., “I”
corresponds to the first fret, “II” to the second
one, and so on).
Strings - High/Low
Use this pair of parameters to choose the strings the pattern will
be played on.
1…6
Position of the capo over the fingerboard (i.e., “I”
corresponds to the first fret, “II” to the second
one).
Diagram
The diagram shows how a chord would be composed on the fin-
gerboard. Here is the meaning of the various symbols:
Red dot
Fingered string (i.e., played note).
White dot
Fifth, playing on the D#2 key.
X
Non played or muted note.
Light grey bar Barré (a finger crossing all the strings, like a
mobile capo).
Dark grey bar Capo.
87
2 Strings Treble
I
II
2
88
2 Strings Treble
I
II
3
89
2 Strings Treble
I
II
4
90
2 Strings Treble
I
II
5
Vel.
Chord Type
Vel.
Chord Type
1
Major
2
Major 6th
3
Major 7th
4
Major 7th flatted 5th
5
Suspended 4th
6
Suspended 2nd
7
Major 7th suspended 4th
8
Minor
9
Minor 6th
10
Minor 7th
11
Minor 7th flatted 5th
12
Minor major 7th
13
Dominant 7th
14
7th flatted 5th
15
7th suspended 4th
16
Dimished
17
Diminished major 7th
18
Augmented
19
Augmented 7th
20
Augmented major 7th
21
Major w/o 3rd
22
Major w/o 3rd and 5th
23
Flatted 5th
24
Diminished 7th
Vel.
Range
from Str.
to Str.
Position