Muting the sound of a specific pad when you, Strike a pad (mute group), Changing the sound by the pad position you strike – Roland TD-27KV2 V-Drums Electronic Drum Kit User Manual
Page 41: Position), P. 41, Editing a drum kit
41
Editing a Drum Kit
Muting the Sound of a Specific Pad When
You Strike a Pad (MUTE GROUP)
Mute group settings let you specify that when you strike
a pad, other pads in the same mute group are muted
(silenced).
For example, you could assign user samples to the
instruments of each pad, and make mute group settings
so that you can switch between user samples by striking
different pads.
1
Press the [KIT EDIT] button.
The KIT EDIT screen appears.
2
Press the [F5] (OTHER) button.
The KIT EDIT OTHER screen appears.
3
Use the cursor buttons to select the “MUTE
GROUP” and press the [ENTER] button.
The MUTE GROUP screen appears.
4
To select the pad for which to make settings,
either strike that pad or use the cursor buttons.
5
Use the cursor buttons and the dial to make
mute group settings.
Parameter
Value
Explanation
MUTE SEND
– (OFF),
1–8
Specify the mute group number.
When you strike the pad of the
number specified in MUTE SEND,
the sound of the pad assigned
to the same number in MUTE
RECEIVE is muted.
* Even if you specify the same
number in MUTE SEND and
MUTE RECEIVE for the same
location (e.g., head or rim) of
the same pad, muting does
not occur.
MUTE RECEIVE
MEMO
You can use cursor buttons [ ][ ] to switch between
MUTE SEND and MUTE RECEIVE.
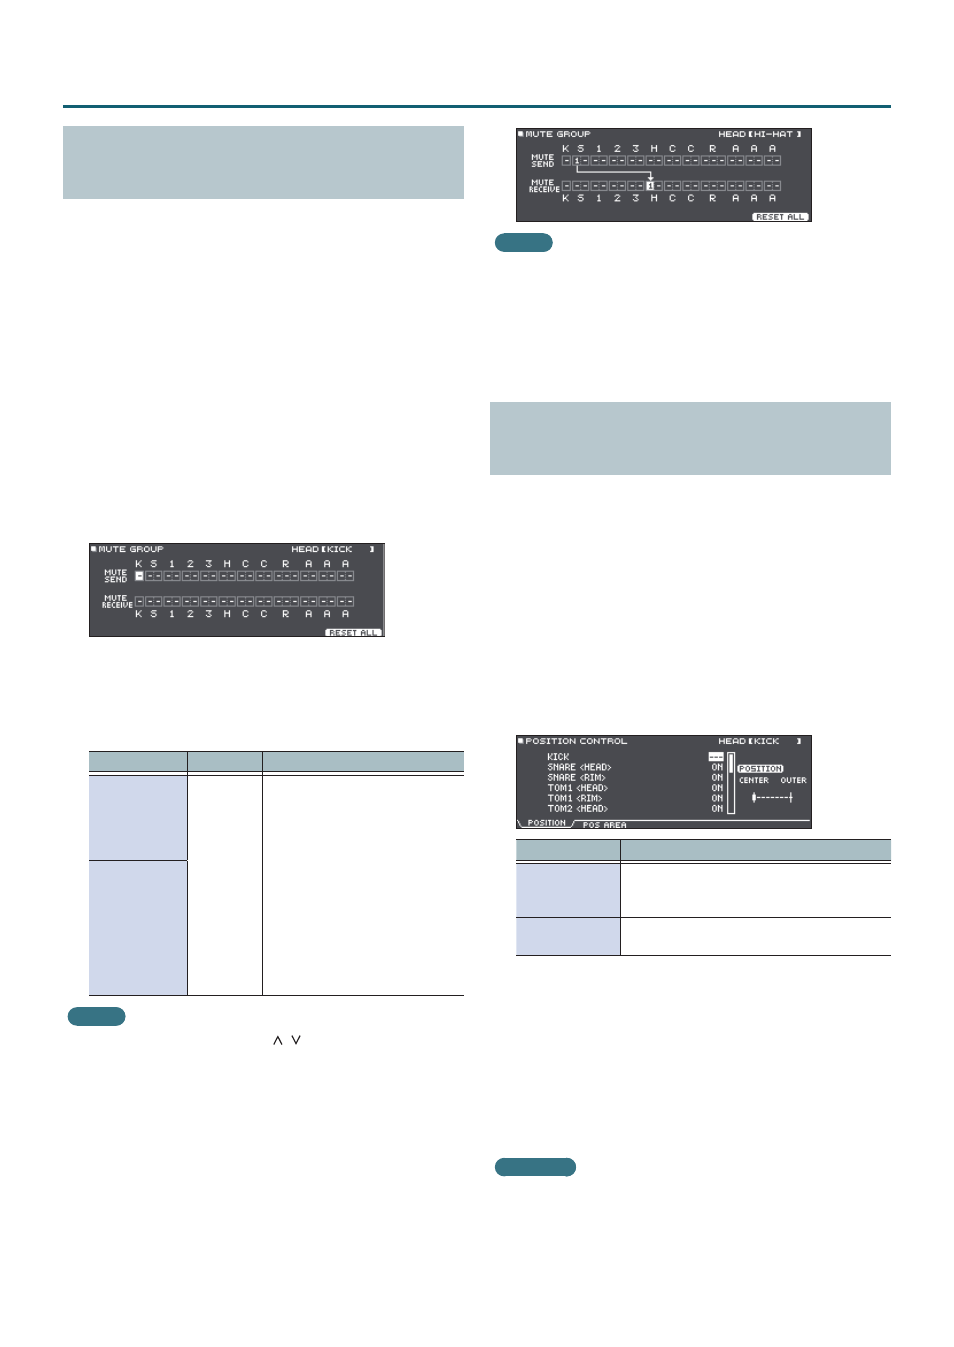
* When you specify a mute group, an arrow indicates
the pads that are muted when you strike the currently
selected pad, and the pads that when struck will mute the
currently selected pad (upper right illustration).
MEMO
To clear all mute groups, press the [F5] (RESET ALL)
button.
6
Press the [EXIT] button to exit the MUTE
GROUP screen.
Changing the Sound by the Pad Position
You Strike (POSITION)
Specify how the sound is affected by the position at which
you strike a pad.
1
Press the [KIT EDIT] button.
The KIT EDIT screen appears.
2
Press the [F5] (OTHER) button.
The KIT EDIT OTHER screen appears.
3
Use the cursor buttons to select the
“POSITION” and press the [ENTER] button.
The POSITION screen appears.
An example of the POSITION CONTROL screen
Button
Explanation
[F1] (POSITION)
*1
Turns on/off tonal changes that occur
depending on your strike location or the
nuances of your rim shots.
[F2] (POS AREA)
*1
Specifies the striking area for the head or rim.
*1: This supports the following trigger inputs.
5
SNARE
5
TOM1–3
5
The bow (head) of RIDE
5
AUX1–3
4
To select the pad for which to make settings,
either strike that pad or use the cursor buttons.
5
Use the dial to edit the value.
Reference
For details on the parameters that can be edited, refer to
“Data List” (PDF).
* Depending on the pad that is connected or the
instrument that is selected, there might be cases in which
this has no effect.