Side panel, Settings for pads, That support digital – Roland TD-27KV2 V-Drums Electronic Drum Kit User Manual
Page 11: Connection” (p. 11), Settings for pads that support digital connection, Connect your equipment
11
Connect Your Equipment
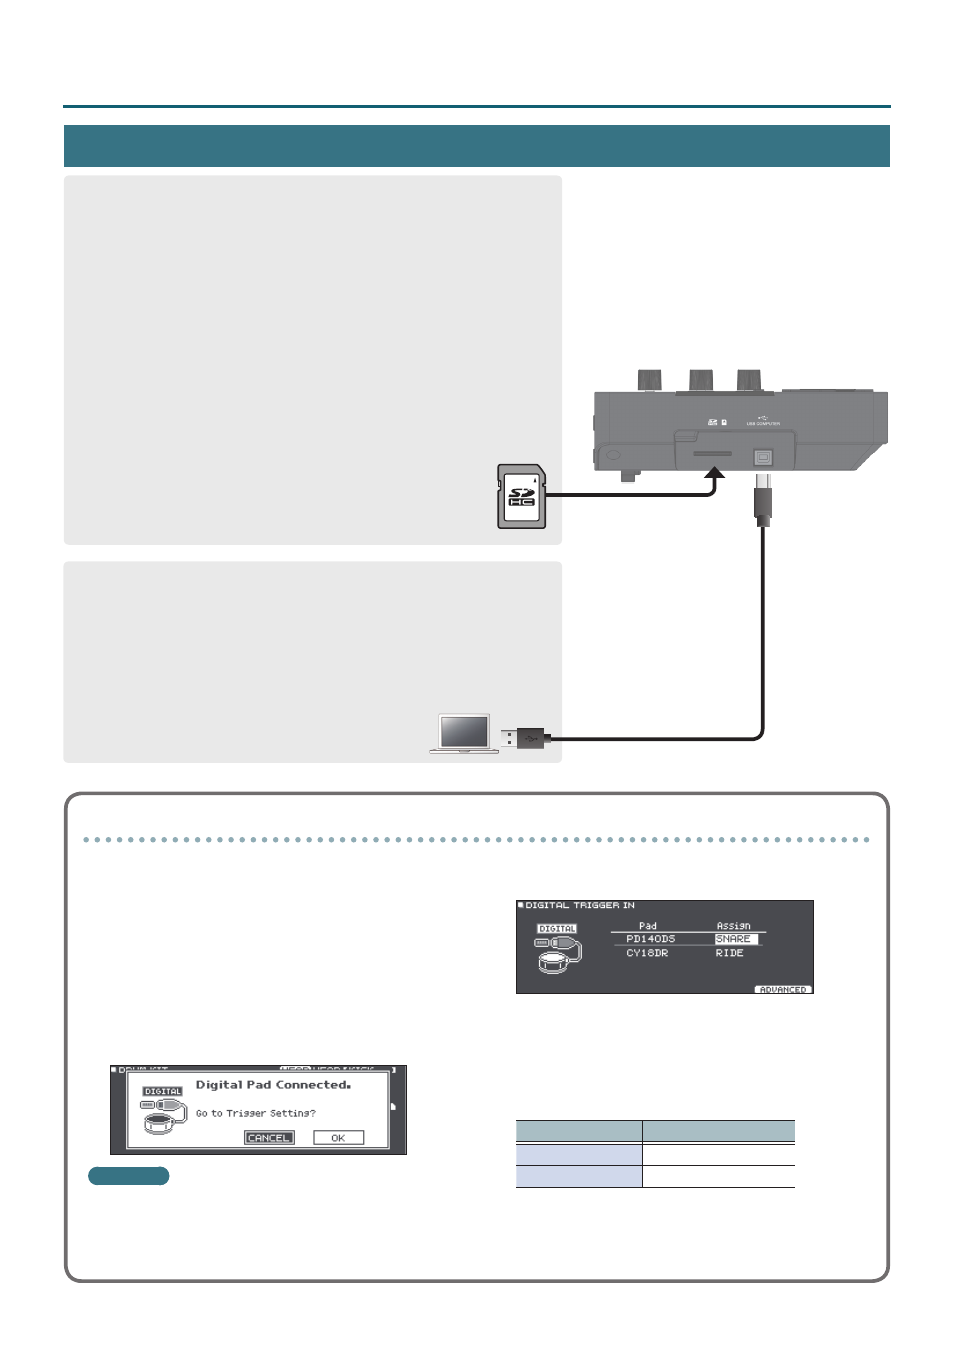
USB COMPUTER port
Connect this to your computer. Use a USB cable (commercially available) to
make this connection.
You can use DAW software (commercially available) to record your
performance as 28 channels of multi-track audio, or as MIDI data. You can
also use this unit to hear audio playback from your computer.
&
“Recording on a Connected Computer” (p. 28)
&
“Specifying the USB Audio (USB AUDIO)” (p. 58)
SD CARD slot
Insert a commercially available SD card (SDHC cards (up to 32 GB) are
supported).
You can use an SD card to store songs for backing (accompaniment) or to
store settings of the TD-27 itself. You can also use it to import user samples
and or save performance data that you recorded.
&
“Formatting an SD Card (FORMAT)” (p. 50)
&
“Performing Along with a Song” (p. 21)
&
&
“Importing and Playing Audio Files (USER SAMPLE)” (p. 35)
&
“Backing Up Data to an SD Card (SD CARD)” (p. 47)
* Before using an SD card for the first time, you must format it on the TD-27 (p. 50).
* Never turn off the power or remove the SD cards while the screen
indicates “Processing...” or “Now Saving...”
* Some SD card types or SD cards from some manufacturers may not
record or play back properly on the unit.
Side Panel
Settings for pads that support digital connection
The first time that a pad that supports digital connection
is connected to a DIGITAL TRIGGER IN port, the following
screen appears.
Following the instructions in the screen, make settings
to specify the trigger input to which the connected pad
should be assigned.
* If you specify the same trigger input as a pad that is
connected to a dedicated connection cable or TRIGGER
IN jack, the pad that’s connected to that TRIGGER
INPUT jack and TRIGGER IN jack won’t produce sound.
Reference
For details, refer to “Specifying a Digitally-Connected
1
Use the cursor buttons to select “OK,” and
press the [ENTER] button.
2
Use the cursor buttons to select the pad
that you want to specify, and use the dial to
specify the Assign.
* You can’t specify the same assignment multiple times.
Pad
Assign
PD140DS
SNARE
CY18DR
RIDE
Setting example
3
Press the [DRUM KIT] button to return to the
DRUM KIT screen.