2 - quick guide, Recording a guitar to track 1, Playing back the recording – Teac DP-32 User Manual
Page 15: Recording a guitar to track 2
TASCAM DP-32
15
2 - Quick Guide
If the OL indicator continues to light even when the
TRIM knob is turned down, the guitar signal itself is
too loud. In this case, lower the output level on the
guitar.
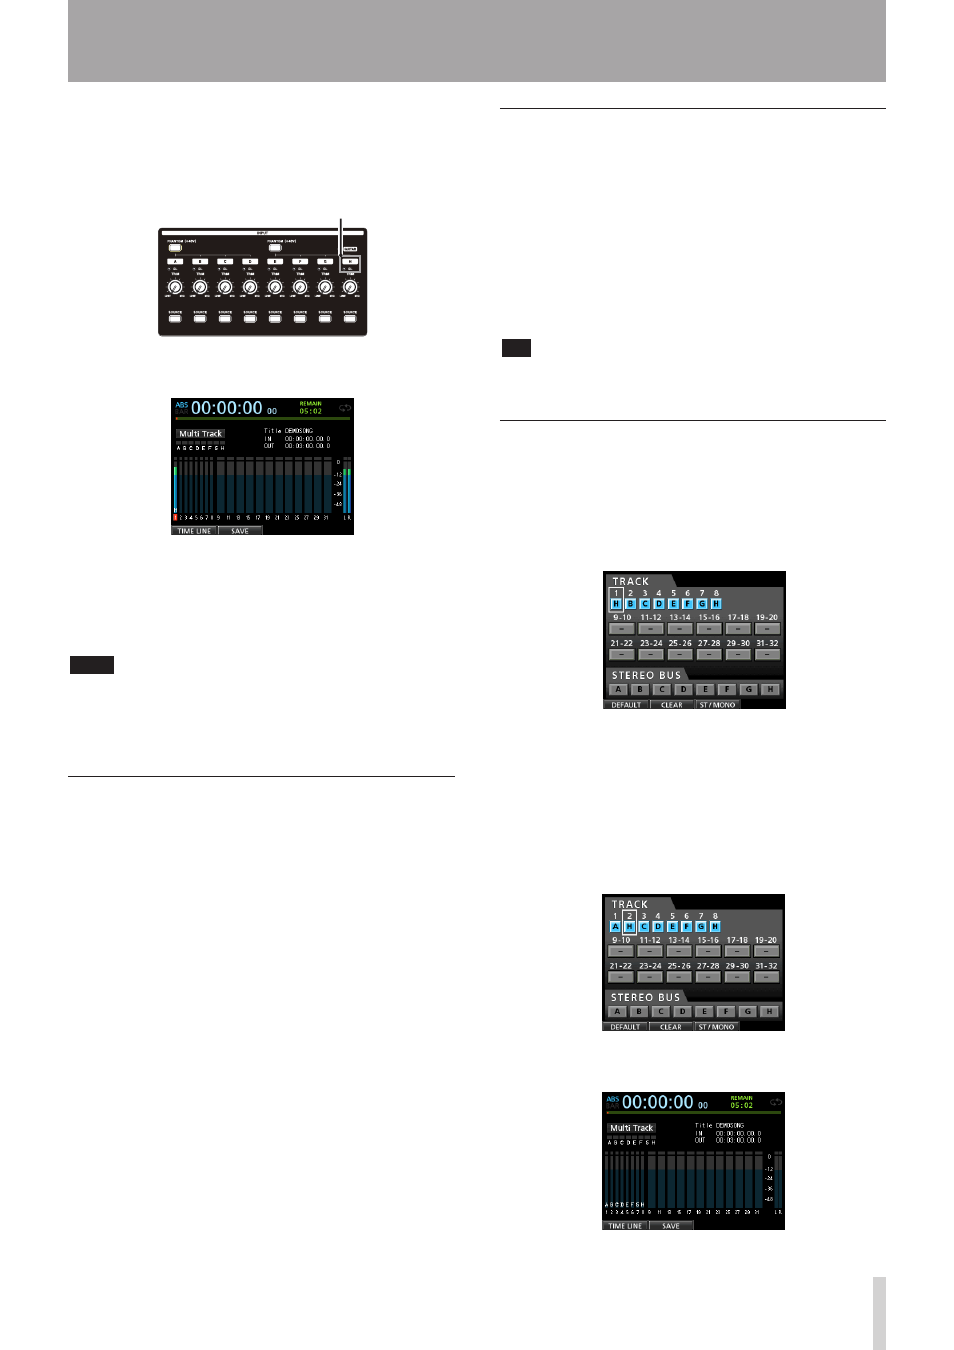
OL indicator
When you play the guitar, level meter
1
(TRACK 1)
shows the input level on the display.
When you raise the fader for TRACK 1, the STEREO
fader and the MONITOR LEVEL knob, you will be able
hear the sound of the guitar through the headphones
(or monitoring system), and the
L
and
R
level meters
will move.
NOTE
• You can use the PAN knob for TRACK 1 on the Mixer screen
to set the stereo position for monitoring.
• If the REC button for TRACK 1 is not lit, you will not be able
to hear the guitar sound that is being input.
Recording a guitar to TRACK 1
1. Press the RECORD (0) button to start recording
and play the guitar.
The REC button for TRACK 1 stops flashing and lights
steadily when recording.
2. After you finish your performance, press the STOP
(8) button to stop recording.
The recorded file is saved in the folder of the currently
loaded song.
3. Press the REC button for TRACK 1 so the REC button
becomes unlit.
Playing back the recording
1. To return to the beginning of the song (ZERO
point), press and hold the STOP (8) button and
press the REW (m) (TO ZERO) button.
2. Press the PLAY (7) button to play back the
recording on TRACK 1.
3. Use the fader for TRACK 1 and the STEREO fader
to adjust the playback monitoring level. Use
the MONITOR LEVEL knob to adjust the final
monitoring volume.
TIP
Use the PAN knob for TRACK 1 on the Mixer screen to set the
stereo position of the track signal.
Recording a guitar to TRACK 2
Next, you can listen to the rhythm guitar on TRACK 1 as
you play the lead guitar part and record it on TRACK 2.
Follow these procedures to change the recording source
of TRACK 2.
1. Press the ASSIGN button to open the Assign screen.
We want to record the lead guitar sound from INPUT
H to TRACK 2, but INPUT B is assigned to TRACK 2 by
default.
2. Use the CURSOR (5/b/g/t) buttons or press
the SELECT button for TRACK 2 to move the cursor
(frame) on the Assign screen to
TRACK 2
.
Use the JOG/DATA dial or press the SOURCE button
for INPUT H to set the TRACK 2 recording source to
H
.
3. Press the HOME button to return to the Home
screen.