9 establishing communications with an array, Establishing communications with an array – Dot Hill Systems II 200 FC User Manual
Page 73
Chapter 4 Connecting Your Array
4-25
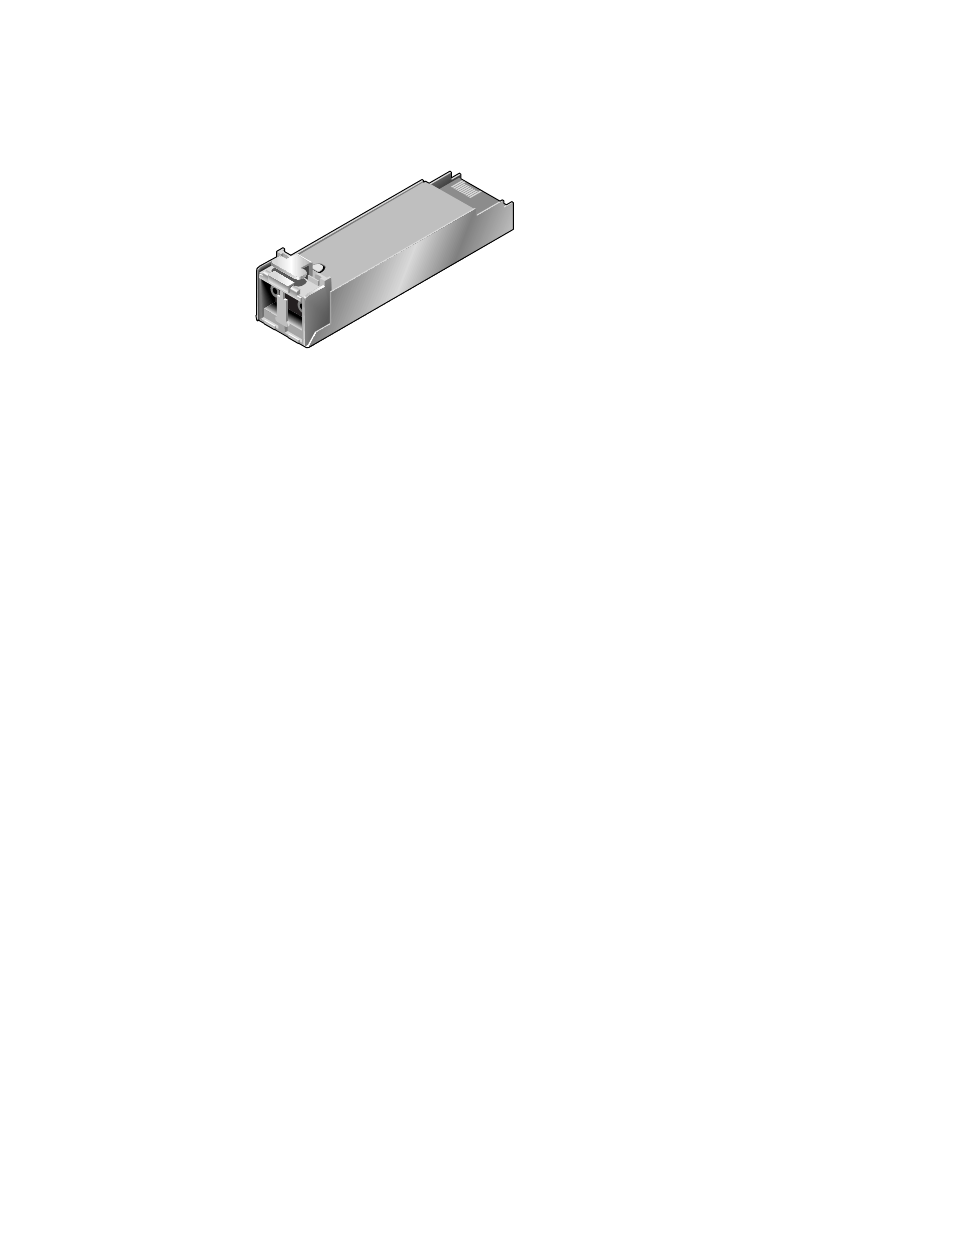
Figure 4-23 Typical SFP Connector Used to Connect Cables to Chassis SFP Ports
4.9
Establishing Communications With An Array
Before you can configure an array, you must establish one or more communication
links between at least one host and an array. You can use any combination of the
array’s RS-232 COM (serial) port, the Ethernet port, and the in-band data connection
between the host and the array.
■
A direct RS-232 port connection guarantees that a host can communicate with a
RAID array even if the array’s IP address changes or is unknown, or if the TCP/IP
network suffers a temporary outage. See “Configuring a Host COM Port to Connect
to a RAID Array” on page 4-26 for more information.
■
SANnet II 200 FC, SATA, and SATA SE arrays ship with the Dynamic Host
Configuration Protocol (DHCP) TCP/IP network support protocol enabled. If your
network uses a DHCP server to dynamically and automatically allocate IP addresses
to attached devices, as soon as the RAID array is powered up an IP address is
assigned to it. You can use this IP address to monitor and manage the array’s
firmware through telnet sessions. See “Setting Up Out-of-Band Management Over
Ethernet” on page 4-28 for information about setting up a telnet session.
■
A fixed IP address enables you to use telnet or other out-of-band management
sessions to manage the array with no risk of a DHCP server changing its IP address.
See “Setting Up Out-of-Band Management Over Ethernet” on page 4-28 for
information.
When the array is first powered up, the default IP address setting uses the IP address
assigned by a DHCP server. If the RAID array is connected to a network with an active
DHCP server, you can determine the IP address assigned to the array in several ways:
■
If you have access to the controller firmware, from the Main Menu choose
Configuration Parameters
→ Communication Parameters → Internet Protocol
(TCP/IP). If the RAID controller is not on a network connected to an active DHCP
server, “DHCP Client” is displayed rather than a DHCP-assigned IP address. Refer
to the “Configuration Parameters” chapter in the SANnet II Family RAID Firmware
User's Guide for more information.