Dot Hill Systems II 200 FC User Manual
Page 50
4-2 SANnet II 200 FC, SATA, and SATA SE Array Installation, Operation, and Service Manual • March 2005
Before you connect the array to the network, position the array in the rack, cabinet, or
other location where it will be used.
Caution –
When positioning the array, do not block the air vents at the front or back
of the unit. Follow all safety precautions specified in the SANnet II Family Safety,
Regulatory, and Compliance Manual.
Caution –
When you power off an array, wait five seconds before you power it back
on. If you power the array off and on too quickly, unexpected results can occur. See
“Powering Off the Array” on page 4-33.
4.1
Converting Your Front Bezel Locks So the Keys
Cannot Be Removed
The bezel on your array has two locks whose keys can be removed when the locks are
in either the locked or open position. It is possible to reconfigure the locks so that the
keys cannot be removed.
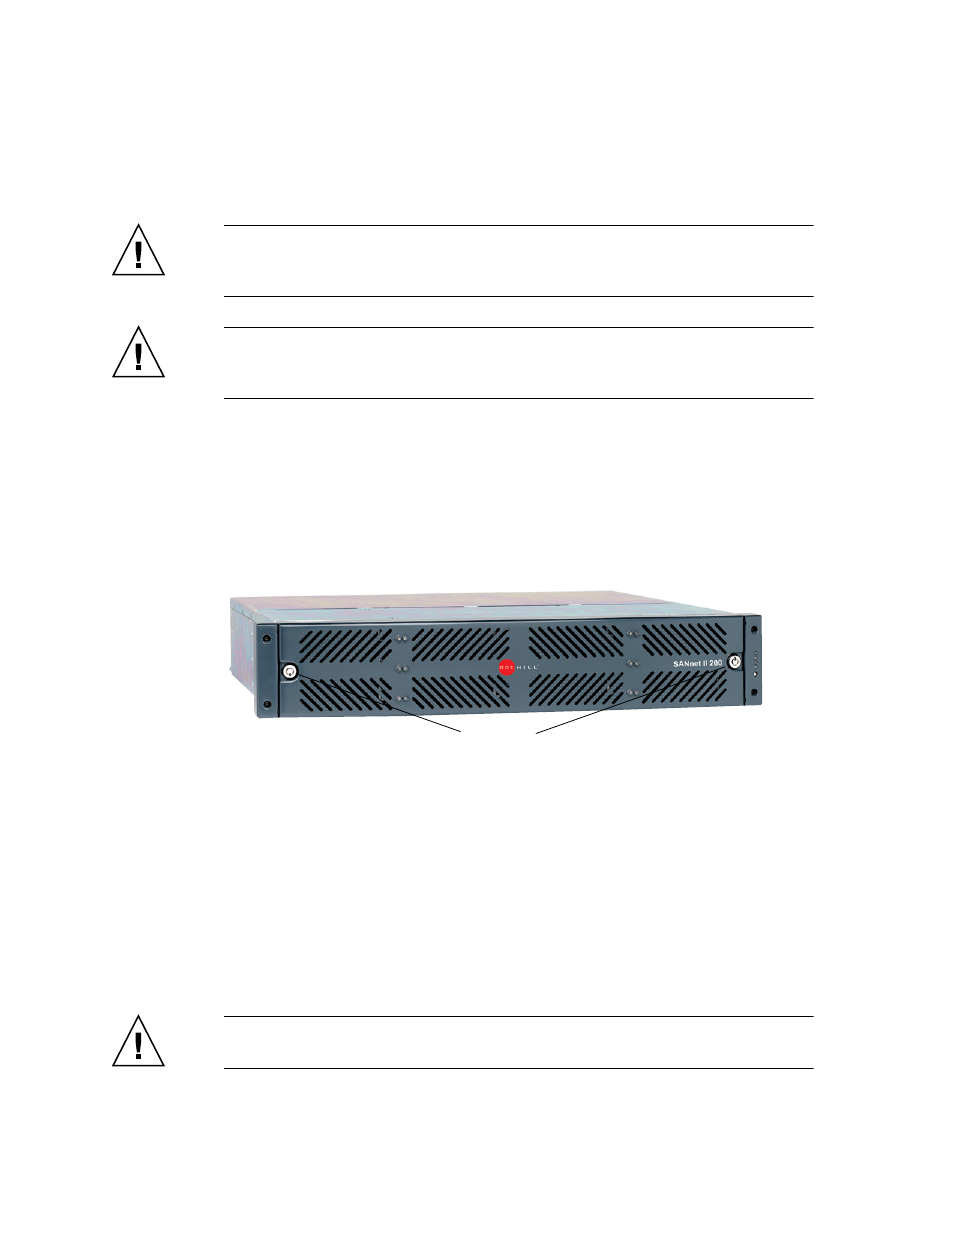
Figure 4-1 Front Bezel and Front Bezel Locks of an Array
To change the locks so the keys cannot be removed, perform the following steps.
1. Remove the bezel by gently pivoting the swing arms out of their ear sockets.
See “Removing the Front Bezel and Ear Caps” on page 7-9 for step-by-step
instructions on how to remove the bezel.
2. Make sure the key is in the locked position, with the pawl extending horizontally past
the edge of the bezel.
3. Hold the key in place and use a 3/8-inch (12-mm) nut driver to remove the locking nut
that holds the pawl in place, as shown in the first panel of Figure 4-2.
Caution –
Be sure to hold the key in place. Otherwise there is a risk of breaking the
small tab on the lock that serves as a stop.
Bezel locks