Encode content from the timeline, Redray player operation guide – RED REDRAY PLAYER User Manual
Page 58
COPYRIGHT © 2014 RED.COM, INC
REDRAY PLAYER OPERATION GUIDE
955-0017, REV-D | 58
ENCODE CONTENT FROM THE TIMELINE
This section explains how to encode (export) a sequence of clips from the Timeline panel. When you export
content from the Timeline panel, all of the clips placed in the Timeline panel will be seamlessly joined to create
a single encoded output clip.
1. Click on the Export panel at the bottom of the REDCINE-X PRO application.
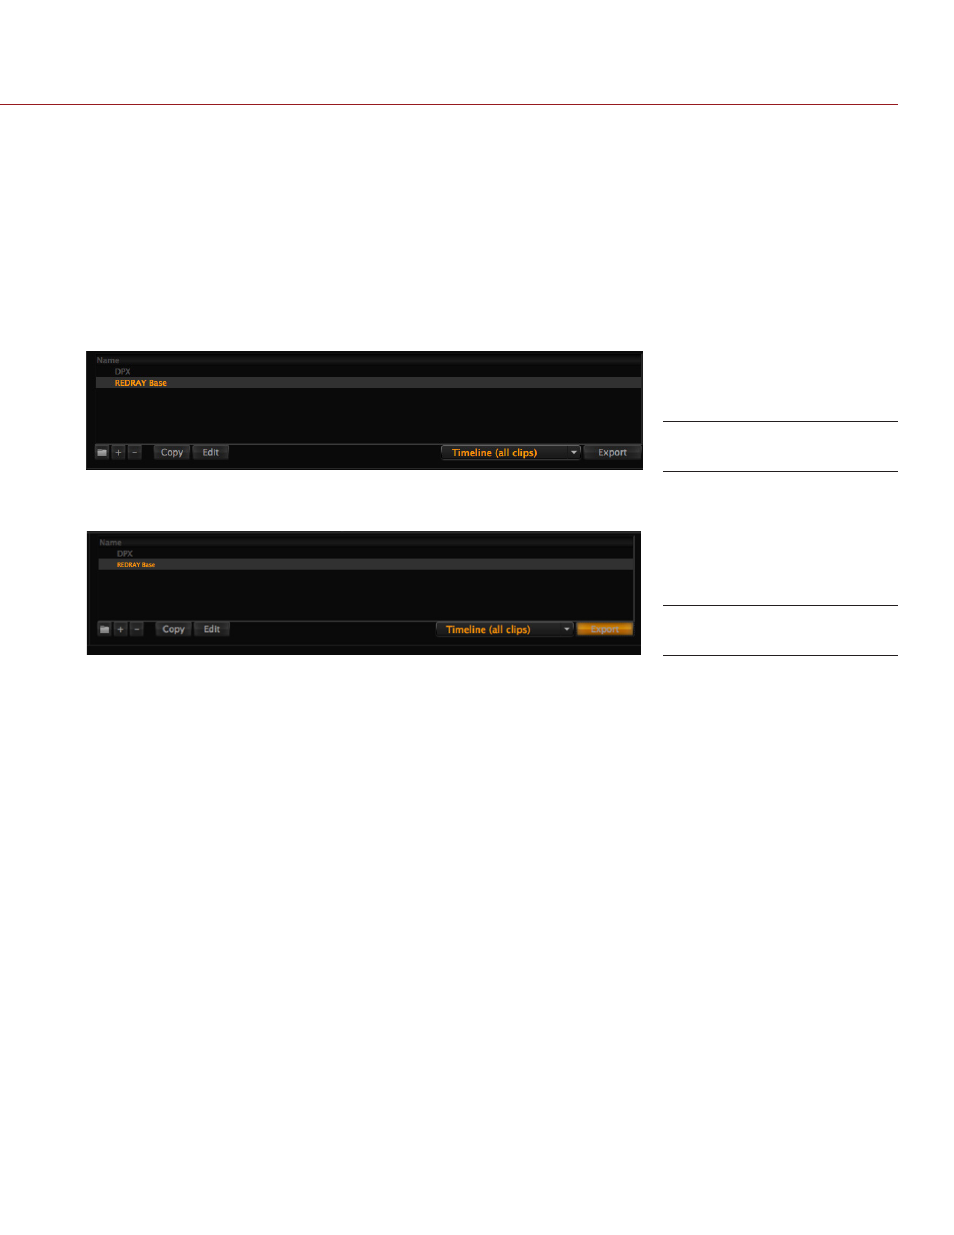
2. Select your RRencode preset as the export type.
NOTE: The default RRencode preset is REDRAY BASE. If REDRAY BASE is not an available selection, make
sure that RRencode is installed on your system. If RRencode is installed but REDRAY BASE is still not an
available selection, create a new preset. For more information about how to edit presets, go to
.
3. Select Timeline (All Clips) from the drop-down menu, next to the Export button.
4. Click Export to start the encoding process.
The Choose Output Filename window opens, with the folder designated by the preset suggested as the
location for the encoded content. The default name of the clip when encoding from the Timeline panel is
Sequence XX, where XX is a value that starts at 01.
5. Select an output folder and filename, as needed. The filename you select will be the name of the movie
displayed in the REDRAY on-screen display.
Export Panel
Start Exporting (Encoding)