Create and edit presets, Redray player operation guide – RED REDRAY PLAYER User Manual
Page 54
COPYRIGHT © 2014 RED.COM, INC
REDRAY PLAYER OPERATION GUIDE
955-0017, REV-D | 54
4. Click and drag each additional video clip from the Bin to the row labeled V1, and ensure that each clip snaps
to align with the previous clip.
NOTE: Placing a clip over another clip in the row will overwrite part of the previous clip. Leaving a space
between clips will result in a black screen in the encoded video for the length of that gap.
CREATE AND EDIT PRESETS
A preset is a group of encoding settings. When you download the RRencode Plugin, the plugin loads a default
preset called REDRAY BASE into REDCINE-X PRO. You can use this default preset to encode content, or create
your own preset and customize settings.
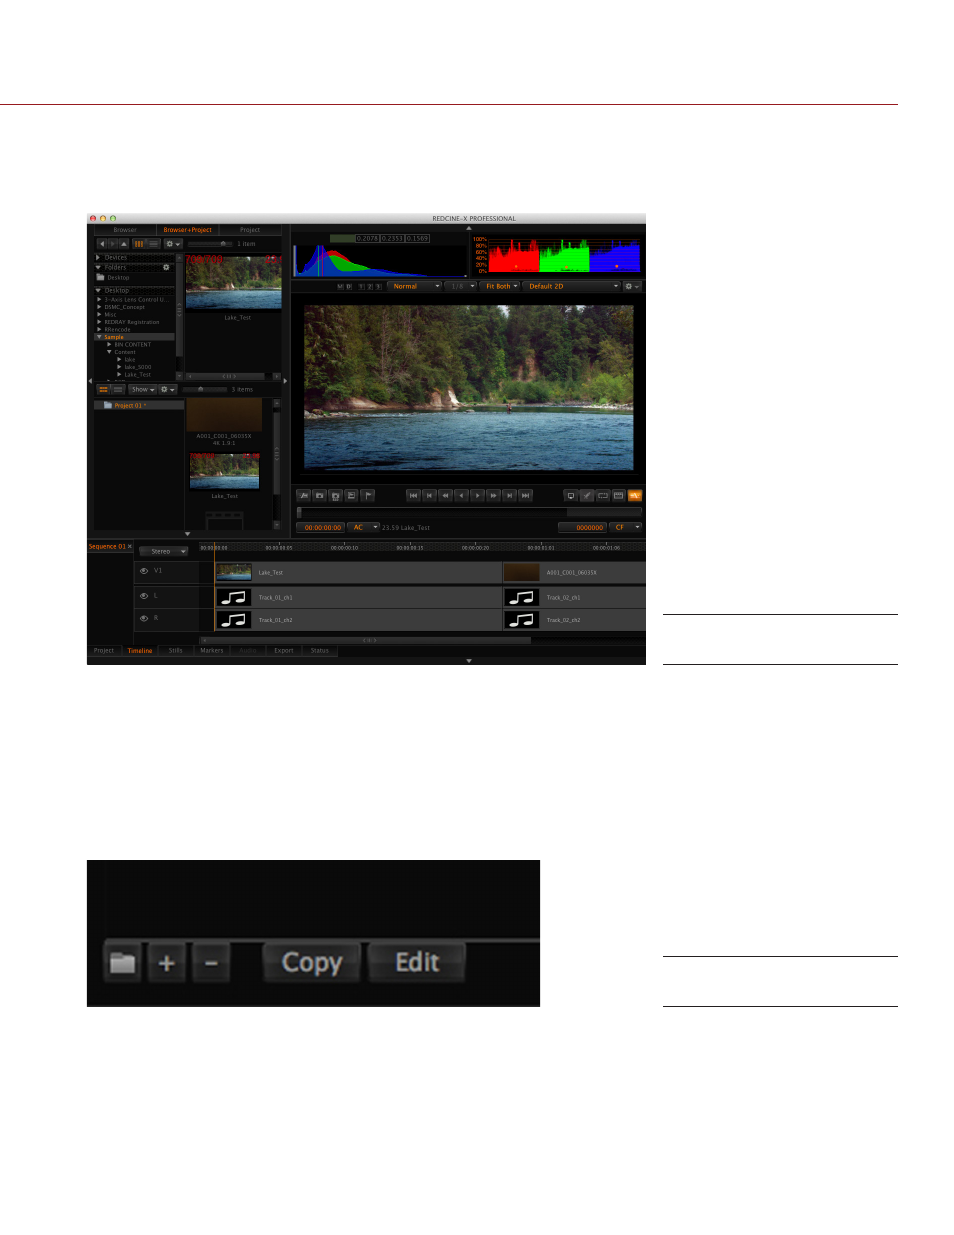
1. Click on the Export panel at the bottom of the REDCINE-X PRO application.
2. Click the + in the Export panel.
The Create Preset window opens.
3. Name the new preset in the Preset text box.
4. Select RRENCODE from the File Format drop-down menu.
5. Click Setup.
6. Select the Frame Rate setting that matches the frame rate of the source .R3D, .tif, or .dpx sequence.
Add More Clips
Create Presets