0 lockout configurations and meter function menus, How to use the tables in section 9, 1 individual lockout information – Cooper Instruments & Systems DFI INFINITY Digital Force Indicator/Controller User Manual
Page 36
‘MENU’
“STORED”
the
“IN CNF”
Press the ‘MENU’ then button to store your selection. The
display will momentarily show “STORED” then “IN CNF”.
‘RESET’ ‘RESET’
“RESET2”
then
the Measured
Value
Press the ‘RESET’ then the button two times. The display will
momentarily show “RESET2” and then will display the currently
measured values.
NOTE: If after zeroing the display with RDF OF, the reading again drifts from zero, the required offset value is the
sum of the current RDG OF value and the current converted offset value. The examples below illustrate the
calculation of required offset values when using an independent decimal. If you are using an active decimal point,
the current converted offset value is simply the negative value of the display reading.
Example 1: You use a RDG OF value of -1.0000 to zero the meter.
The next morning, the meter displays 00.0008 at zero input; you need to rezero. The current count value is 000008;
shifting this value to the left of the decimal makes it 08.0000, and making the value negative makes it -8.0000. The
required RDG OF value is the sum of the current RDG OF value (-1.0000) and the current converted offset value (-
8.0000):
-1.0000 + -8.0000 = -9.0000
Example 2: You use a RDG OF value of -1.0000 to zero the meter.
The next morning, the meter displays -0.0008 at zero input; you need to rezero. The current count value is -00008;
shifting this value to the left of the decimal makes it -8.0000, and making the value positive makes it 08.0000. The
required RDG OF value is sum of the current RDG OF value (-1.0000) and the current converted offset value
(08.0000):
-1.0000 + 08.0000 = 07.0000
If you require further configuration(s) for your specific application, refer to Sections 9 through 21.
NOTE: Should you receive an error code of any kind while configuring your meter, refer to Section 17 -
Troubleshooting - Display Messages and Troubleshooting Guide.
9.0 LOCKOUT CONFIGURATIONS AND METER FUNCTION MENUS
HOW TO USE THE TABLES IN SECTION 9
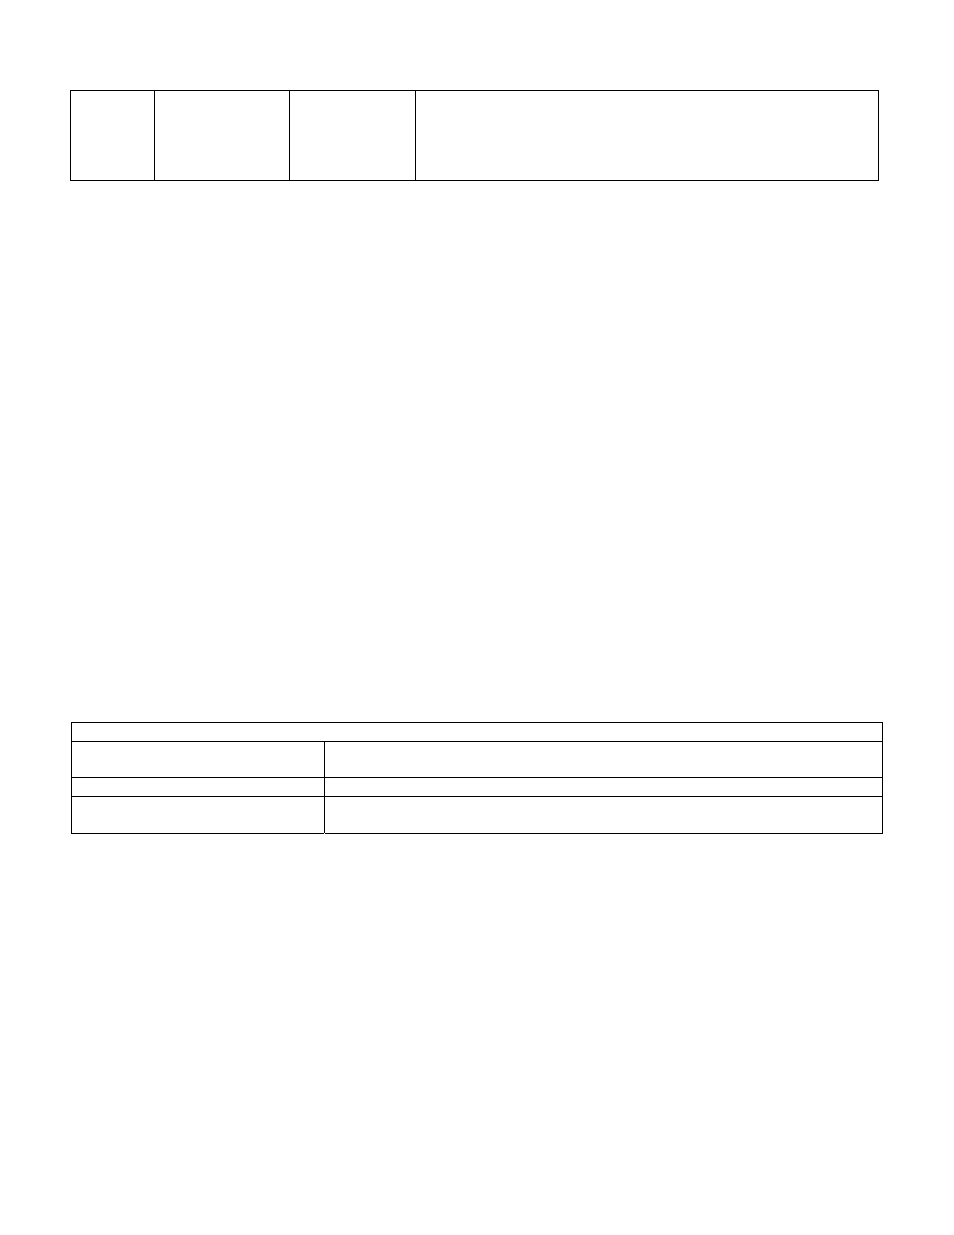
MIN/MAX/MENU BUTTONS:
These are the buttons on the meter you are to press to access the parameters
given in the same column.
MAIN MENU/ SUBMENU:
These are headings for the table columns.
DISPLAYED INFORMATION:
These are parameters seen on the display after pressing either ‘MIN’, ‘MAX’,
or ‘MENU’ button(s).
NOTE: If you press the ‘RESET’ button two times while the meter is in the run mode, all Setpoints, Alarms, Peak &
Valley will be reset and the meter will begin new measurements.
If you press the ‘RESET’ button one time while in the configuration mode, you will move one MAIN MENU
backwards and any selection will not be saved. If you press the ‘RESET’ button two times while in the configuration
mode, you will reset the meter and only those menu items saved by pressing the ‘MENU’ button will be saved.
9.1 Individual Lockout Information
To restrict access to different parameters of the program in the meter, you may want to lockout parts of the meter.
When you lock out a parameter, it will no longer appear when you scroll through the menu. To lock out specific
parameters of the meter (setpoint, scaling), refer to the following tables.
Once set (to unlock useful features for a given application and to lock out any features), these four “L1C”, “L2C”,
“L3C”, and “L4C” can be rapidly skipped over by pressing the ‘MENU’ button four times.
CF 67
31
M1291/N/0403 11279ML-02 Rev. A