E-flite AT-6 Texan 25 ARF User Manual
Page 27
27
E-flite AT-6 Texan ARF Assembly Manual
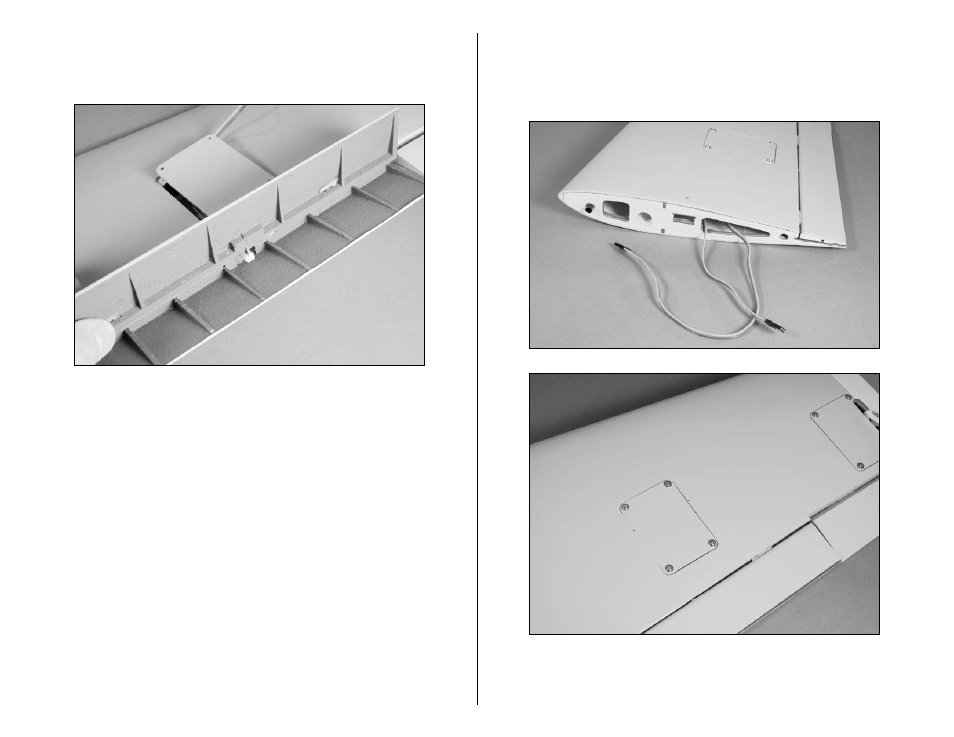
10. Position the flap servo partially in the wing. Connect
the clevis to the flap control horn. Plug the flap servo into
the receiver and power up the radio system.
Note: Do not place or secure the flap servo cover in
position before turning on the radio and checking the
operation of the flap. Doing so could damage the flap
control horn or quite possibly the flap servo. Check the
length of the linkage as follows BEFORE installing the
flap servo cover.
11. With the radio system on, move the control on the
radio to the "Up Flap" position and test fit the cover. If
the cover does not fit without binding the flap or flap
servo, adjust the length of the linkage or change the
end points at the radio system to eliminate any binding.
Repeat the process for "Down Flap" and check that the
full throw is adjusted as noted in the "Control Throw"
section of this manual.
12. Route the servo lead for the flap to the end of the
wing panel. Use four 3mm x 10mm self-tapping screws
and a #1 Phillips screwdriver to secure the flap servo
cover to the wing.
13. Repeat Steps 3 through 12 for the remaining aileron
servo installation.