Motor installation – E-flite AT-6 Texan 25 ARF User Manual
Page 12
12
E-flite AT-6 Texan ARF Assembly Manual
Motor Installation
Required Parts
Fuselage
Motor w/mount and accessories
#4 washer (4)
Cowling
Dummy radial engine
Radiator scoop (red)
Propeller
4-40 x 1/2-inch socket head screw (4)
4-40 x 1/4-inch socket head screw (4)
Required Tools and Adhesives
Rotary tool w/sanding drum Ball driver: 3/32-inch
Hobby knife
6-minute epoxy
Card stock
Low-tack tape
Felt-tipped pen
Pin drill
Drill bit: 1/8-inch (3mm)
Threadlock
Medium CA
Phillips screwdriver: #2
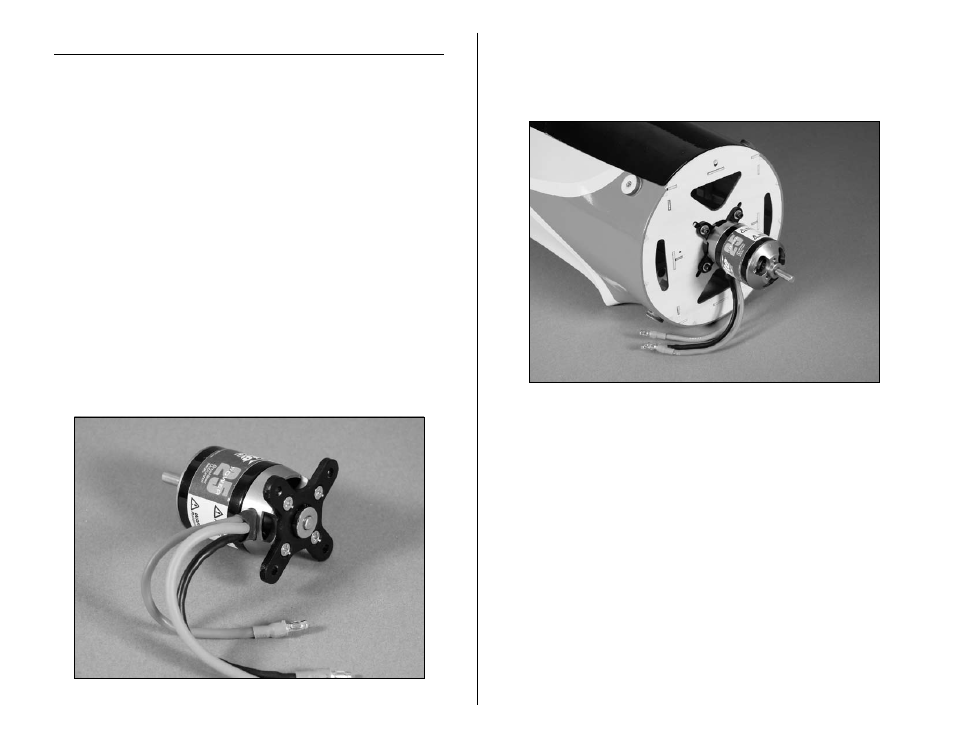
1. Attach the X-Mount to the motor using the screws
provided with the motor and a #2 Phillips screwdriver.
Make sure to use threadlock on all four screws so they do
not vibrate loose.
2. Attach the motor to the firewall using four
4-40 x 1/2-inch socket head screws, four #4 washers
and a 3/32-inch ball driver. Make sure to use threadlock
on the four screws to prevent them from vibrating loose.
Note: The blind nuts in the fuselage for mounting the
motor can be positioned for a variety of motors. Position
them so they are aligned with your particular motor
before mounting it to the firewall.
Note: You may paint your dummy motor to simulate the
engine found in most full size AT-6's. It is better and
easier to paint it at this time before it is installed in the
cowling. Please refer to our Scale Accessories section
beginning on Page 43 for the correct color choices for
the motor.