Stipa stipa measurement - getting started – NTi Audio XL2 Sound Level Meter User Manual
Page 121
121
STIPA
STIPA Measurement - Getting Started
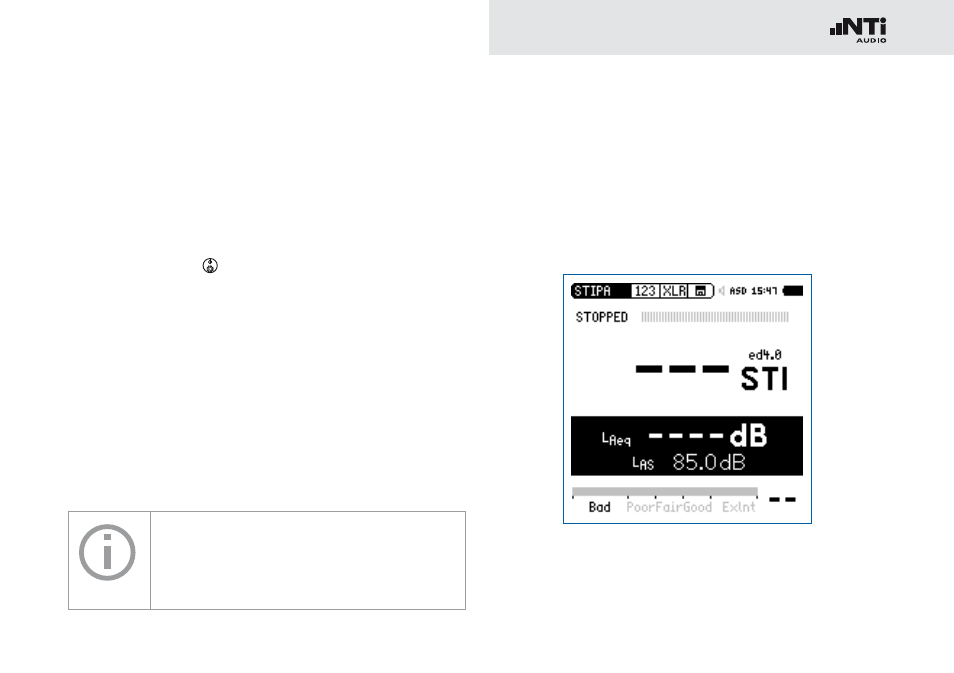
Test Preparations
The XL2 reads the electronic data sheet of the connected
NTi Audio measurement microphone and switches the 48V
phantom power automatically on as follows:
Connect the measurement microphone to the XL2.
•
Switch on the XL2
•
.
The 48V phantom power indication in the upper menu bar
changes to ASD. The XL2 is ready for acoustic measure-
ments.
Position the XL2 at the measurement location using a micro-
•
phone stand or tripod.
Select the
•
STIPA measurement function in the measure-
ment menu.
Prepare the environment for the measurement. For example
•
mute all sound sources to establish silence.
No impulsive noise shall occur during the
STIPA measurement as well no speaking or
other noise sources should be allowed near the
measurement microphone.
Start STIPA Test Signal
Select the STIPA signal source according your application re-
quirements.
Switch on the STIPA test signal at the signal source.
•
Set the acoustic sound pressure level of the PA system to
•
simulate the typical announcement level; e.g. LAS = 85 dB.